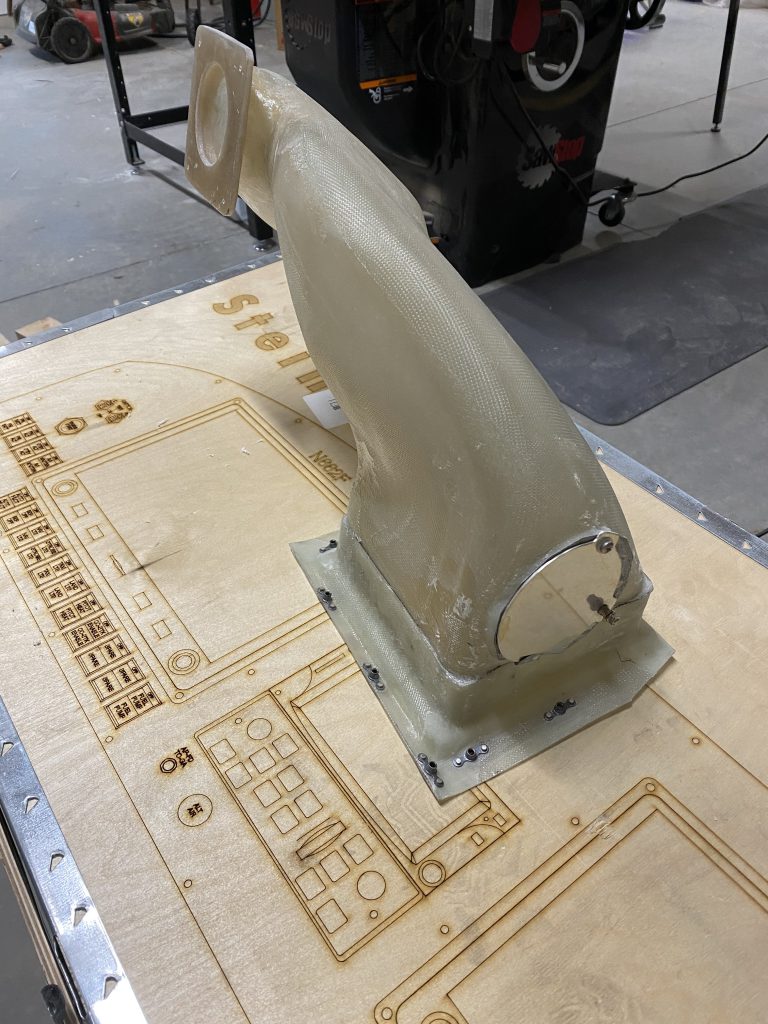
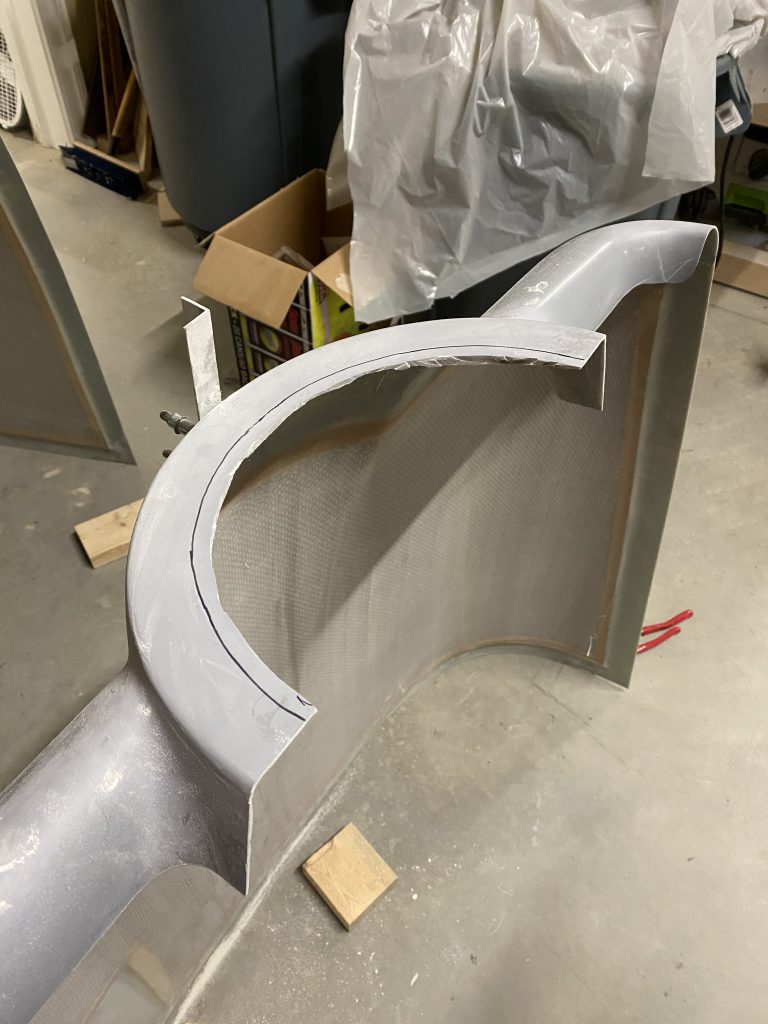
My Dad and I worked on the snorkel some more. We used flox to secure the snorkel to the filter flange. We built the alternate air door and floxxed and riveted it in place. We also decided to build up the bottom edge of the face of the snorkel that attaches to the fuel servo. The snorkel is essentially done now.
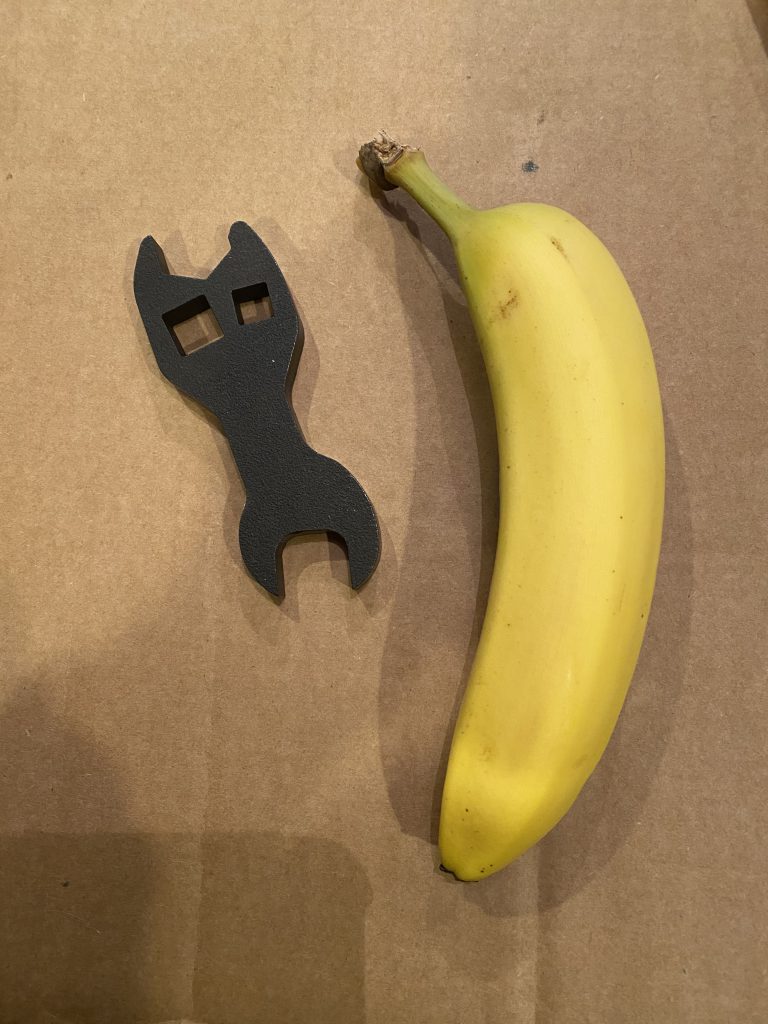
We re-torqued the propeller bolts to 65 ft-lbs using the $70 wrench from Anti-splat.
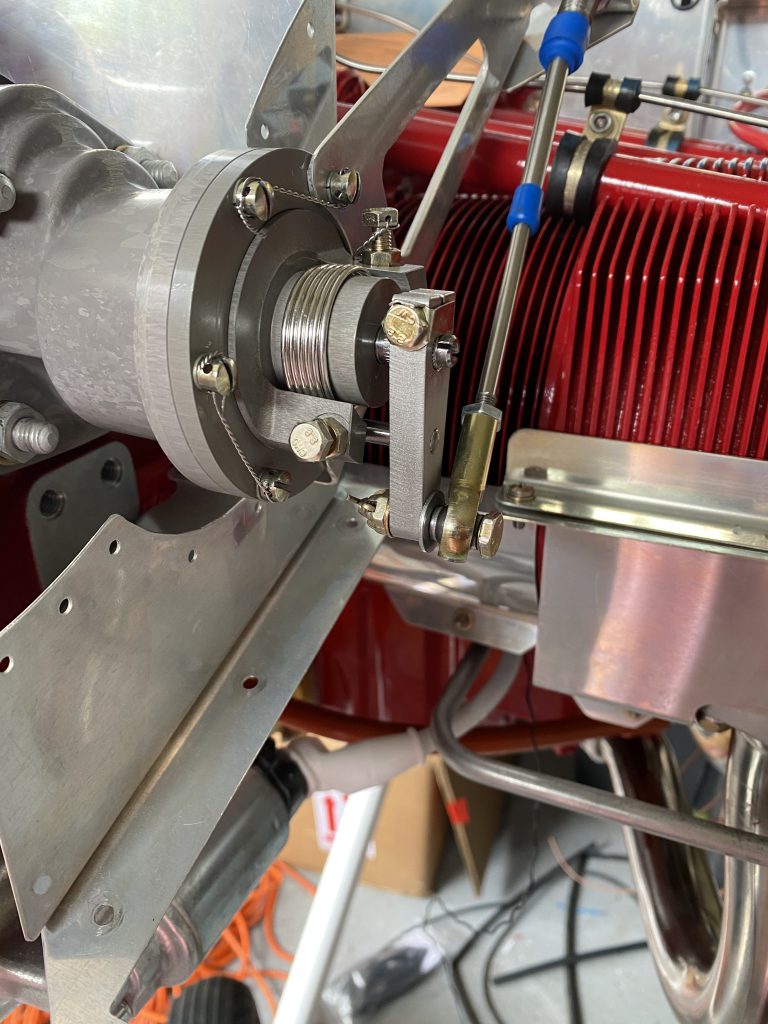
We adjusted the prop governor. We had to move the bolts attaching the control head over one hole to be able to add the prop governor bracket for the control cable. We also had to re-clock the actuator arm about 180 degrees so it is on the bottom rather than on the top. That was where the fun began. The Van’s plans call for using an AN3-10A bolt and a particular washer stack. We did that and found that it was impossible to tighten the nut tight enough to align the cotter key hole in the bolt with the castle nut. If you wrench on the nut, the bolt will sheer off right at the cotter key hole (ask me how I know). We then tried an AN3-11A bolt and found that it was too long if installed as called for by the plans and hits the body of the governor. Finally ended up using the longer bolt and putting it in from the outside which gives much better clearance (this will be the first of two times that I had to go off the plans to make something work today).
Next up, the spinner back plate. The Whirlwind uses a different style two piece back plate compared to the one in the Van’s plans. You don’t have to build it (nice!). The manufacturer’s plans say to put the bolts in from the back and put the nut on the front side of the back plate. There is simply no way to do this, so I put the bolts through from the front side and put the nuts on the back side. This should be safe and secure.
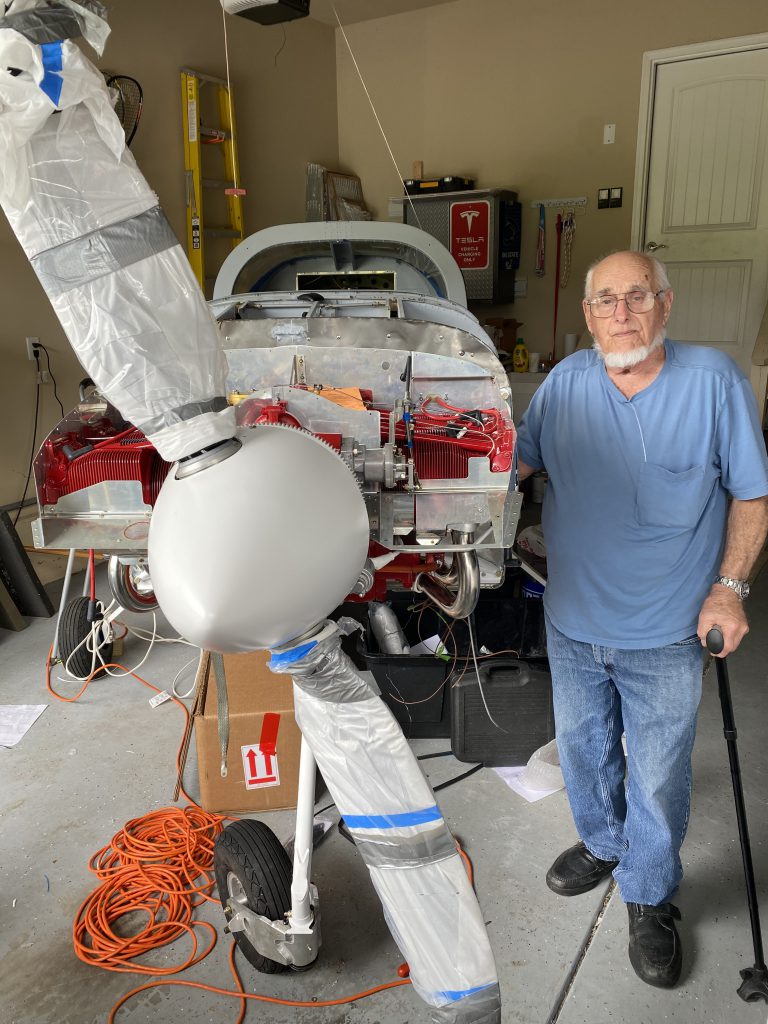
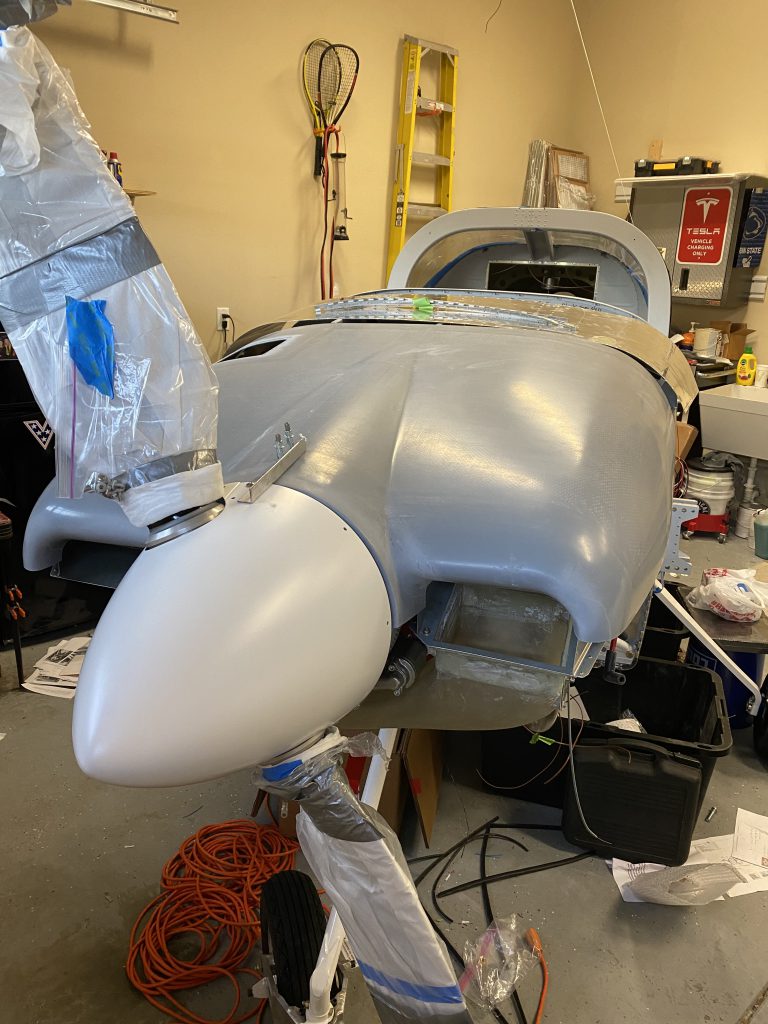
We began fitting the top cowl onto the airplane. We immediately realized that the spinner backplate on the Whirlwind is significantly different than the one Van’s calls out. This mean trimming a lot more off the cowling near the spinner. We have it close now. There is definitely more trimming and sanding in our near future though.
14 hours (2 people x 7 hours)