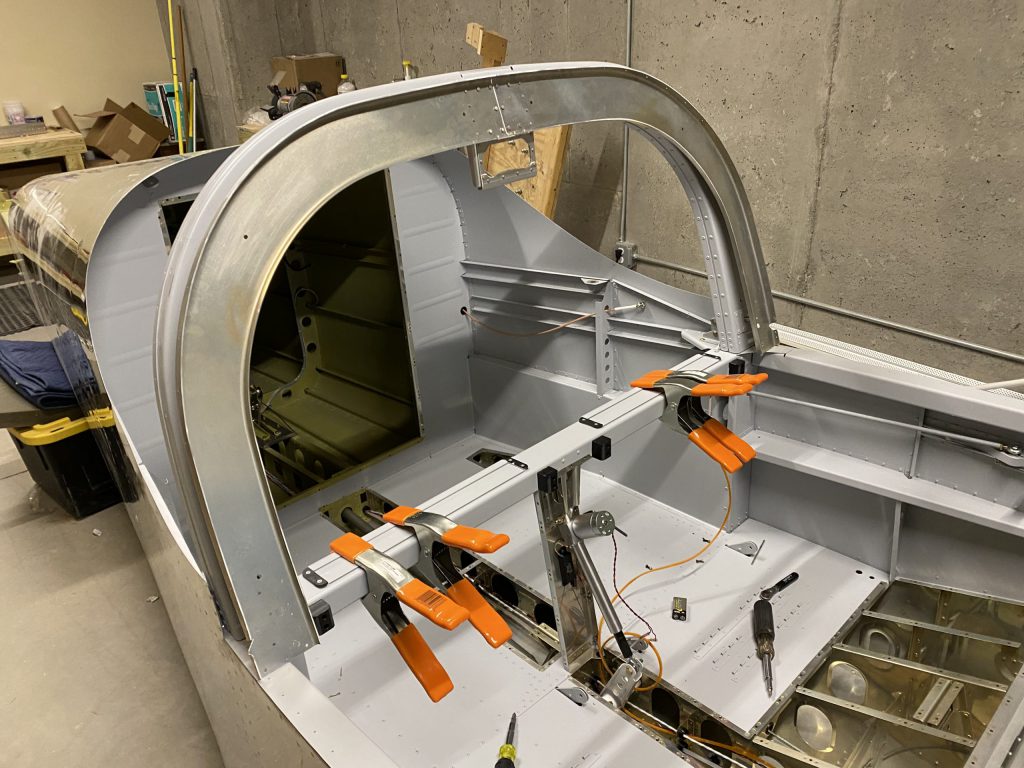
We began riveting together the forward canopy assembly. Lots and lots of rivets most of which needed to be bucked rather than squeezed.
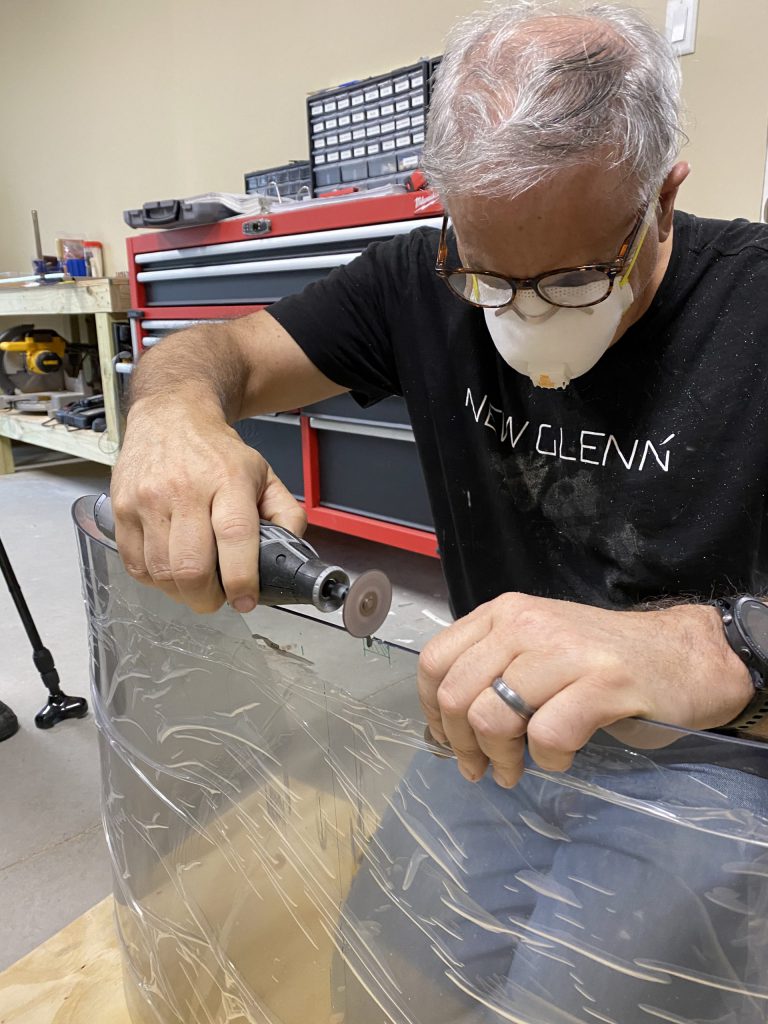
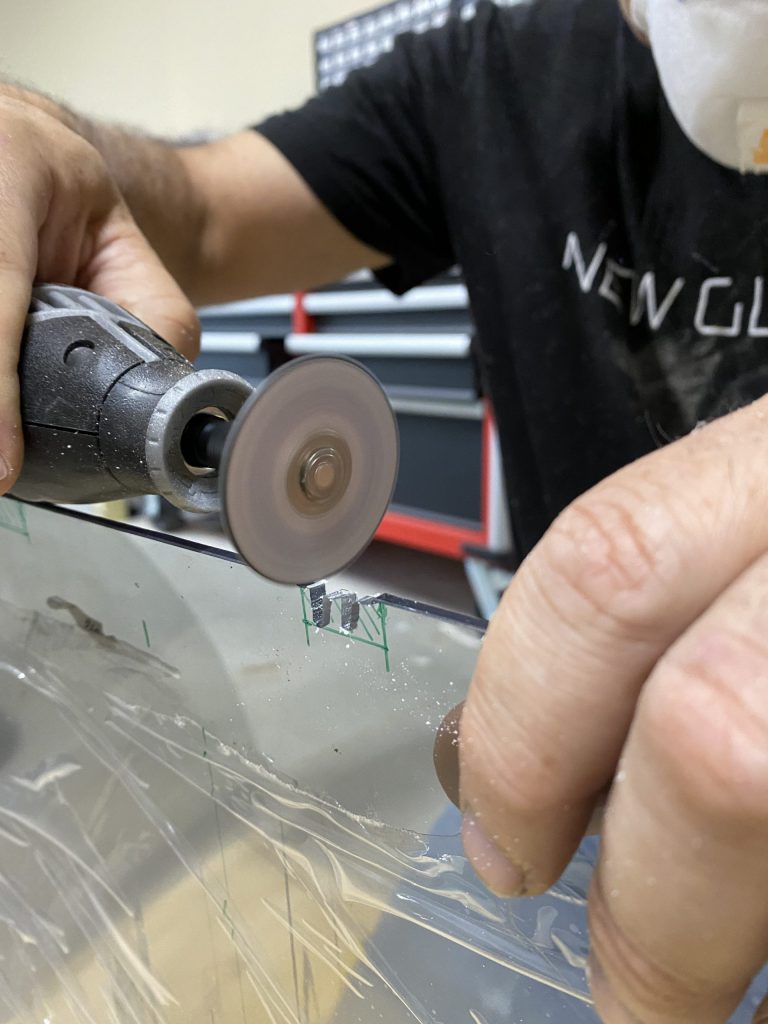
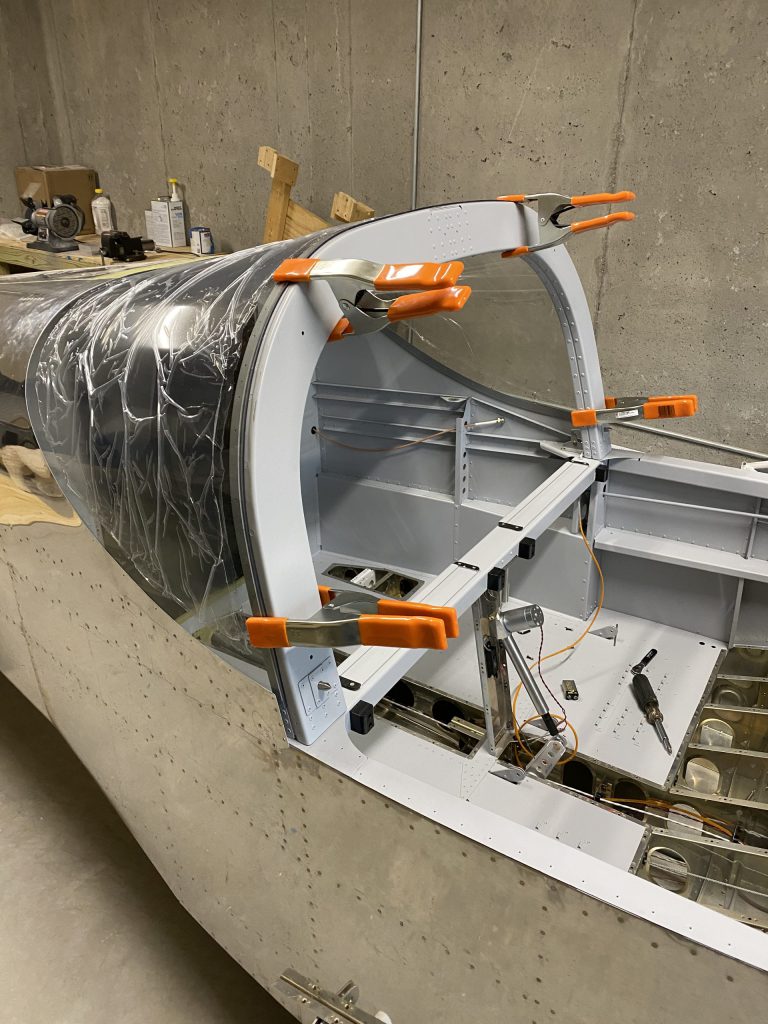
Also put the rear window in place for measurement and cutting. It turns out that the only cutting required was the two notches for the roll bar brace brackets. The Dremel tool worked well for the cuts. I did realize that I will have to disassemble some of the canopy latch mechanism to get to two rivets that need to be squeezed. My fault because I did the latch mechanism out of order. Probably 1 hour of extra work. BTW, cutting the plexiglass is messy and requires wearing a mask.
10 hours (2 people x 5 hours each).
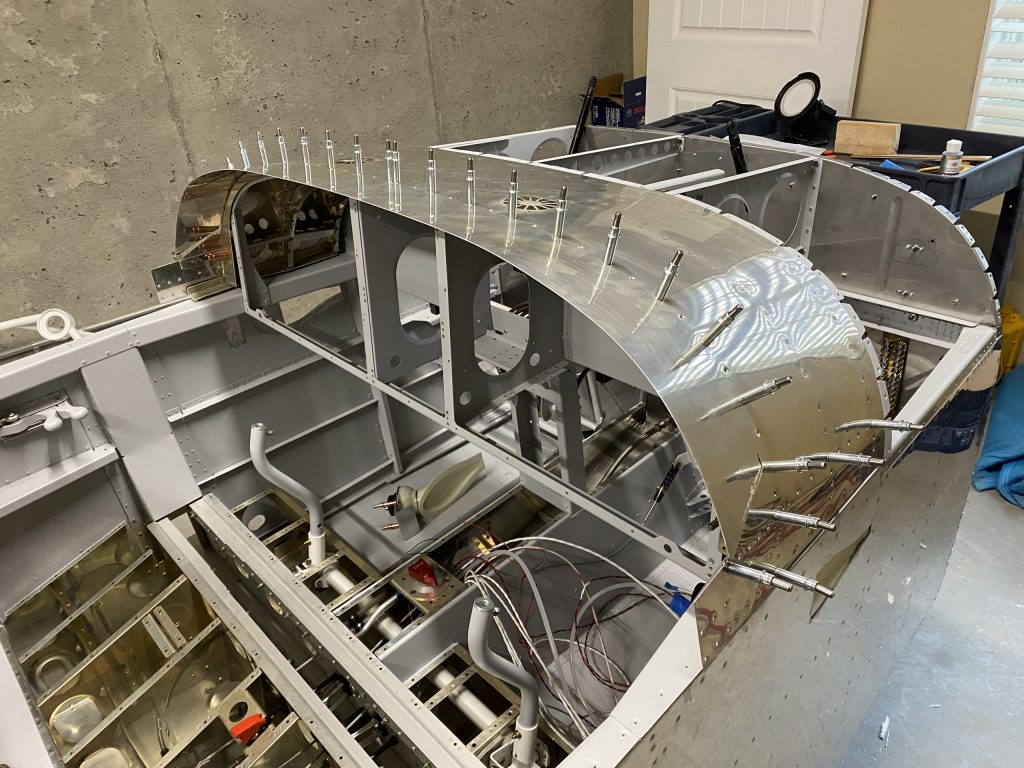
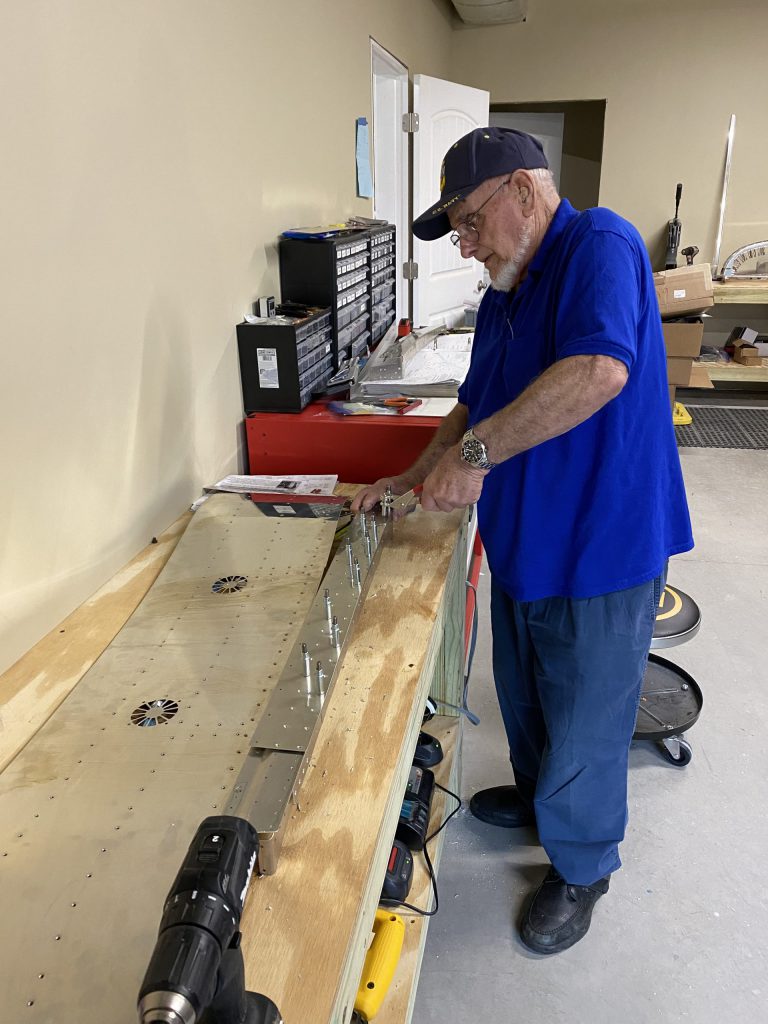
I cut downward with the wheel but I found that actually moving back and forth was a better method. After cutting, I used 220 grit sand paper to round the corners to remove stress points.This is the rear canopy assembly just sitting in place. There are two rivets that I can’t install because I installed the latching mechanism.This is the back window clamped in place. As with other parts of the kit, it fit very well without any significant cutting. Our plan is to use Sikaflex to attach the window rather than rivets and screws.The forward canopy just sitting where it will eventually go. It hinges on the front.My Dad (who turns 91 in about a month) helping me with the canopy top skin.