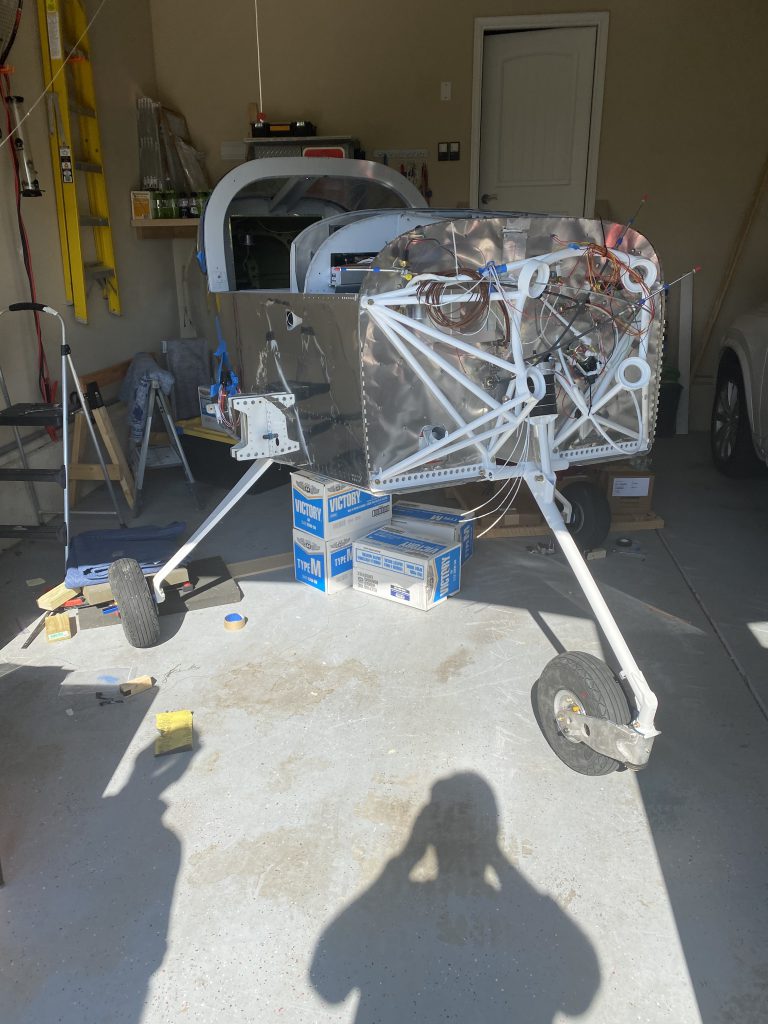
We got the main gear done. I checked the alignment and it appears that both sides toe in (that’s good) but they probably toe in to far (that’s bad). I will check them a few more times, but I suspect I will need at least one shim (@ $29 each) on each side. Some experienced guys said I can just use a washer or two, but I am going to stick to the plans and add the Van’s shim.
We then worked on the nose gear and completed that too. This had a lot of parts but was relatively easy to put together. I wasted about two hours looking for two parts prior to beginning. One (the elastomer pad) was wrapped in plastic and paper and I picked it up about a dozen times during my search without realizing that was what it was. The other was a washer that you need to trim to fit that I had right in front of my face the whole time. Because I didn’t initially realize that I had to trim it, I didn’t figure out that it was what I was looking for.
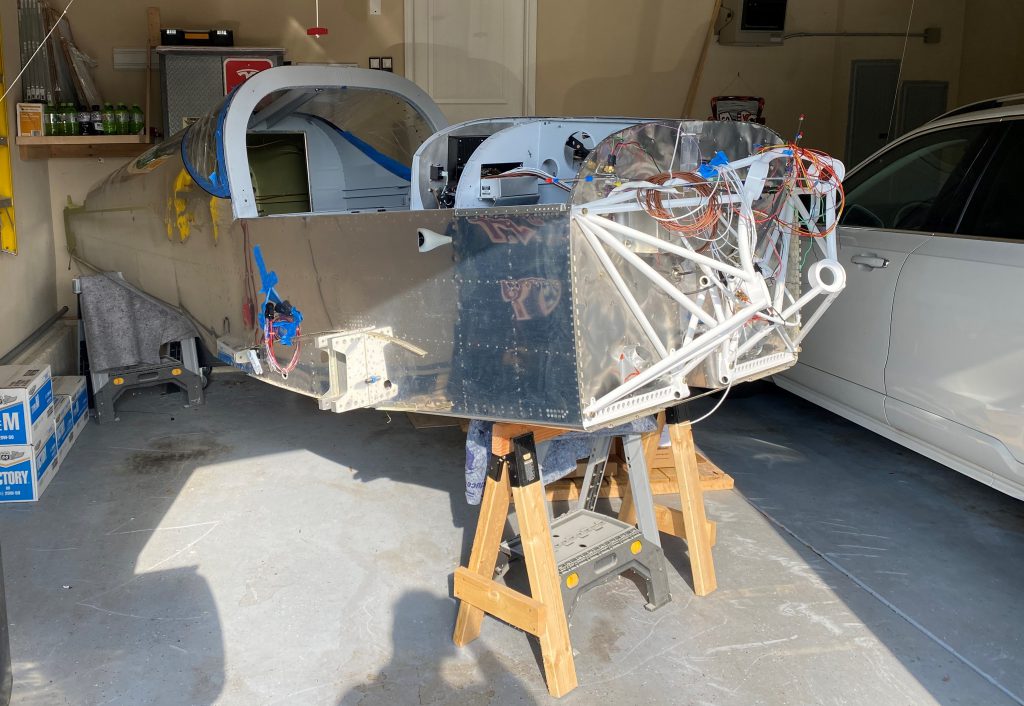
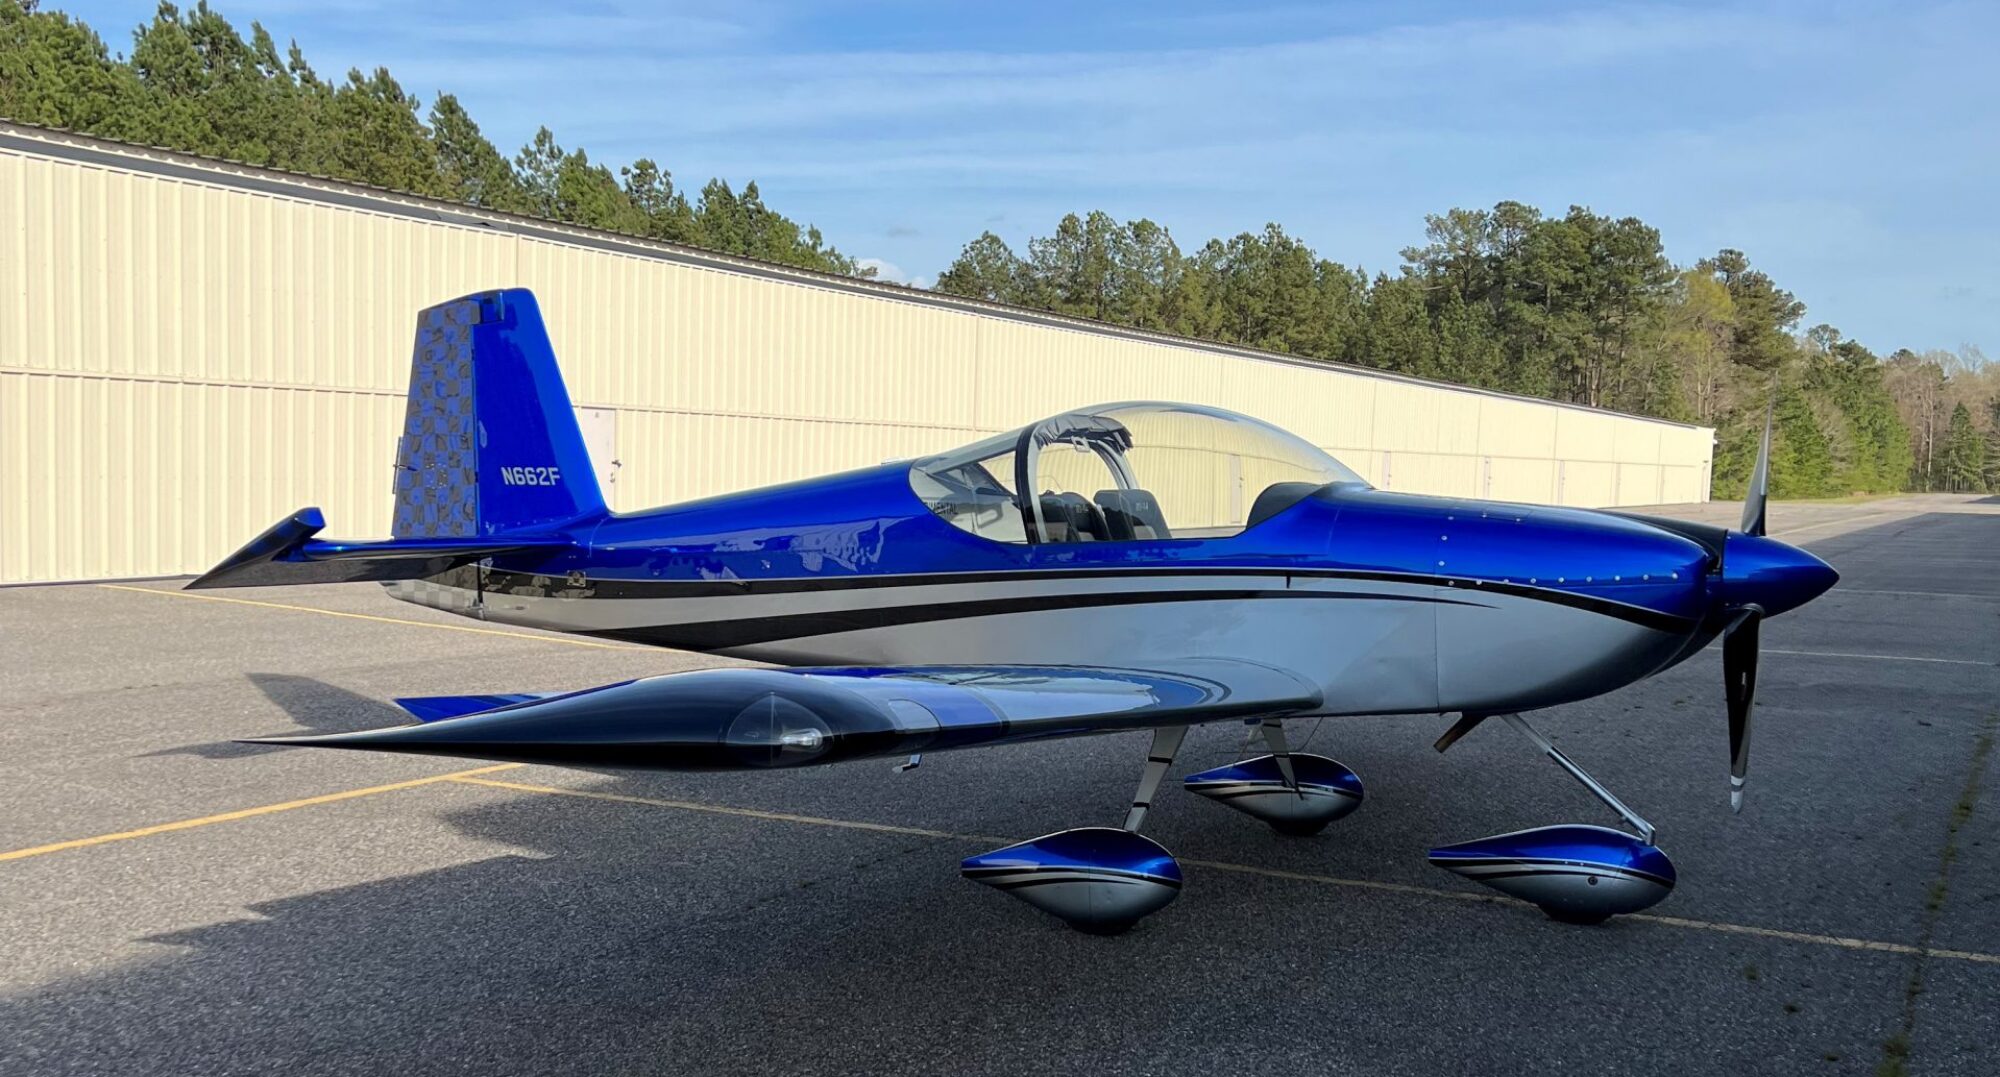
In the end, it is pretty cool to see the thing sitting on its own gear.
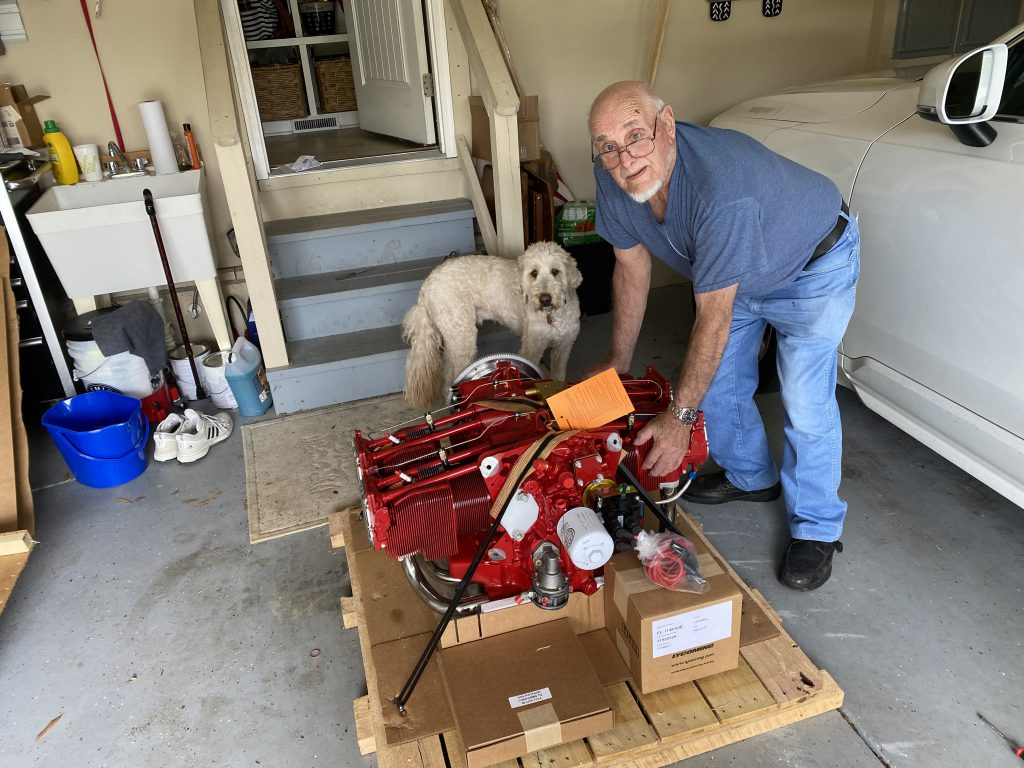
We will do miscellaneous work on the engine (install fittings, 2nd P-Mag, oil filter adapter etc.) and get ready to mount the engine next weekend.
The big move to the hanger is tentatively planned for July 25th.
10 hours (2 people x 5 hours).