The inspector comes to town on Sunday, November 1st. I still have a long list of stuff to do to get ready. Nearly every night for the next week and a half plus both Saturdays will be mostly at the airport getting ready.
The biggest issue I have been “fighting” is that the strobe lights didn’t work. After several hours of troubleshooting I was able to find the problem (a bad pin in one of the connectors). One $40 tool and a few minutes of work and I should be able to fix that problem.
Lots of little stuff left including minor wiring tasks, installing some inspection panels.
Oh and the paperwork with the FAA. Arghhh! they want so many forms, notarized and signed and witnessed. Hopefully, will get the registration in the mail any day now.
On Saturday, October 10th we did the empty weight and balance measurements. We put the airplane on 3 car scales and recorded the weight on each wheel. A bunch of simple math later and we had the Weight and Balance and the Center or Gravity all calculated. The good news is it was exactly where we wanted it to be and right in line with other planes that were already flying.
Here are the calculations:
The allowable CG is 82 to 88” aft of datum
The max gross weight is 2050 (1900 for aerobatics)
My CG of the empty airplane is 81.25 which means fuel burn does not change the CG but baggage and people move it aft.
Even with minimum fuel, no baggage and a very light pilot I can’t get it forward of the allowed CG
fuel
301
81.97
24672.97
baggage
100
129.48
12948
people
390
99.83
38933.7
357
40.2
14351.4
448
97.5
43680
454
97.5
44265
2050
87.24442
178851.1
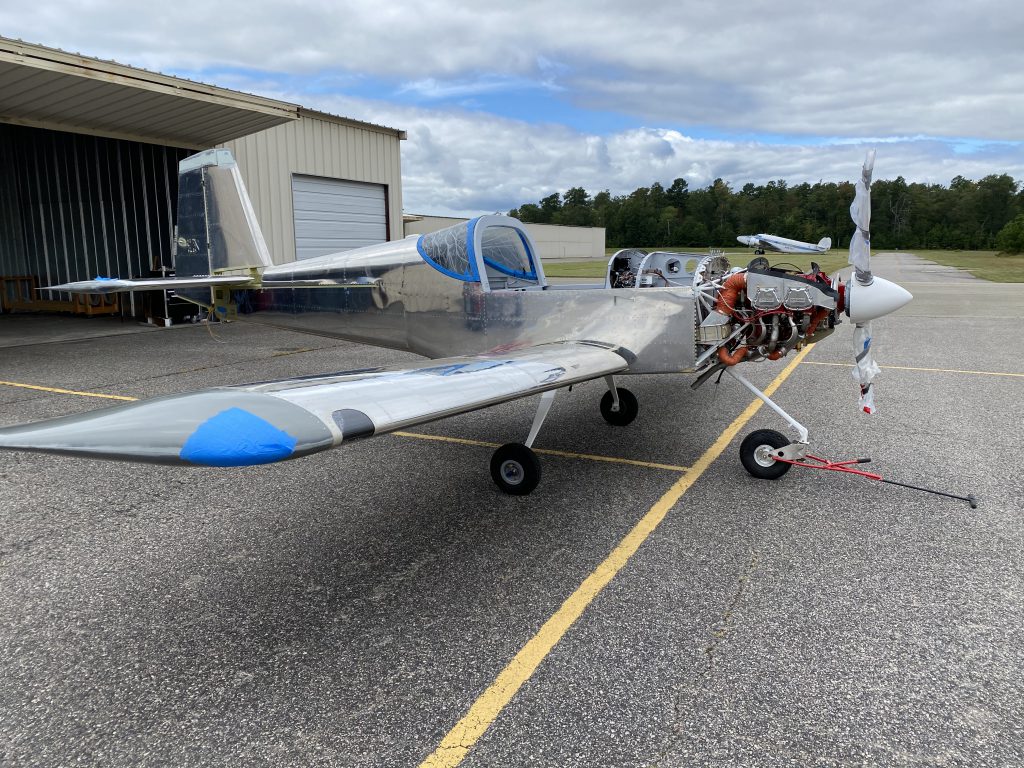
Note the front tire is flat (intentionally). The airplane needs to be in it’s flight attitude to get a proper measurement of CG. By letting air out of the nose wheel tire I was able to get it to the proper angle.
We finished all the pre-start engine tests including checking fuel pressure and volume, oil pressure and cleaning out the engine preservative in the fuel system.
My friend John was a trooper as we moved 25 gallons of aviation fuel back and forth between the two tanks several times. Without complaining he filled the 5 gallon bucket from one wing and moved it to the other and then back.
We wanted to run the engine that day, but it was a steady drizzle outside and we finally gave up and continued to work inside.
We did the first engine start on Sunday, October 11th. The engine started without issue and ran well for the 15 minute test run.
You can’t easily tell, but the engine is running at about 1000 rpms here thus the wind in my face and hair.My Dad and Brady watching while I am running the engine.
We have spent the last couple days working on the punch list. We have knocked out a couple big things of late.
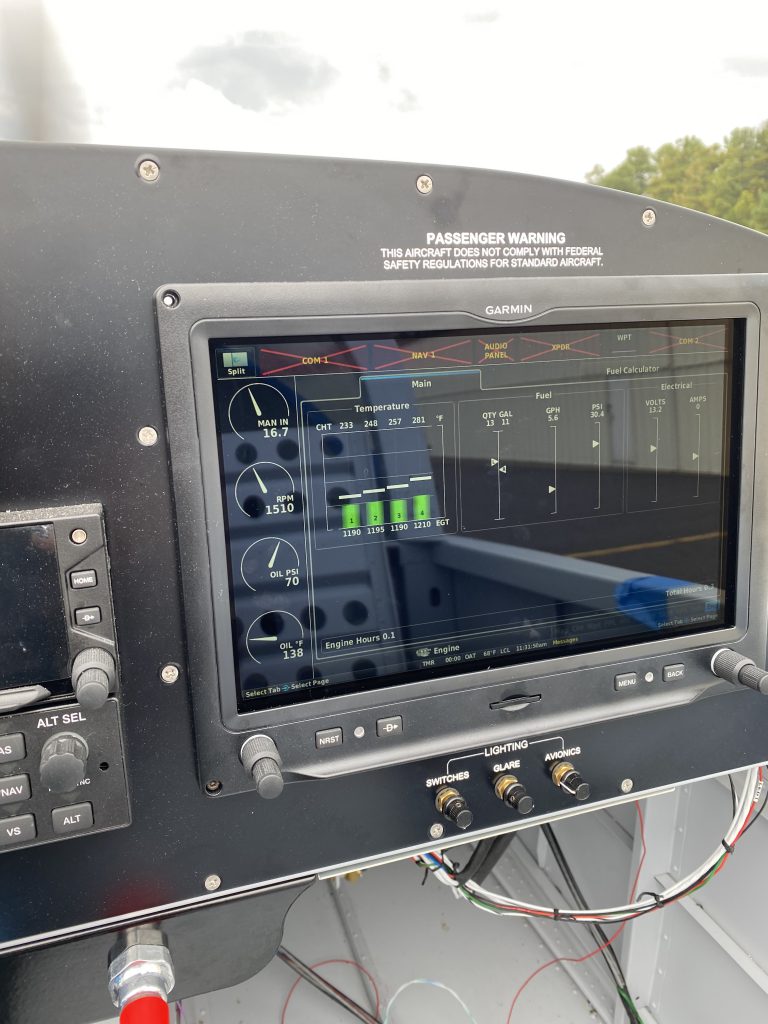
We got the Garmin G3X system updated to the latest software: 8.7.2.
We got the flaps and ailerons connected and properly rigged. This was a pain in the butt because it requires putting several washers in the connections in places that are difficult to get to. It’s kind of cool to move the stick and see the control surfaces move appropriately.
We got more of the antenna work done. We now have all of the antennas installed and connected. I will likely shorten the cable to the nav antenna in the wing. I still need to put some silicone on the transponder antenna.
We got the seatbelt shoulder straps installed. We still need to install the seatbelts.
The plan is to do an engine start next weekend. This requires the brakes to be completed and the fuel piping from the wings to the fuselage to be installed. I hope to do these two tasks on Tuesday or Wednesday assuming the parts I need arrive.
Other things on the horizon: more cowl work, connect the rudder cables,
My punch list hovers at about 75 items. It seems that as I knock a few off the list, I encounter a few more that I need to take care of. The good news is the big ones (ex. install wings) are mostly gone and now I really have many small tasks (ex. install data plate) to go.
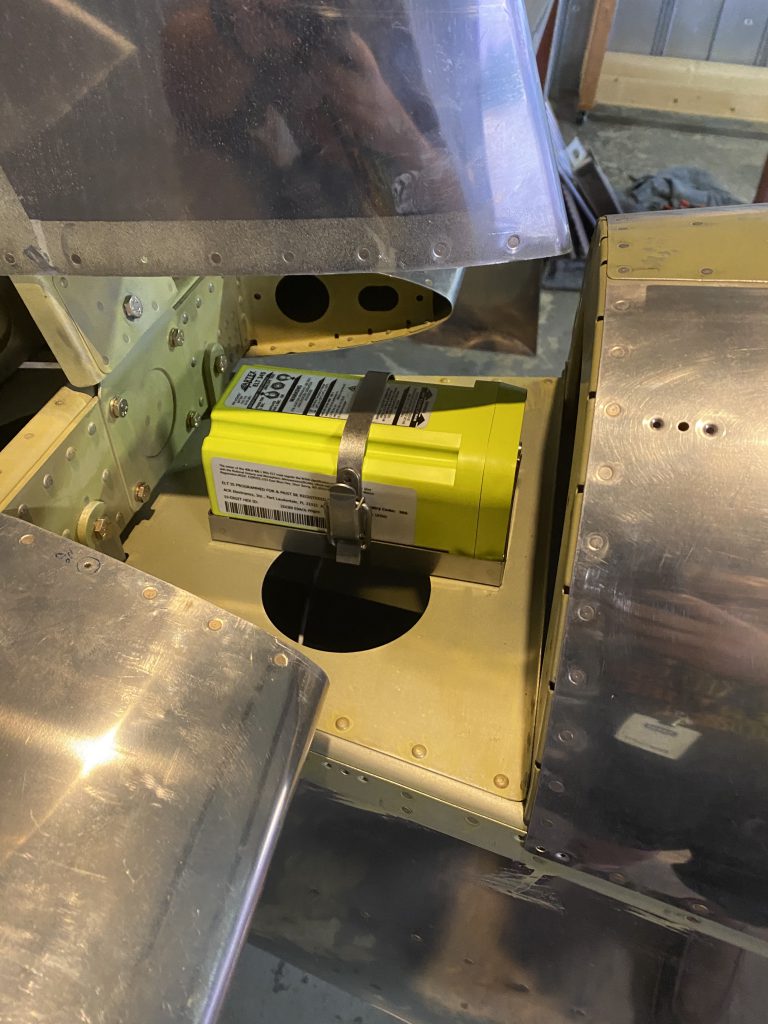
My father and I have torqued all the wing bolts, fixed a small issue with a baffle bracket, begun the install of the ELT and added RTV to the engine baffles.
We installed the axle shims to remove the toe-in on the main gear. They helped, but I decided to order two more shims ($28 each) to try to get it perfect.
Another issue I finally fixed was with one of the two bolts that hold the aft baffles to the top of the engine. When I originally installed the bracket and the baffles I couldn’t get one of the two AN3 bolts to go into the nut plate on the bracket. After lots of attempts (and a lot of cursing) I took the bracket off and discovered that I had the wrong size nut plate installed. Once I replaced the nut plate with the correct one, the bolt went in much easier.
I also started getting serious about all my paperwork for the FAA and the inspector. I didn’t realize that I needed a bill of sale for the airplane from Van’s (1 week delay) and that the registration has to be completed prior to the inspection. I think the paperwork set me back about two weeks.
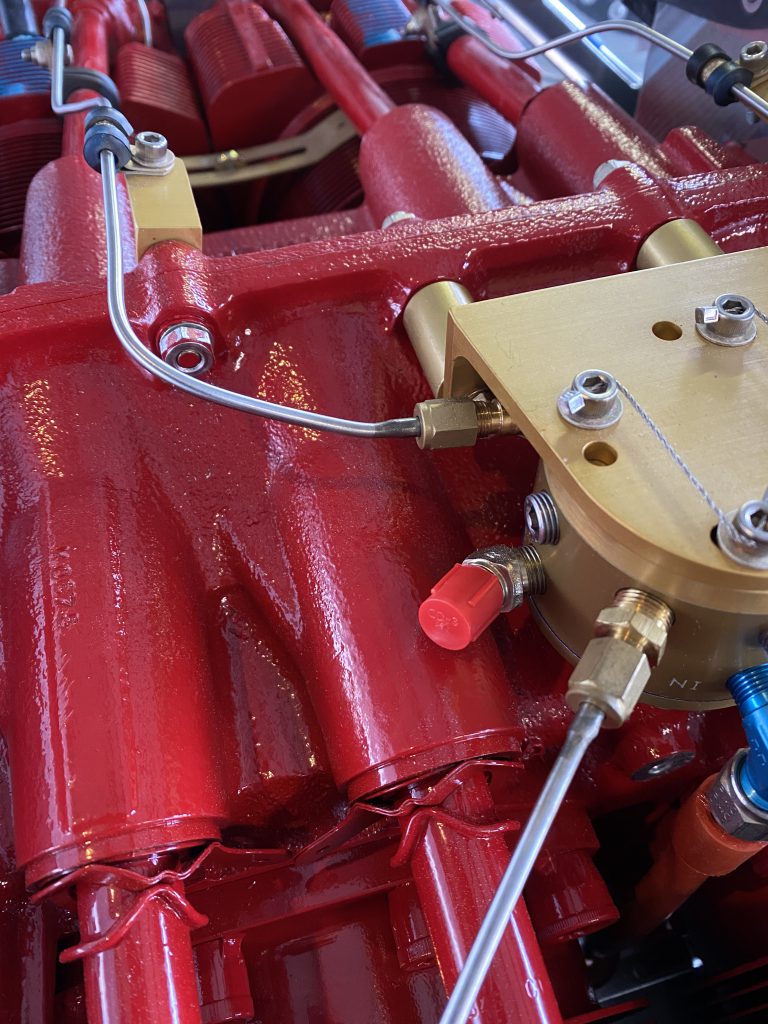
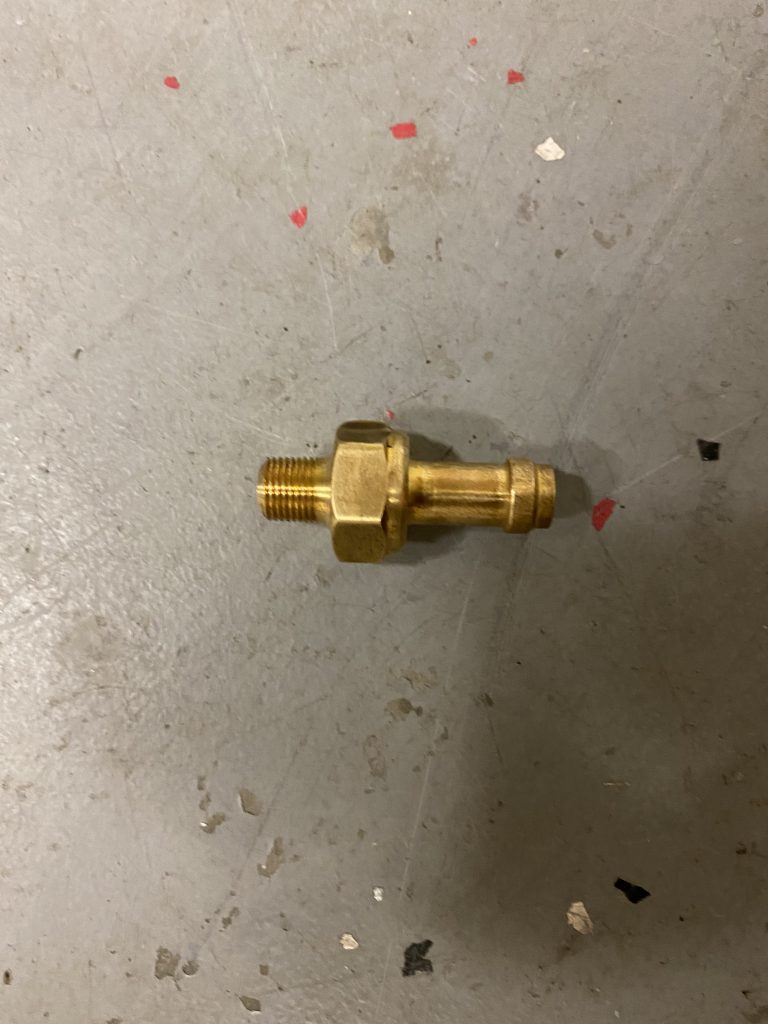
We found a small fitting on the fuel distribution spider (with the red cap) that needed to be replaced with a plug. The stainless steel plug was only $6 (for a package of 4) on Amazon. Easily the cheapest thing I have bought lately.
The ELT was a litte bit of a bear to install. We installed it just forward of the vertical stabilizer in the tail. I could get three of the four screws for the bracket installed. I had to ask Marianne to install the last one (her hands are significantly smaller than mine). I still have to do the wiring to the ELT and install the antenna.
This Artex 345 ELT is significantly more sophisticated then the old ones I am used to. It takes an input from the GPS for better accuracy and sends out a coded message. The batteries last six years (but cost $220 to replace).
With help from my friend, Jim V. and my Dad, we got the tail installed. There is still a little bit of work: wiring the tail light, wiring the yaw trim motor, and connecting the rudder cables. The tail actually turned out to be more effort than the wings.
There was a very slight interference between the rudder and the top of the vertical stabilizer. With a bit of sanding the interference is gone.
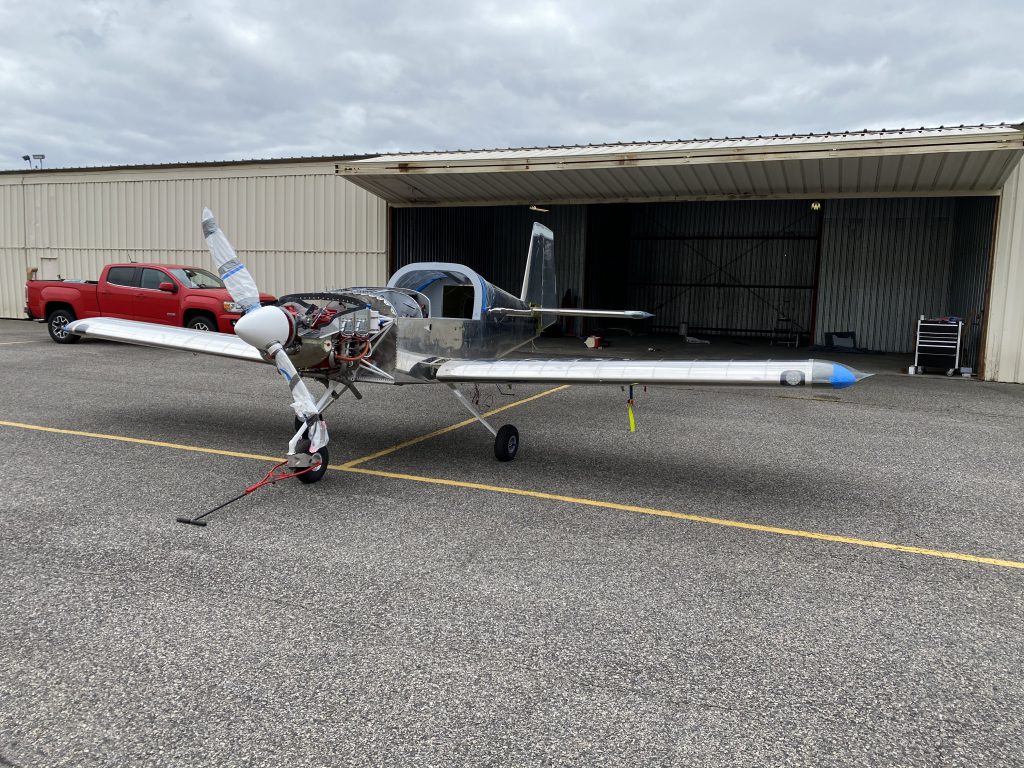
I had my friends Charlie and John (and my Dad) help me with the wings. Both wings took a total of about 1.5 hours from start to finish. The left wing was a little more difficult than the right wing (which only took about 10 minutes). I need to do the final torquing of the 9 bolts in each wing root. I also still need to do a bunch of wiring and plumbing.
John and I also installed the comm antennas on the belly of the airplane.
Upcoming tasks: realign main gear to remove some of the toe in. Install the TP-59 temperature sensor in the left wing. Connect several wires in each wing (mostly just connecting the CPC connectors).
I feel like we might be able to run the engine for the first time next weekend.
We did minor work on the airplane this morning. Unfortunately, I managed to install the rubber baffle seals incorrectly and spent about twice as much time fixing my mistake as I did doing it. I blame it on unclear plans. $40 order to Spruce for more rivets and stuff.
We also did some sanding on the top cowl air ramps. I need to use some expoxy with microballoons to clean them up and make the transitions as smooth as possible.
My Dad did a great job of cleaning the garage around the airplane in anticipation of moving it.
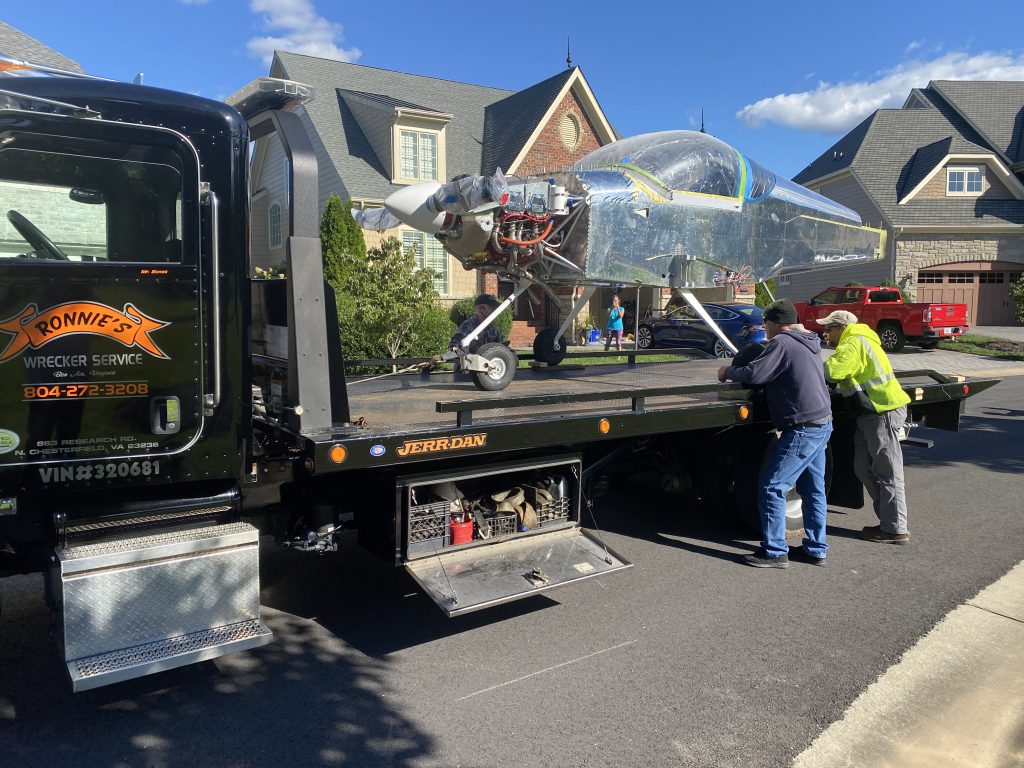
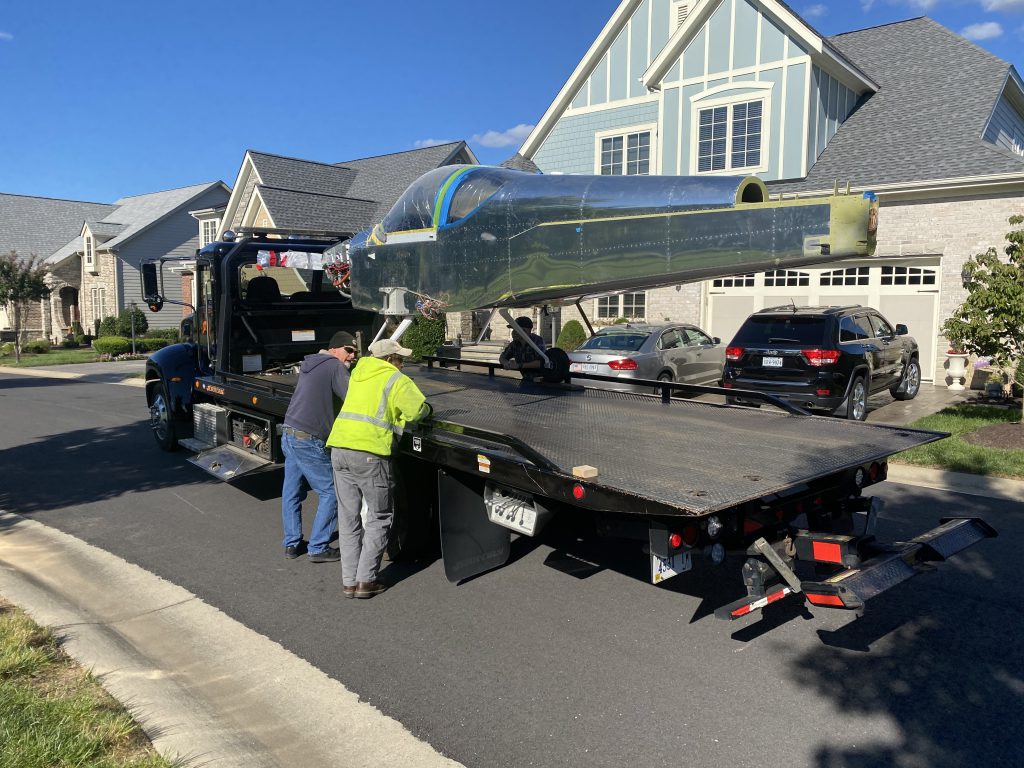
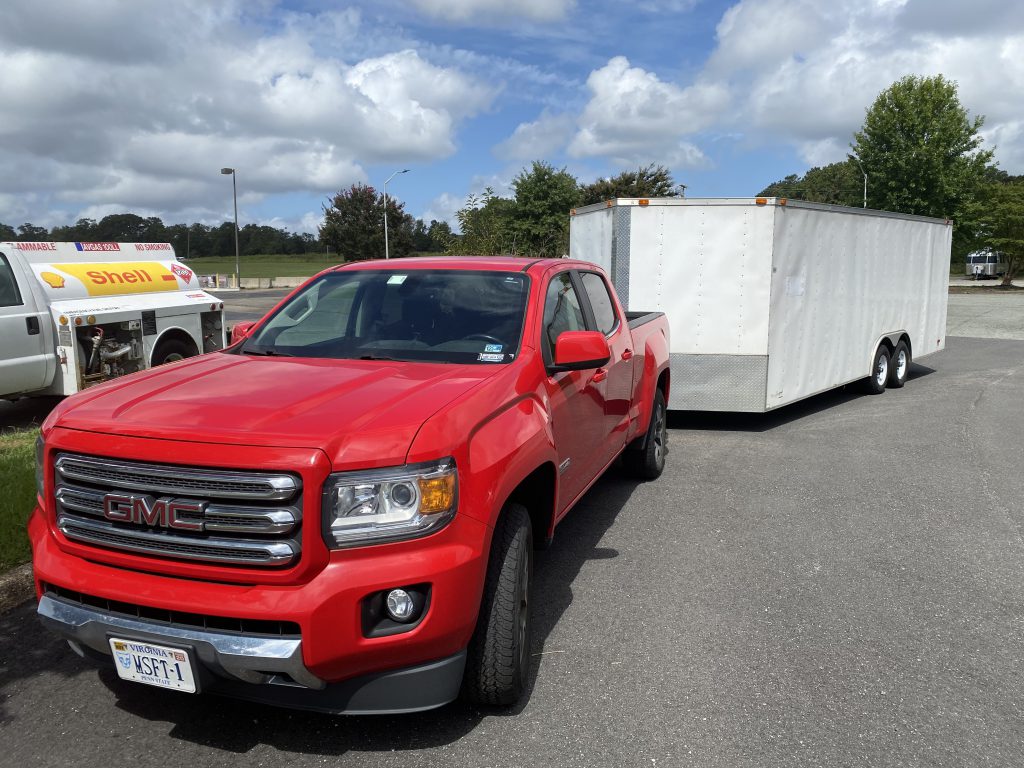
Jay Crawford (and family) came down for a visit and to help me with the airplane move. Very much appreciated.
The guys from Ronnie’s Wrecker Service were great. They handled the airplane with care and were awesome to work with. The actual trip to the airport was easy. I was following the truck and have to admit that had a mini-heart attack when he hit a bump at the intersection of Hull Street and Courthouse Road. The airplane bounced up and down a little but was fine.
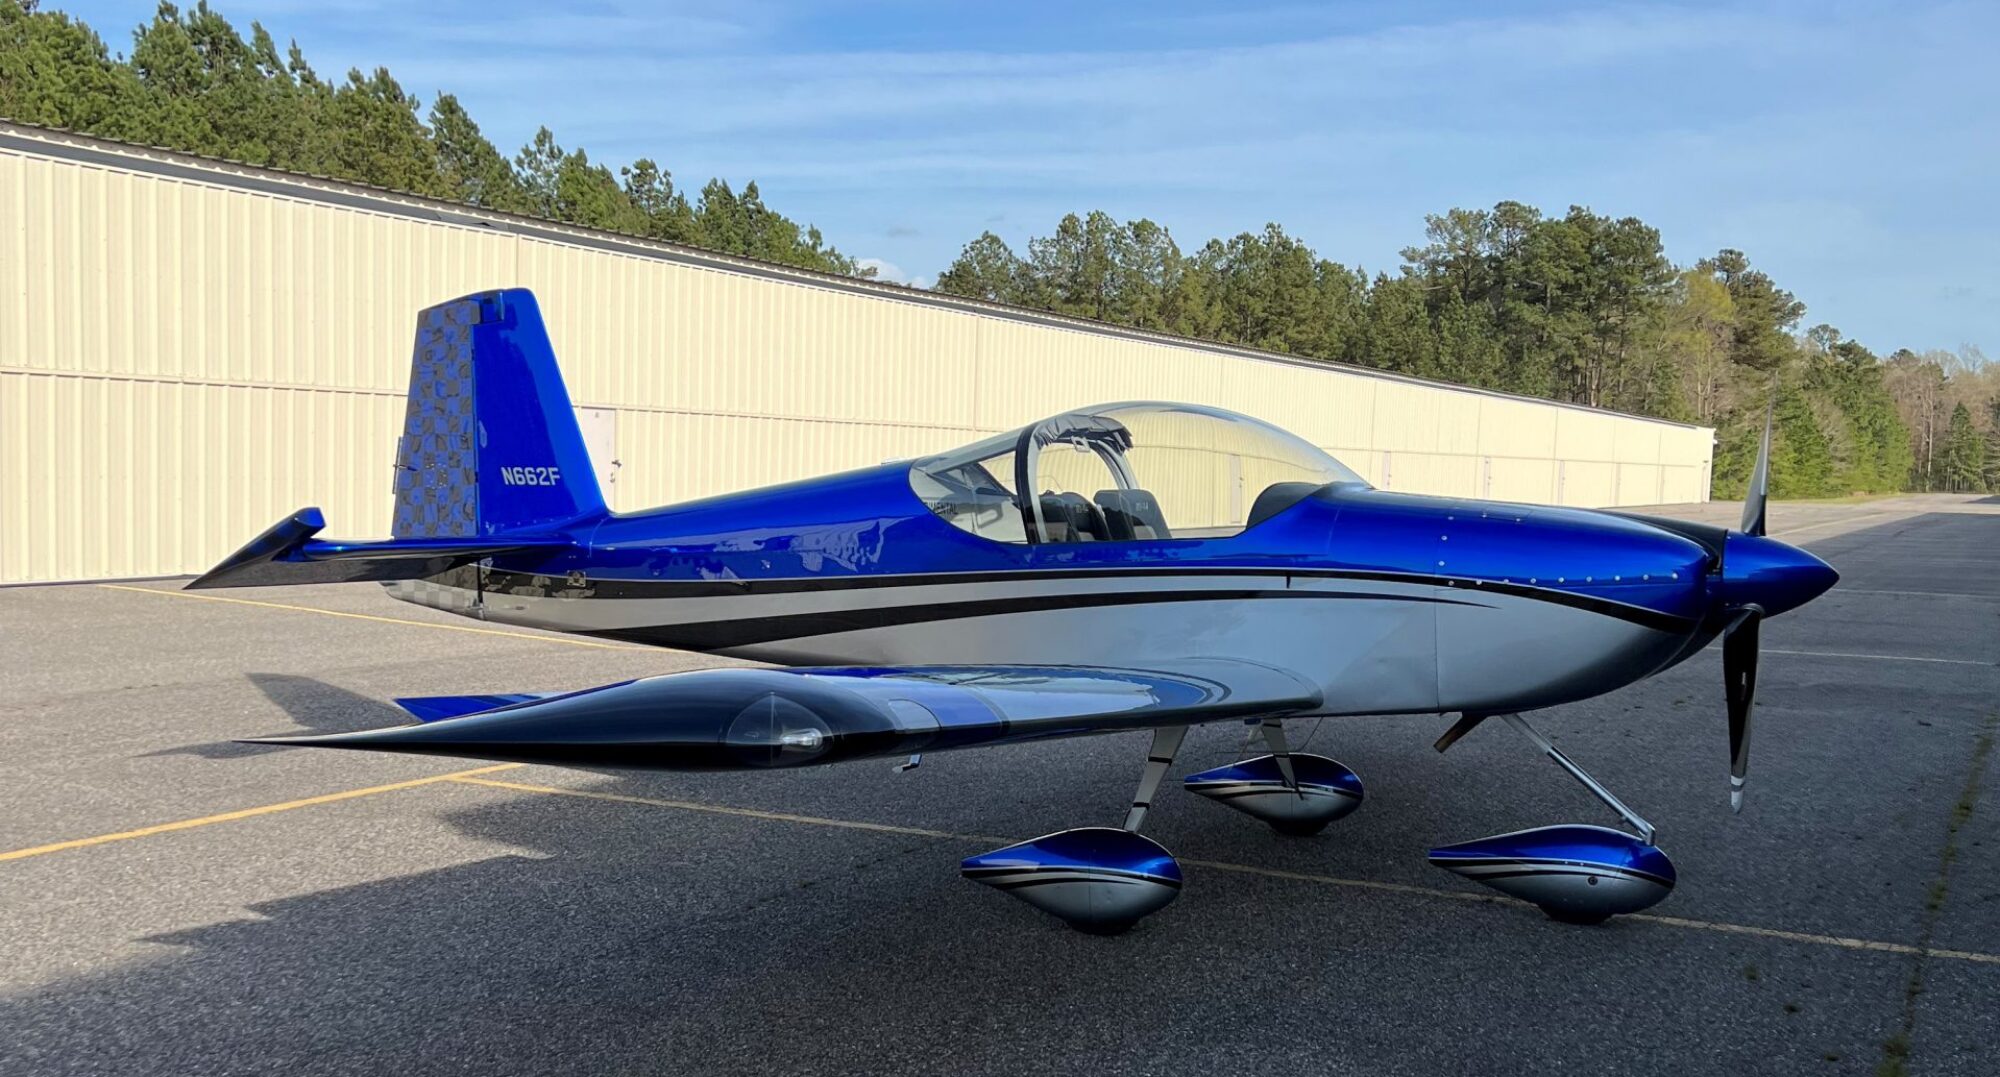
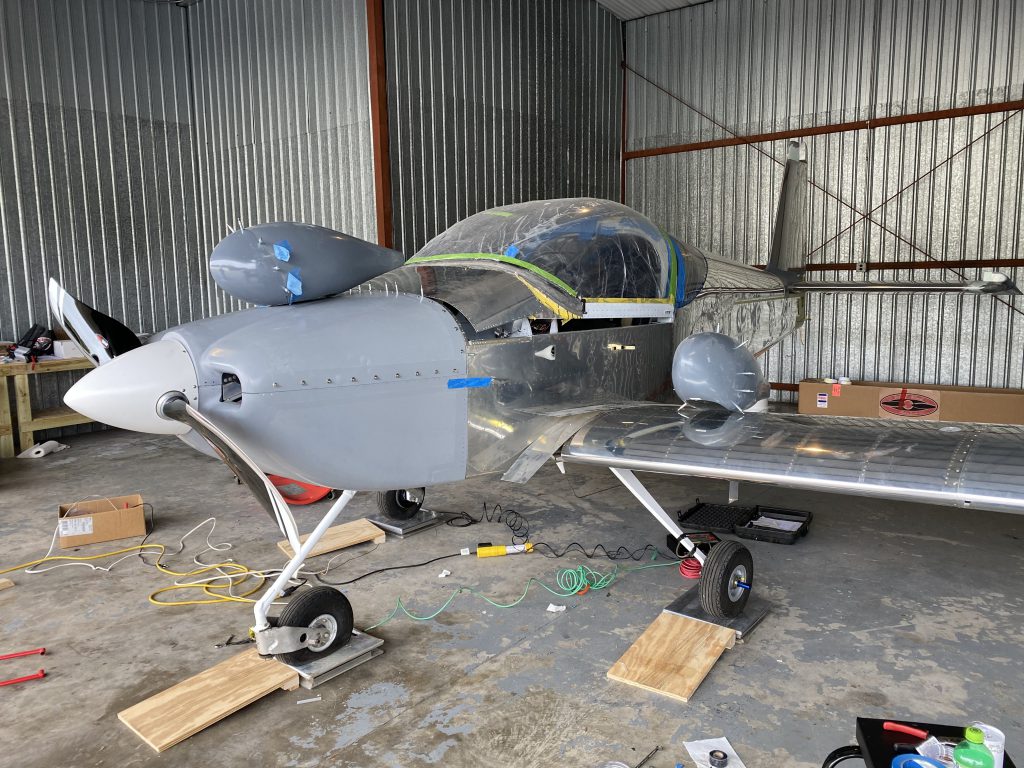
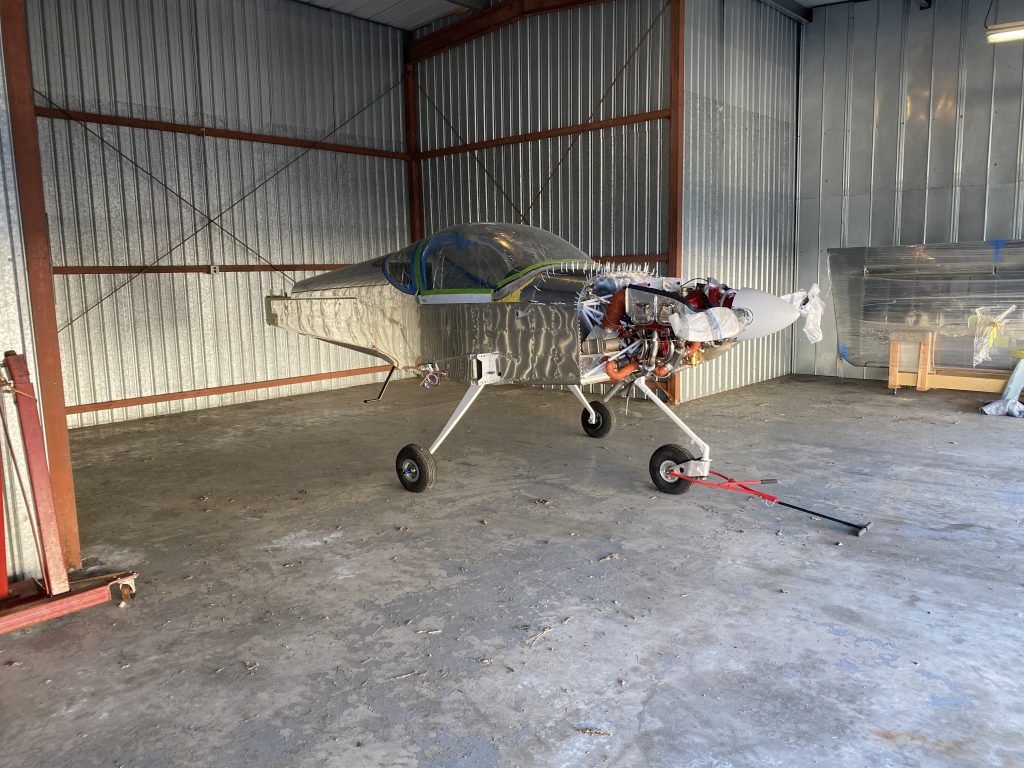
The airplane looks transparent, but that is just the reflection of the hangar walls. It’s all there.
The goal will be to get the wings on the airplane one night this week (Wednesday?). I also want to get the tail onto the airplane this week. Then next weekend, if possible I want to get most of my punch list done.
The move to the airport will be tomorrow (Sunday). I decided to hire a towing company with a roll back truck to do the transport. The cost was reasonable ($150) and I thought it would be safer and easier to do it that way.
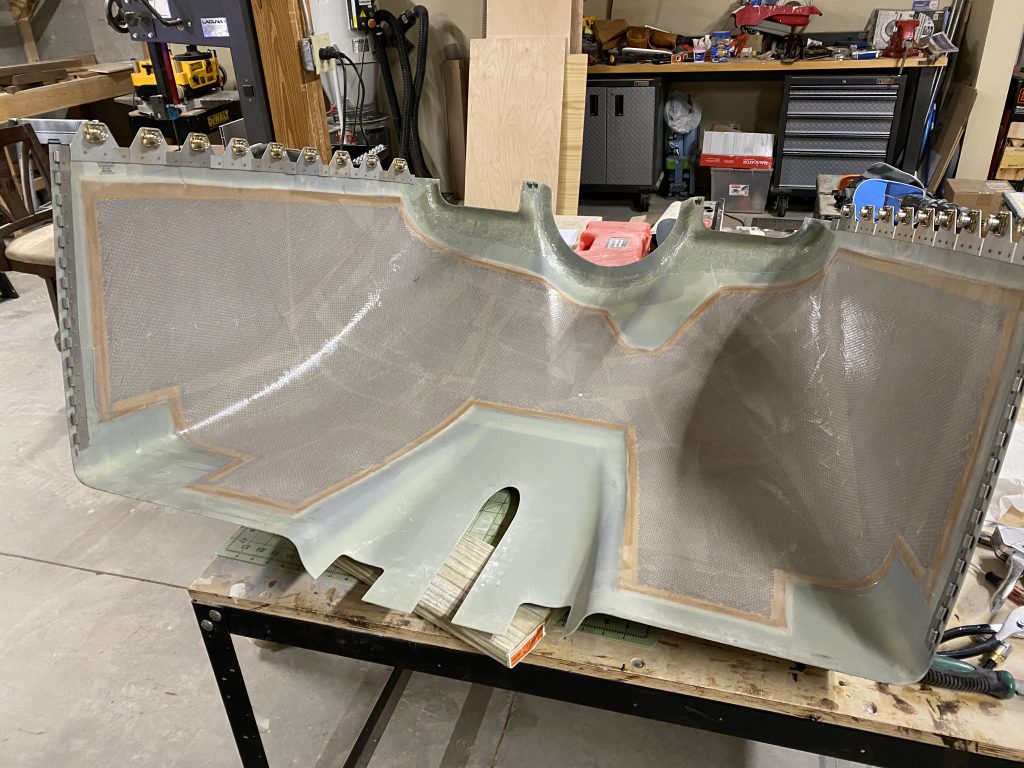
In the mean time we continue to work on small tasks like the air inlet ramps. We trimmed them to a specific shape and then glued them to the inside of the upper cowling using resin and flox. After they set up, we will use resin with micro-balloons to smooth all the edges to ensure the airflow into the engine compartment is as smooth as possible.
The air dams cleco’d in place prior to putting the epoxy/flox “glue” on them.The air dams on the top cowl with a bunch of old tools on top of it while the fiberglass sets up.
We also coated the inside of both cowlings with a generous amount of resin. This is supposed to make it easier to clean and easier to detect any leaks in the engine compartment.
The resin takes about a day to cure (well technically it is five days, but it will be dry to the touch in 24 hours).
We also worked on the fairing for the nose gear leg. Unfortunately, my first attempt at installing the hinge that closes the fairing around the gear leg was a bust. I will attempt to redo it soon.
Other miscellaneous tasks coming up: re-aligning the main gear to remove some of the toe in, installing the rubber seals for the engine baffles and finishing minor plumbing and wiring tasks in the engine compartment.
Hopefully, the wings will go on in the next week or so!
One other note: I started working on the registration paperwork this week. I had reserved the N Number several months ago. I mistakenly assumed the rest of the paper work would take a few hours. I was sadly mistaken. It looks like it could take 3 or 4 weeks to get through the process which could impact when I get it inspected.
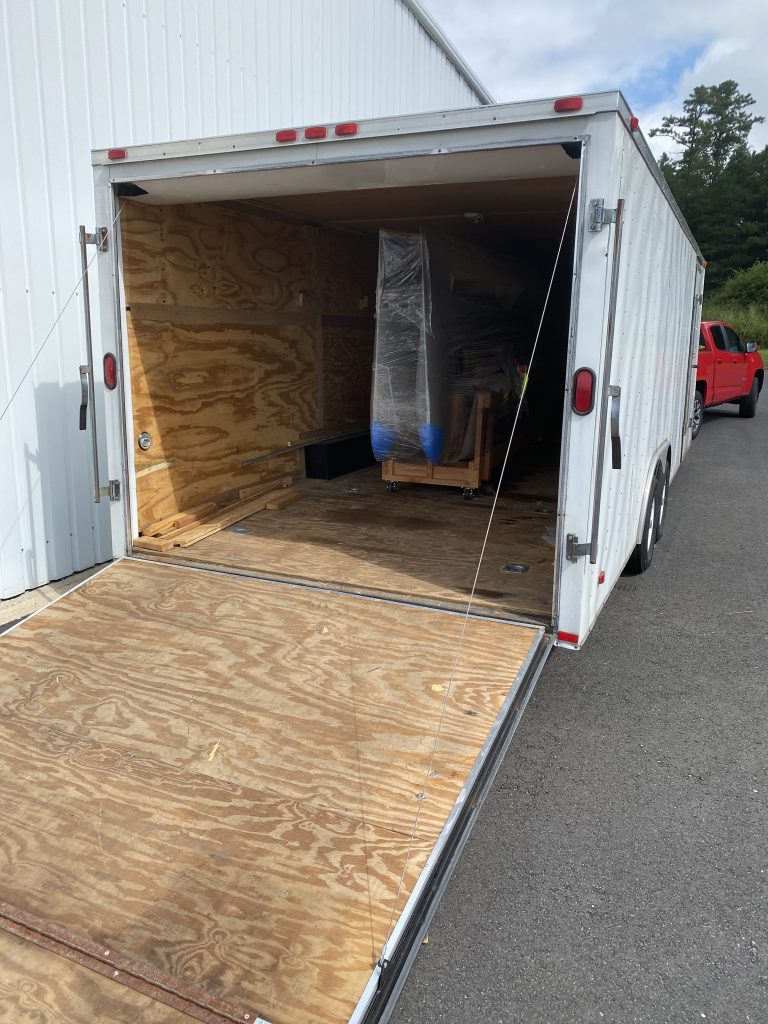
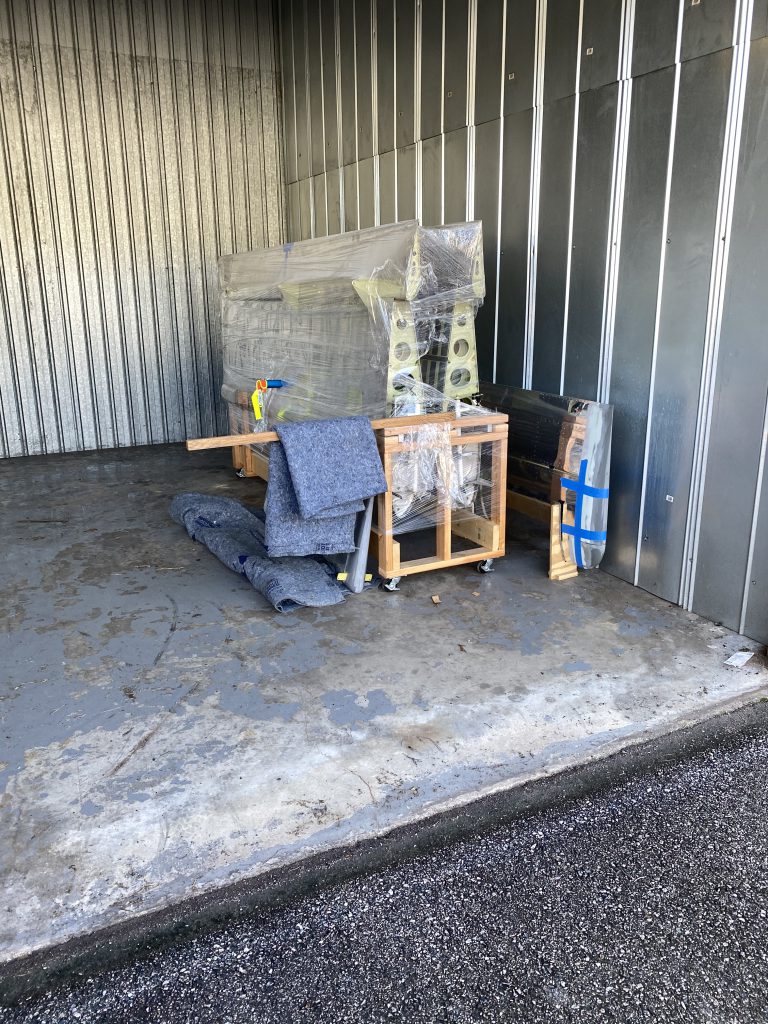
We spent most of the day moving airplane parts. I did manage to knock a couple items off the punch list (and seemingly add exactly the same number). The goal today was to move the wings from the hanger in Williamsburg up to my hanger in Chesterfield. I am cautiously hopeful that we can move the fuselage from the garage to the Chesterfield airport next weekend and install the wings soon there after.
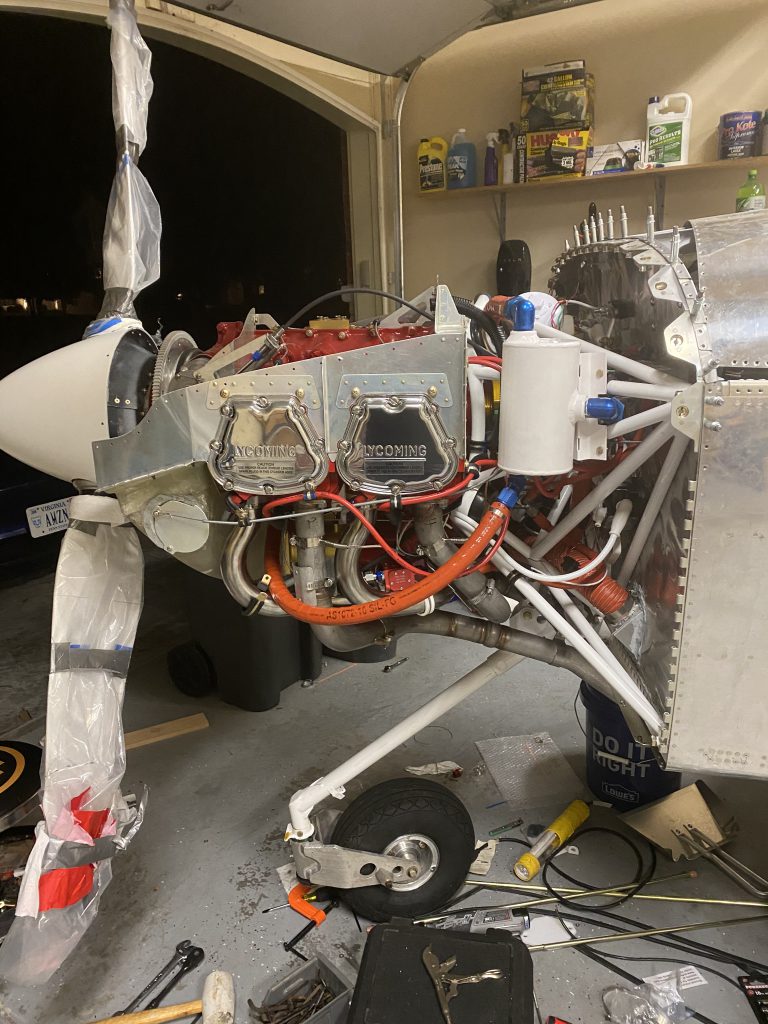
We worked on more of the firewall forward tasks today. We had intended to fit the lower canopy around the exhaust but got side-tracked by the Half Raven kit. It doesn’t look too hard but it took the better part of a day to complete it.
The hoses from AS Flight Lines were perfect (again). Steve also helped me to figure out how to install the entire setup despite being on a camping trip.
The white canister is the Half Raven. It has an internal ball that covers and uncovers two ports inside the unit. Oil that would leak out of the breather tube on top of the engine (especially if you do inverted manuevers) now is mostly recycled and returned to the engine. The big orange hose goes to the oil sump .
We installed the Sniffle Valve. It took way longer to figure out where it goes then it does to install it.
The sniffle valve looks like something you would buy at Lowes for about $8. Nope, $120.
We installed the oil dip stick. Short, easy job.
We gapped and installed all the sparkplugs (after I searched high and low for the 18mm to 14 mm adapters. I finally found them upstairs by my desk. Glad I did, replacing them would be $100.
Tomorrow is moving day. We will be going to get the wings which have been in storage in Williamsburg and bring them to my hanger. I will also bring the tail too. If I get really ambitious I will bring the whole project to the hanger (30% likelihood).
After a one week holiday at the lake, I am back to work on the airplane project.
The cowling is done with the exception of the fasteners across the bottom of the firewall. I will also have to make additional trim cuts on the bottom cowling to accommodate the Vetterman exhaust system.
I have spent more time on the exhaust then I thought I would. The Vetterman exhaust is very well designed and fits the engine very well. It’s all the little stuff that takes a significant amount of time. Fabricating the hangers, doing the heat muffs and scat tubing, installing and wiring the EGT probes, installing the heat shields to protect hoses and the FT-60 etc. With the exception of connecting the wires, that is all done now.
My Dad and I knocked out the oil door on the top cowling today.
As of now the “to do list” stands at about 50 items.