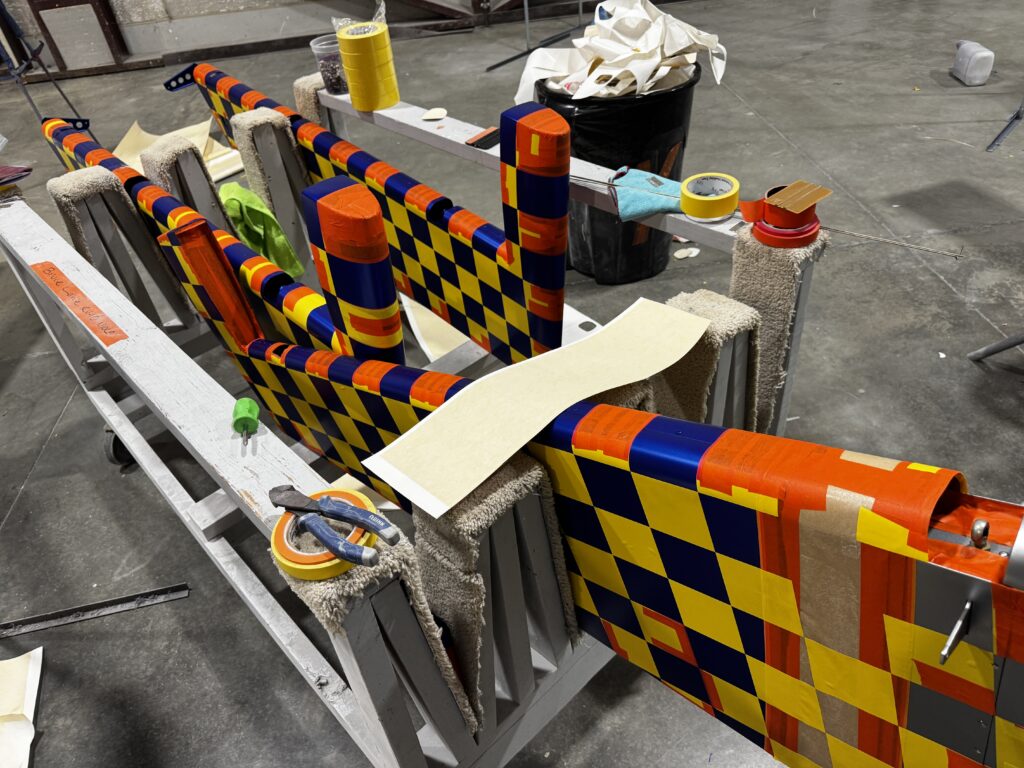
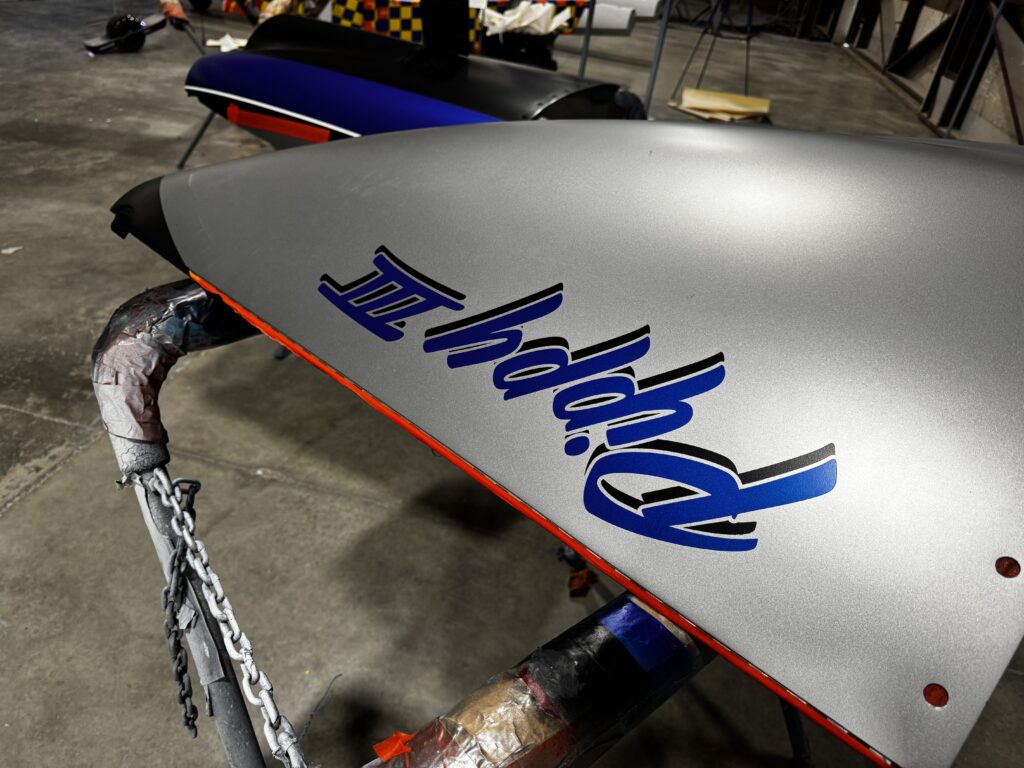
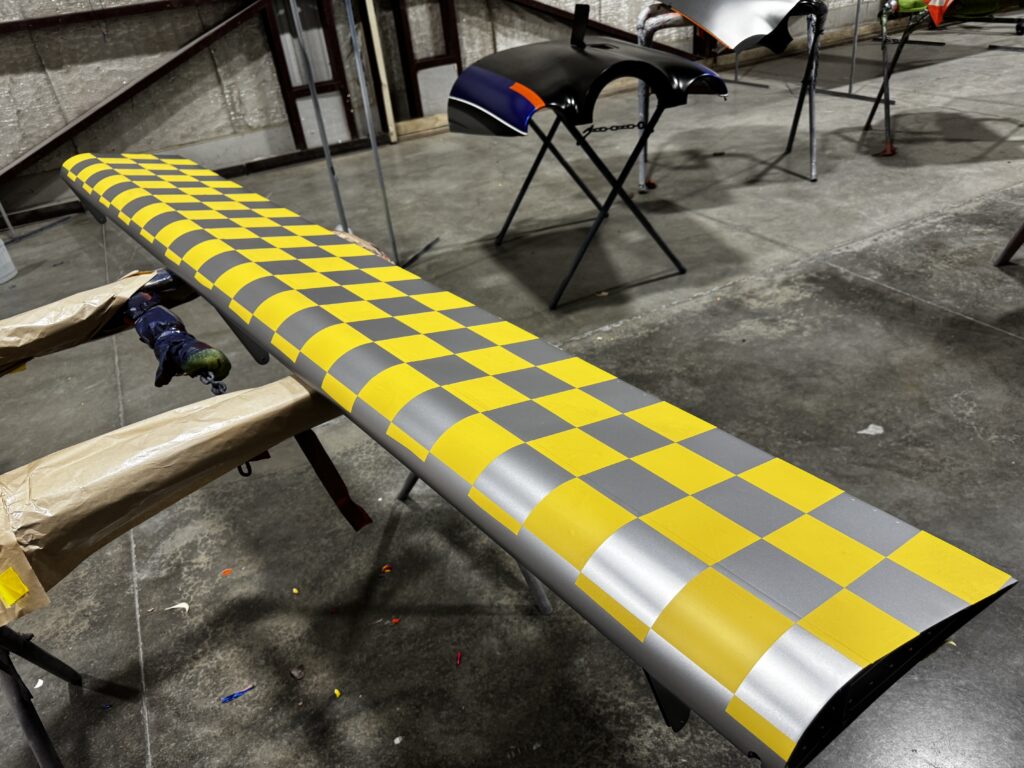
These were taken by Autumn Baugh from Evoke on the day I picked up the airplane.
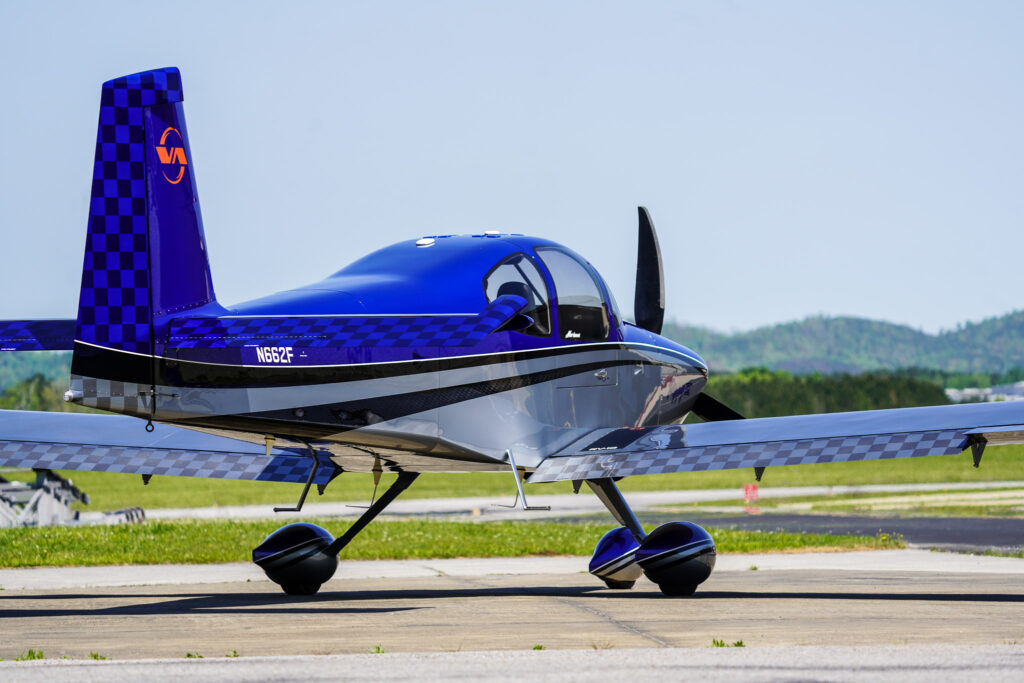
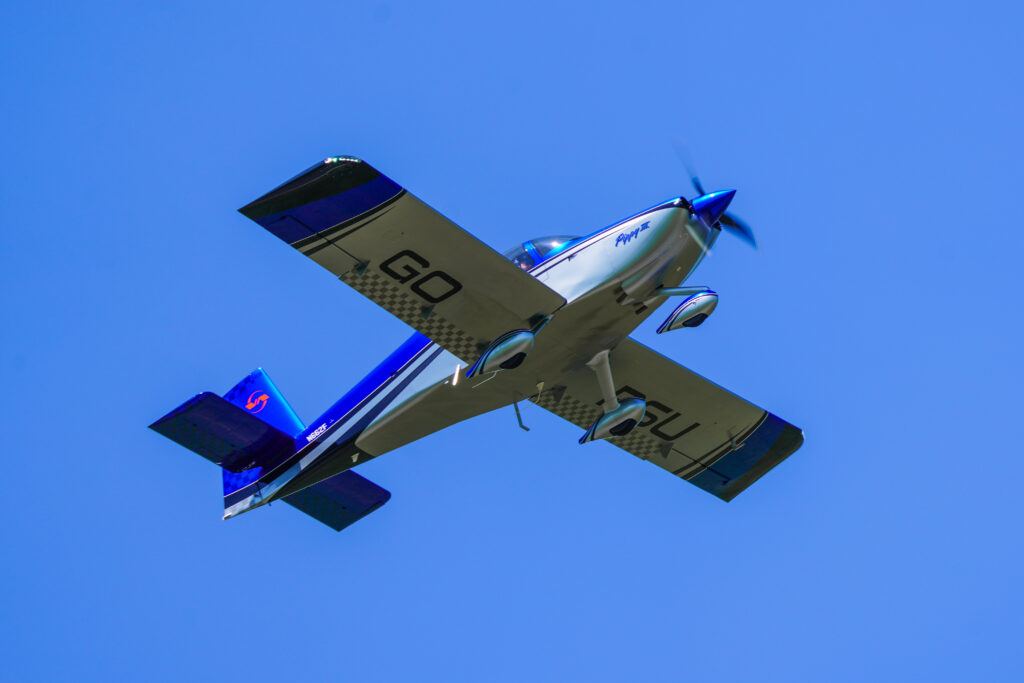
And here’s one of us departing KGAD:
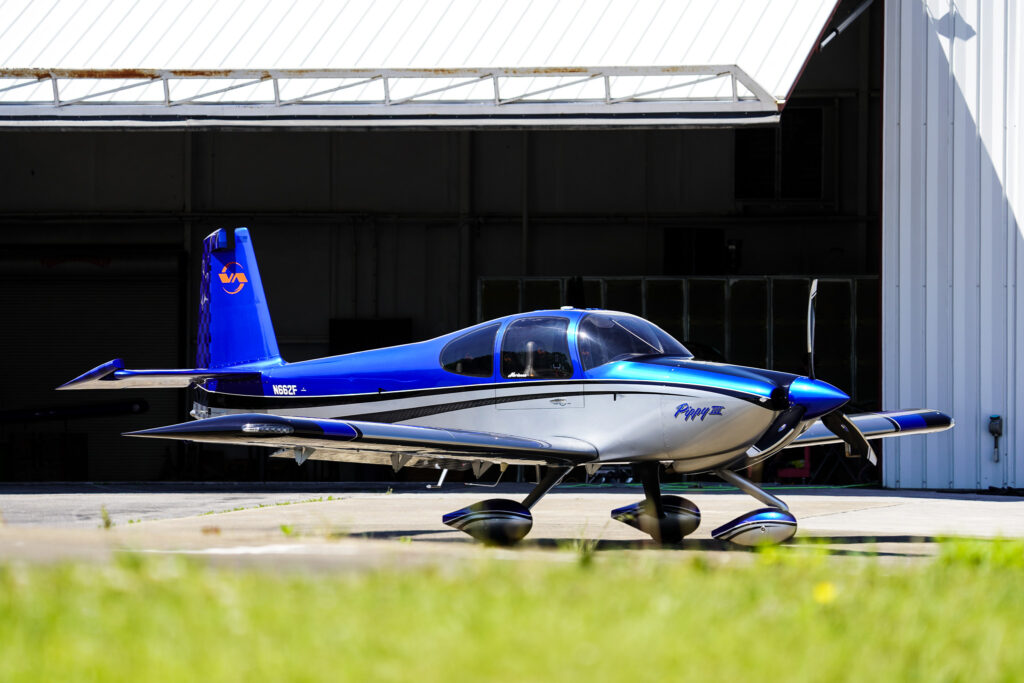
These were taken by Autumn Baugh from Evoke on the day I picked up the airplane.
And here’s one of us departing KGAD:
Danny Anderson and I flew the plane to Fernandina Beach (KFHB) on Monday morning. The plan was to make the short flight over to Lakeland early on Tuesday morning and “beat the traffic” to the air show. I thought if we got to the Lakeland area by 0800, the number of airplanes trying to get into KLAL would be at a minimum. Boy was I wrong.
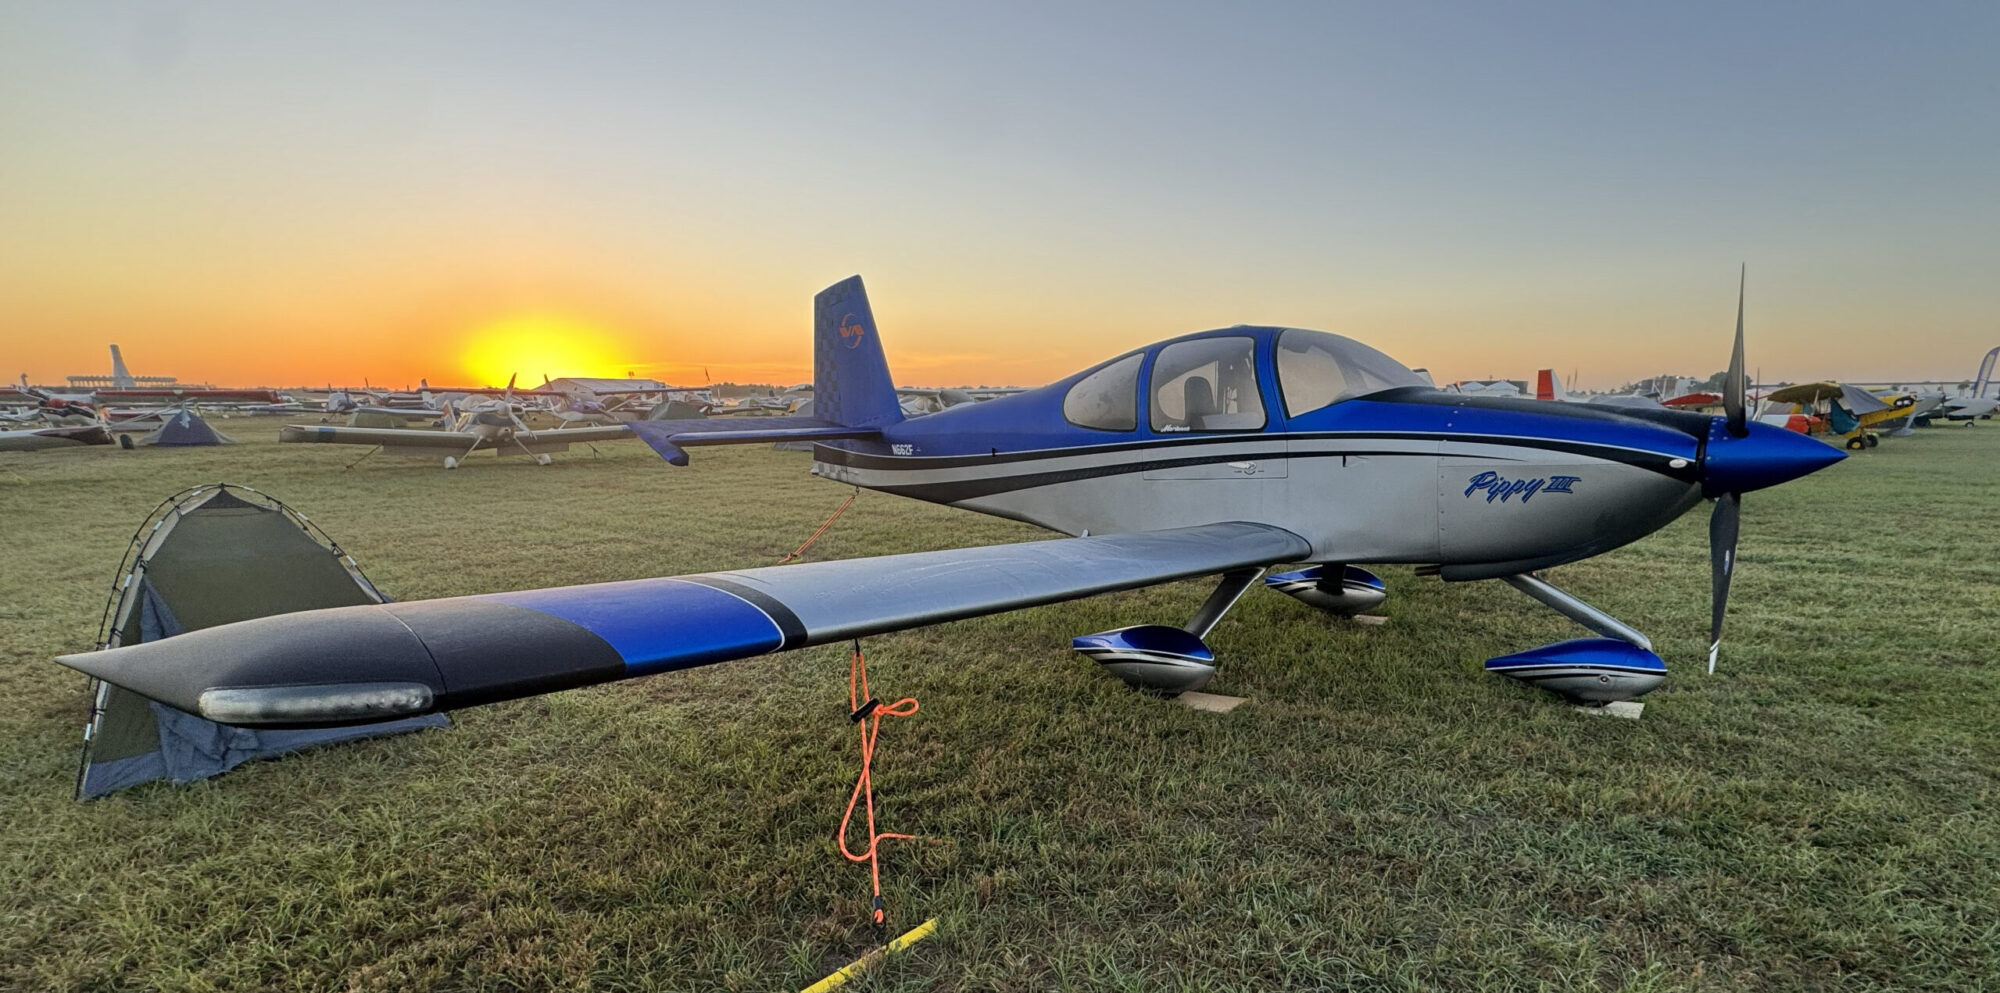
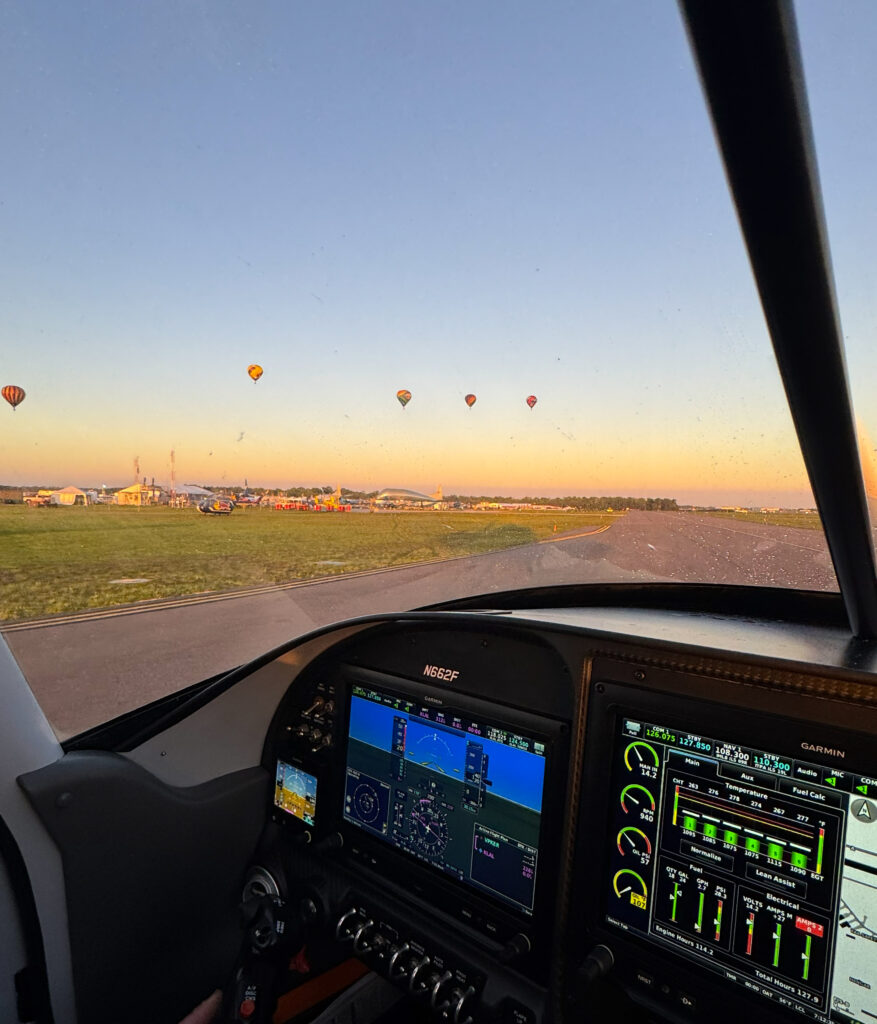
As we began the arrival procedure, we noted 25 other aircraft all trying to converge on the same spot (F08) at the same time. That’s us in the middle of the conga line.
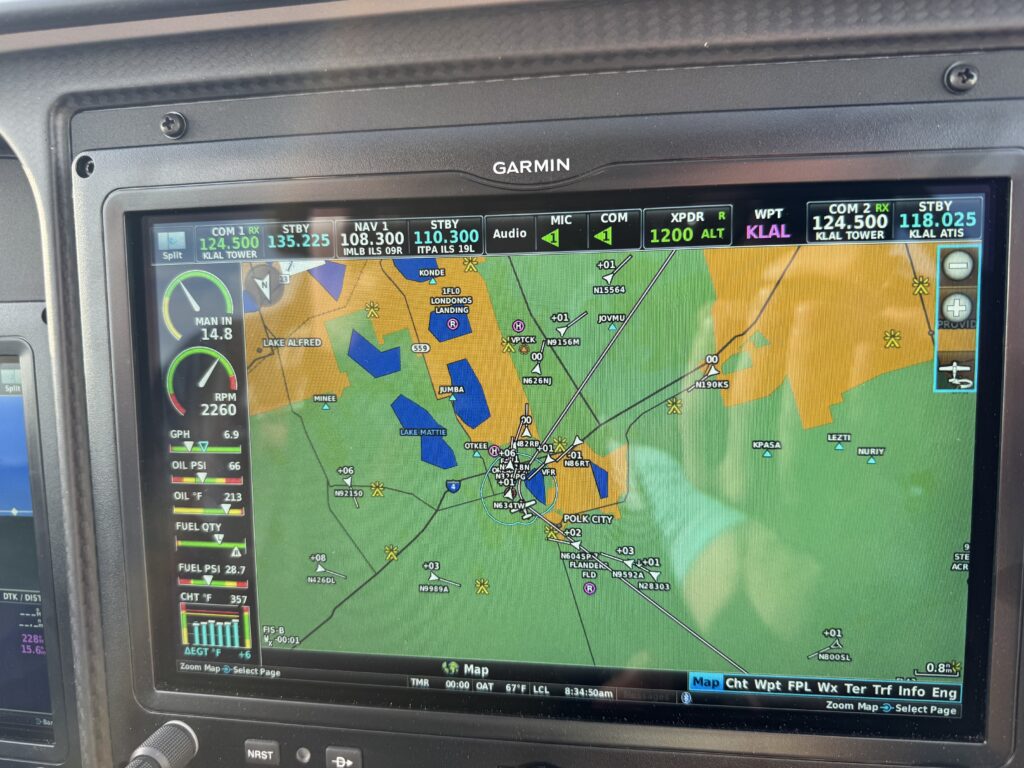

The good news is that we only had to stay in the hold for one trip and then we proceeded inbound. We were behind an old Cessna 170 so I got to practice slow flight for about five miles.
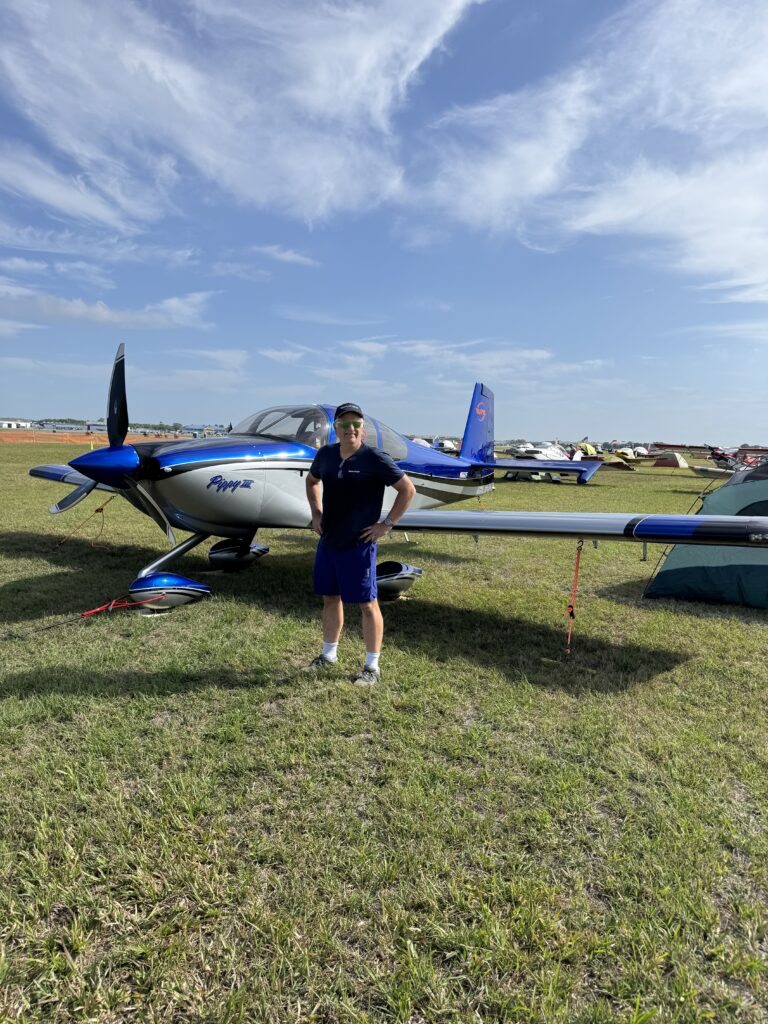
We got the airplane tied down, unloaded the gear and got our tents set up. Then it was off to the show. There is too much to say about all the airplanes we looked at and all the stuff vendors had for sale. A few highlights of the next two days:
Note: The Thunderbirds likely would have been on this list, but we only saw them fly their calibration flights. They fly their show on Friday and Saturday.
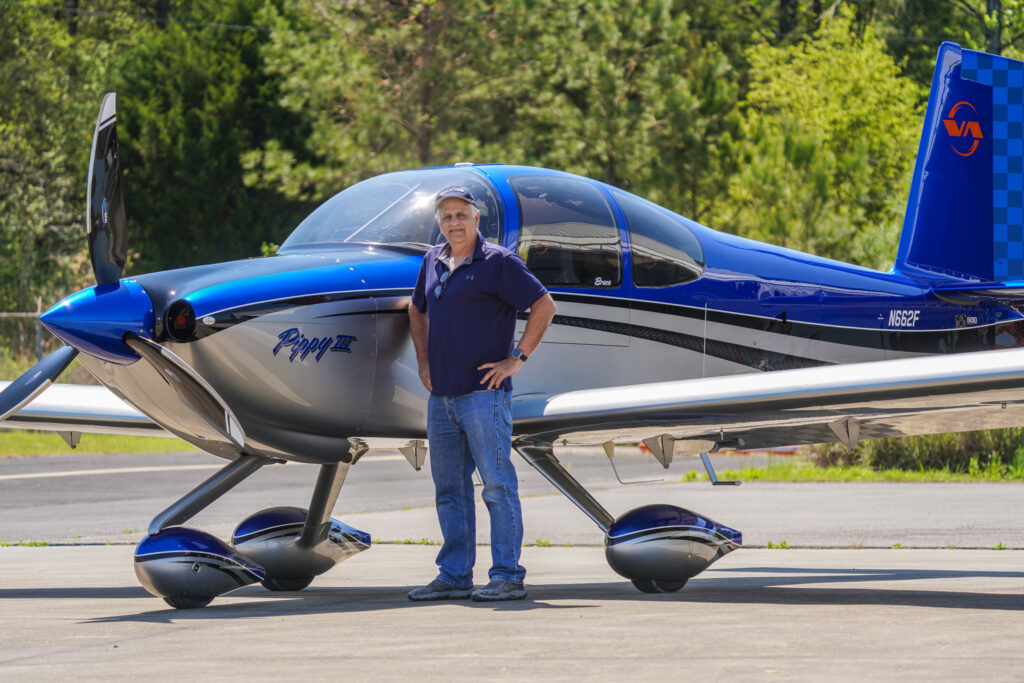
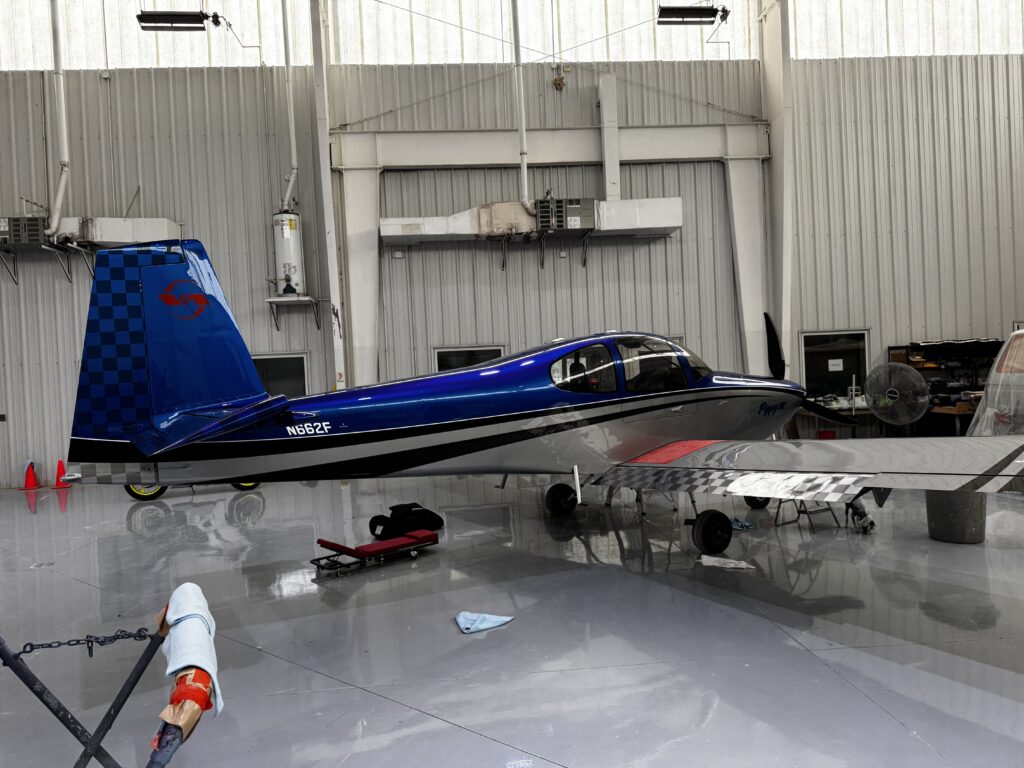
I entered my airplane to be judged for an award at SnF. I won’t know how it did until Saturday. I personally think it looked great, but the judging is a bit of a crap shoot and they give you very little info on exactly what they are looking for. Stay tuned.
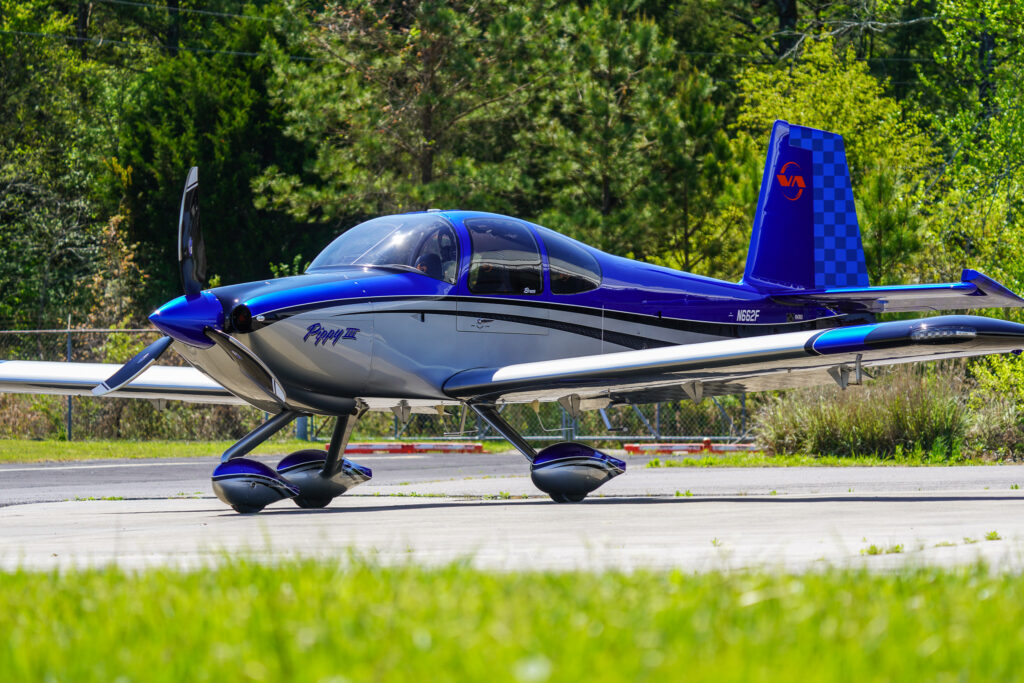
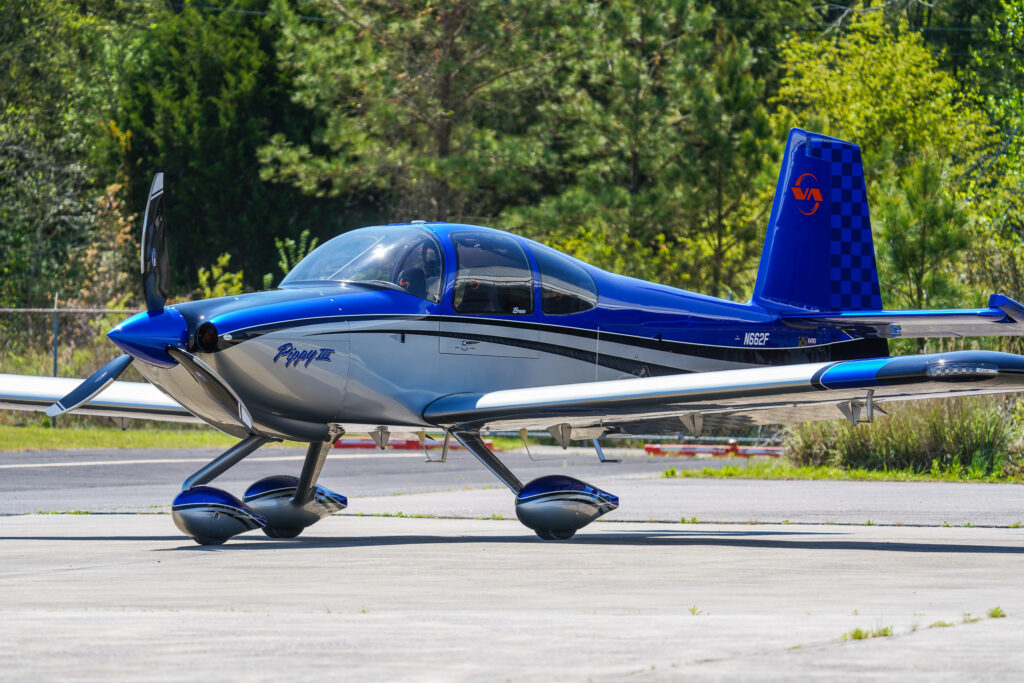
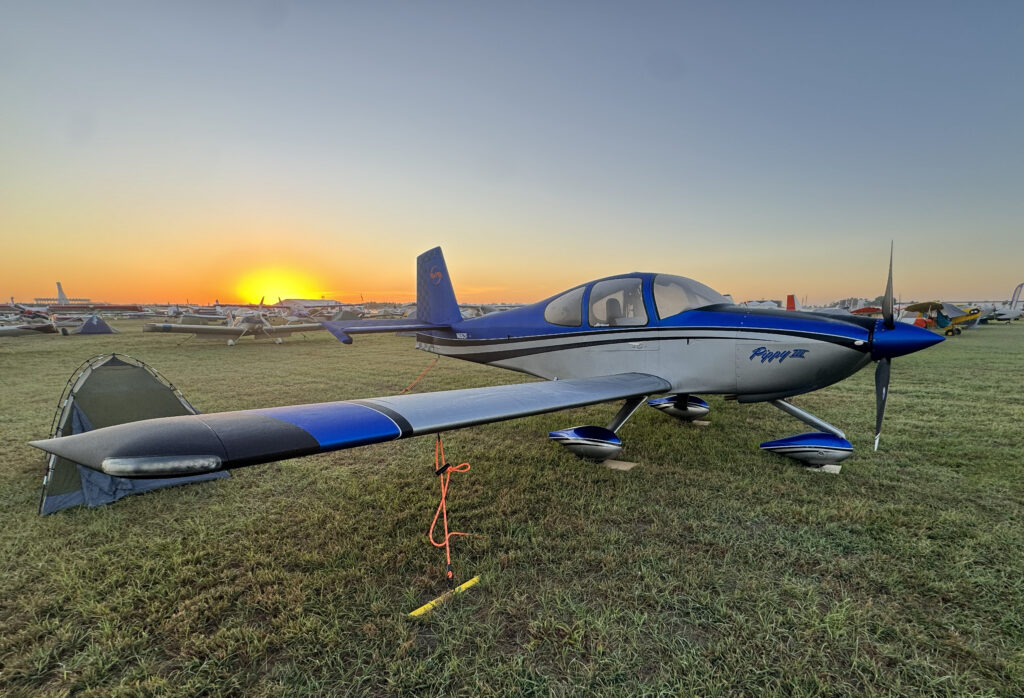
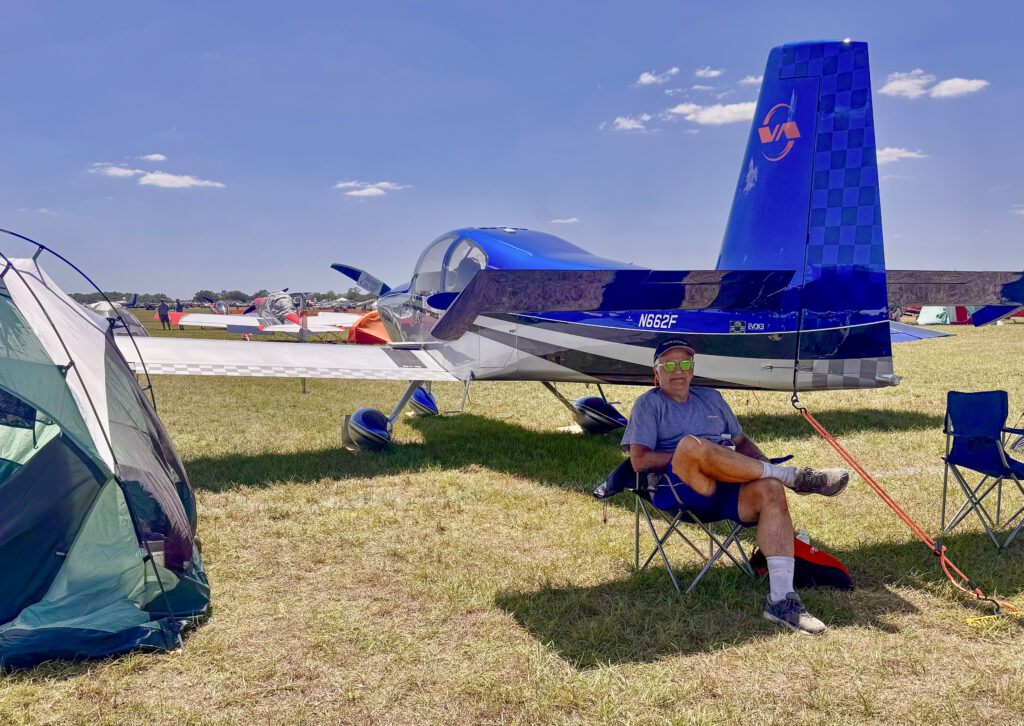
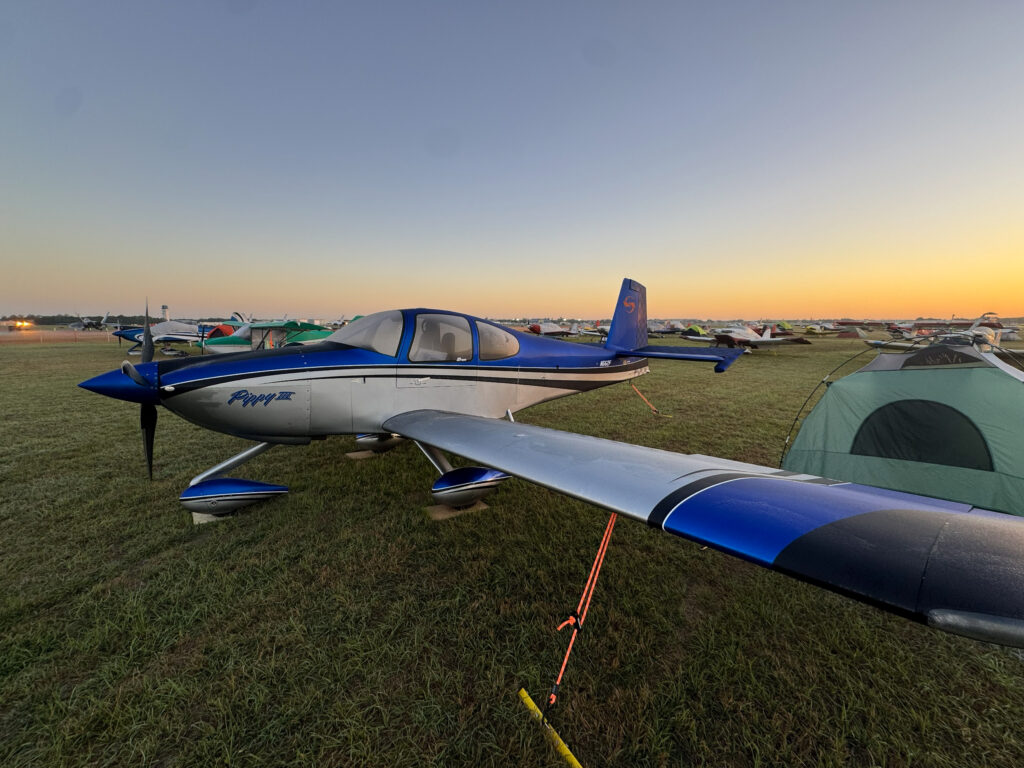
Some more pictures:
We departed bright and early on Thursday morning for the trip home. The weather was gorgeous (as it was for the entire show). We had a nice tail wind so the whole trip was less than four hours.
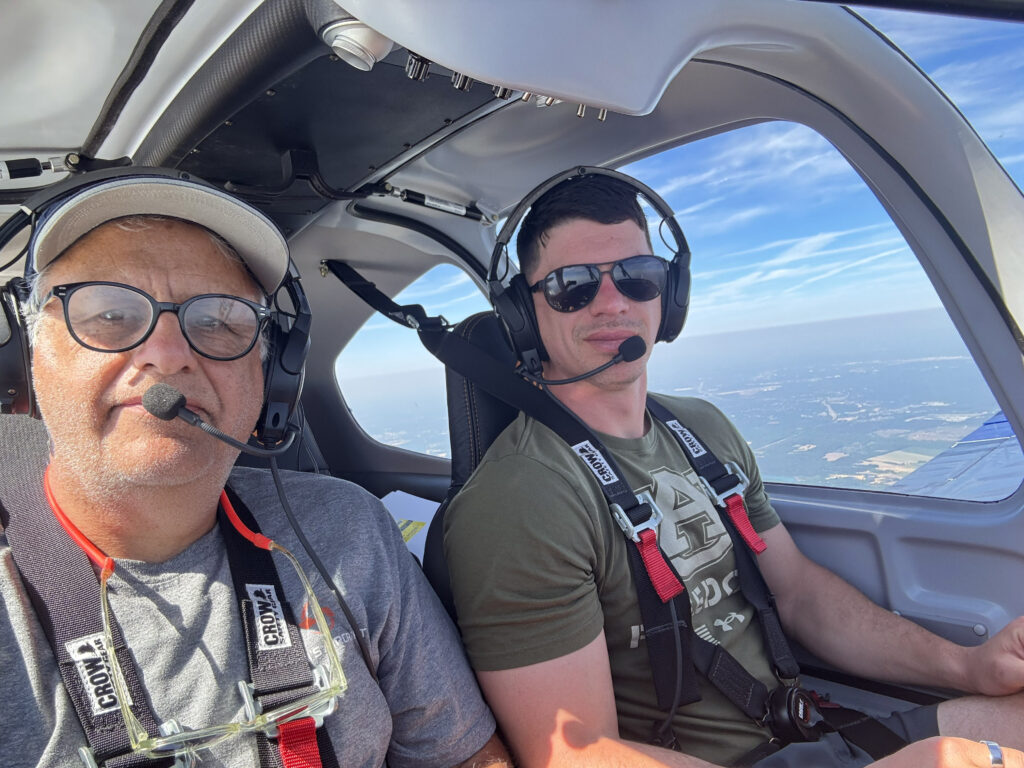
Danny Anderson and I flew down to Atlanta on a commercial flight last night. This morning my friend Ed drove us from ATL to Gadsden. We checked over the plane and took a bunch of pictures. Danny and I loaded up and started the engine (it started on about one revolution of the propeller even after six months of sitting idle). We departed for KFCI — A bit over three hours of flight time. The flight was VFR and uneventful except for a brief but violent bit of turbulence over North Carolina. I managed a pretty decent landing even after six months away from the airplane.

I am scheduled to pick up the airplane on the 7th of April. I will fly to Atlanta on a commercial flight on Monday (April 6th) and then drive to Gadsden the following morning. Woo Hoo!!
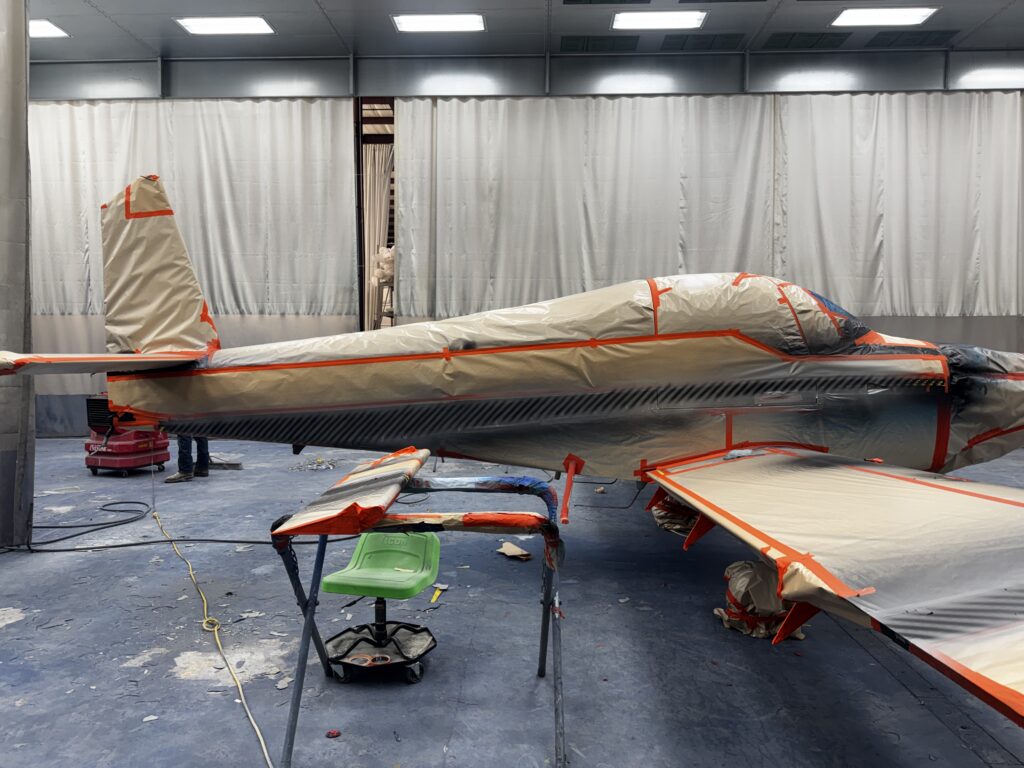
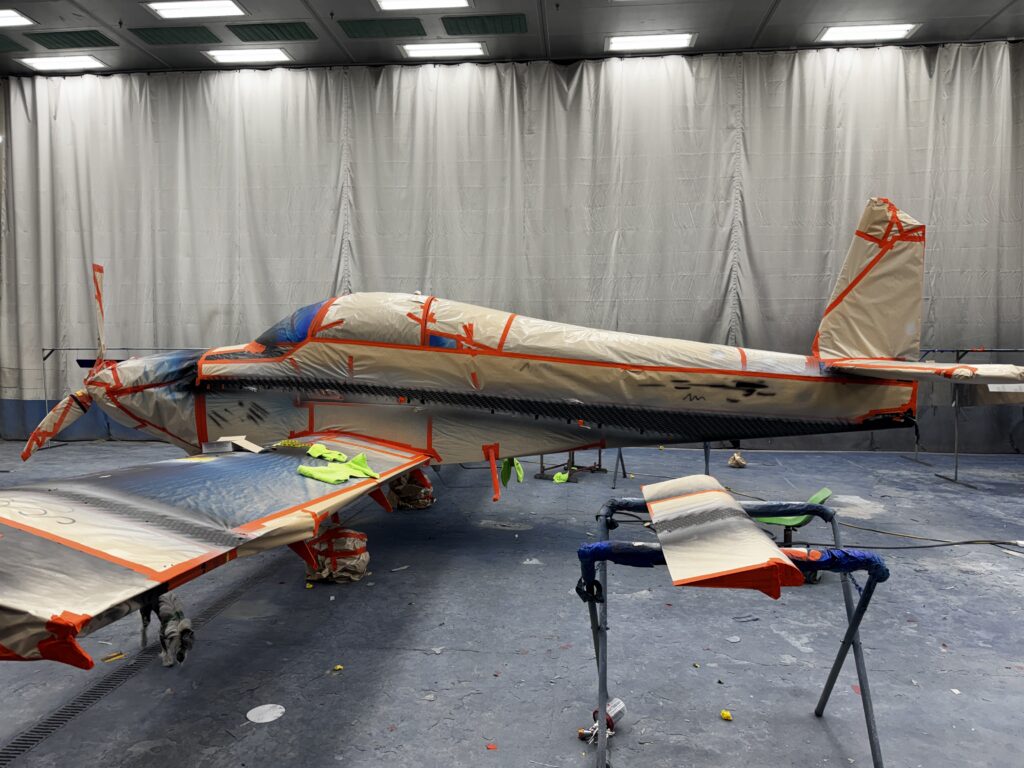

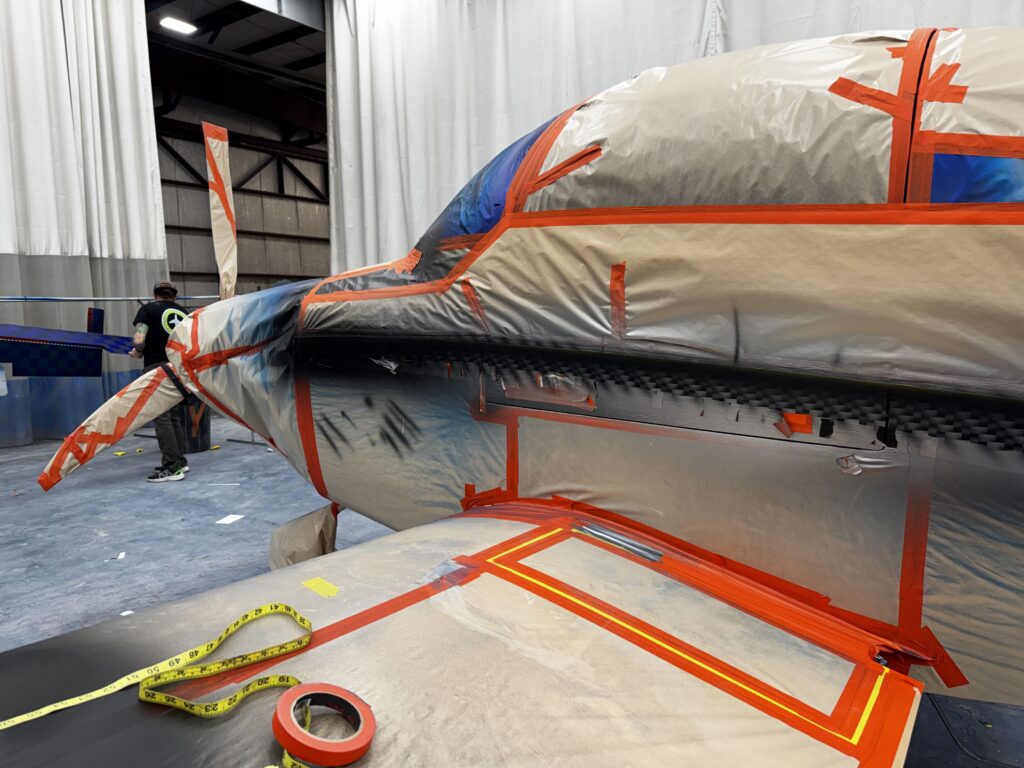
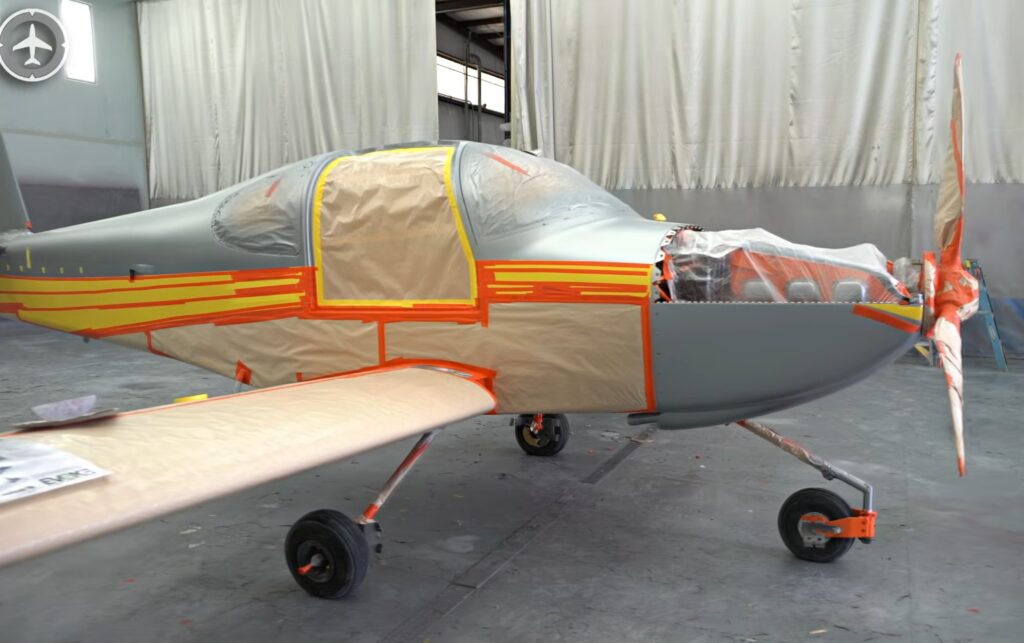
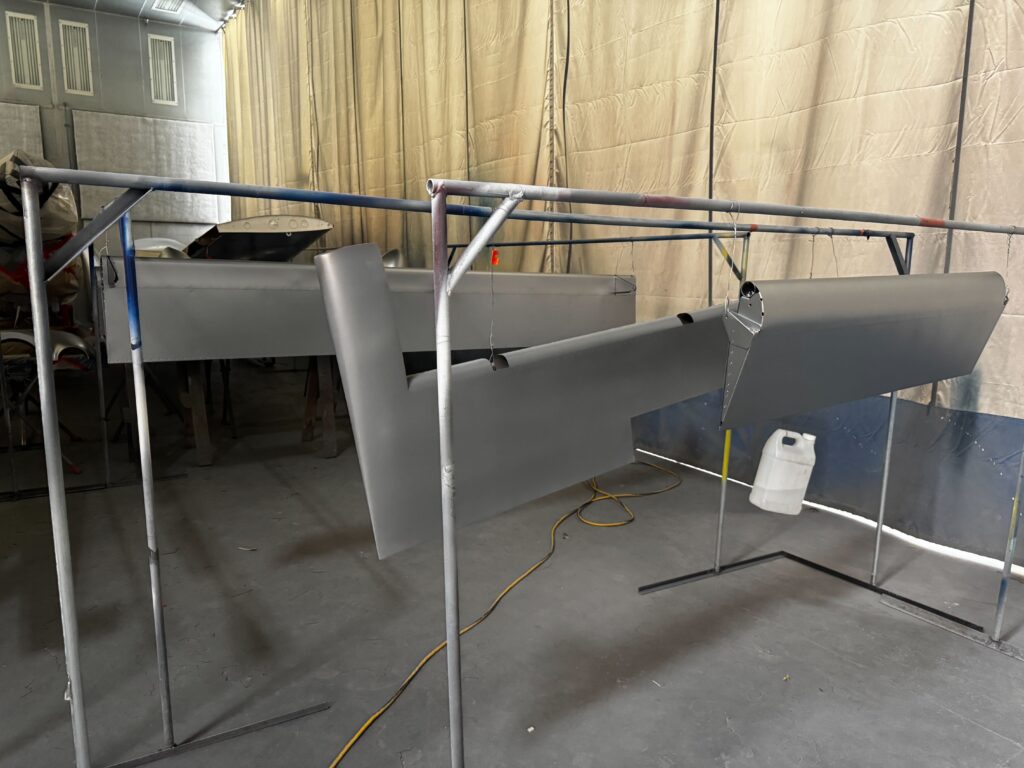
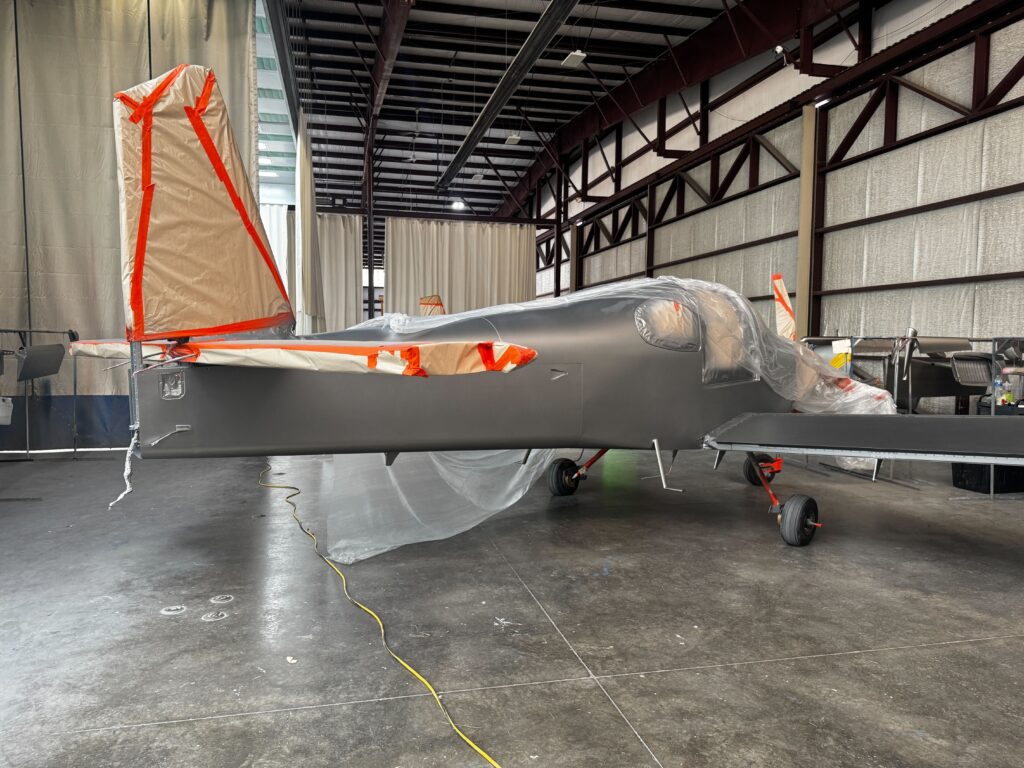
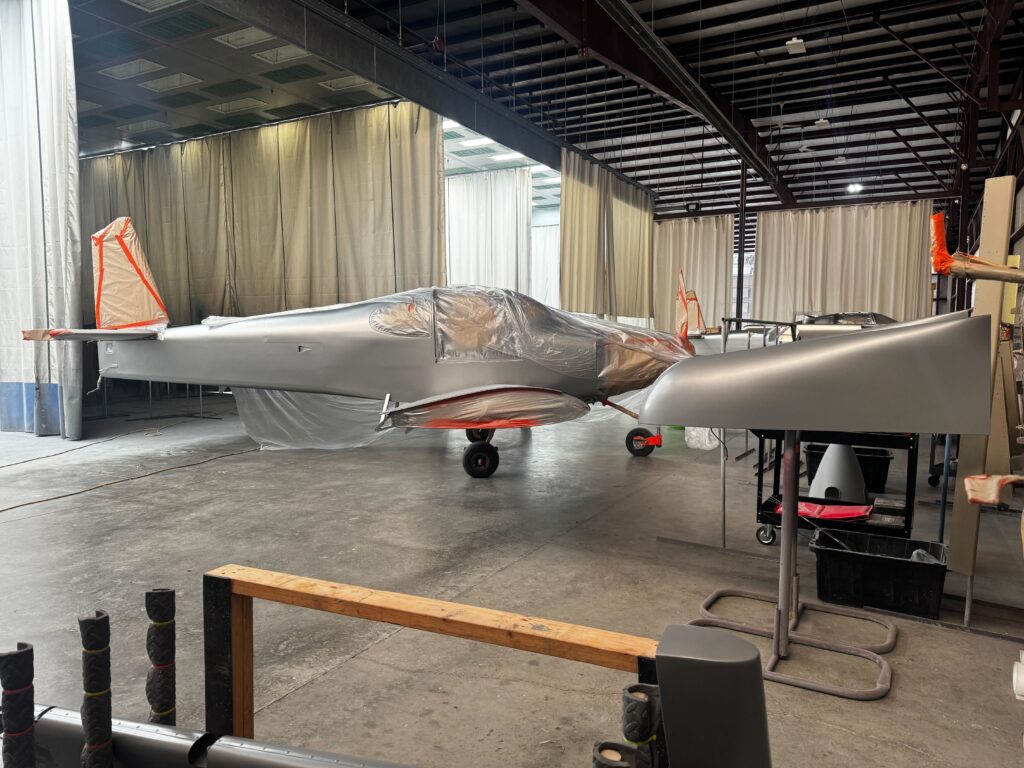
I know it still looks like it has a long way to go, but it should progress pretty rapidly over the next few days. Still targeting the end of this month (March).
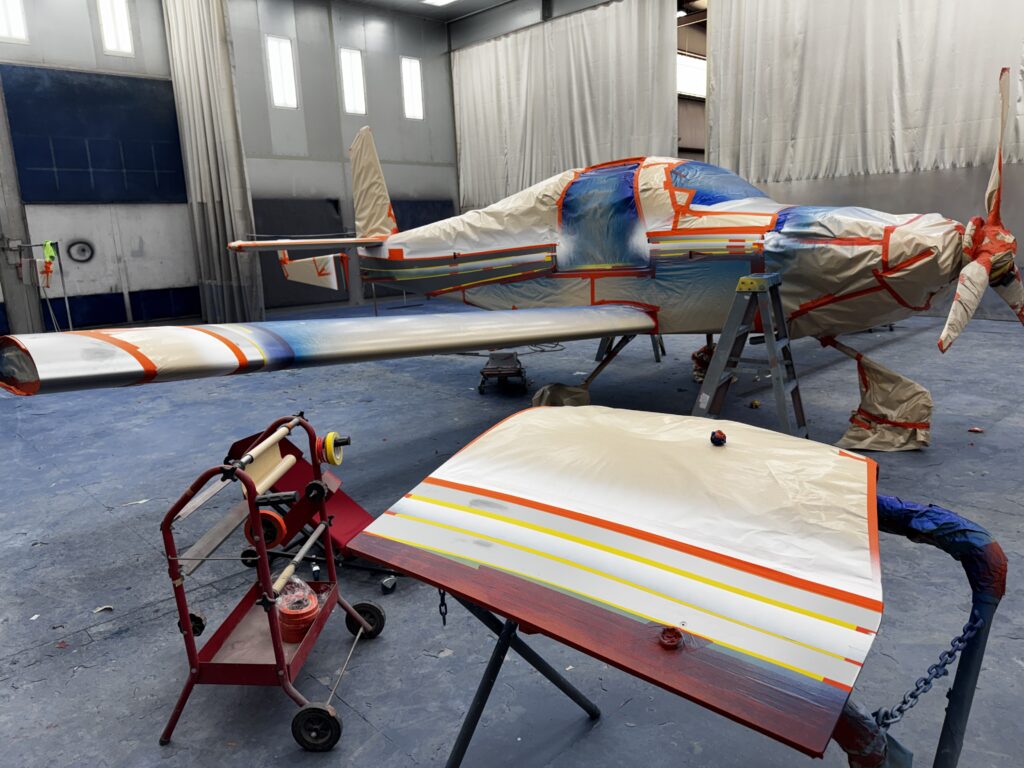
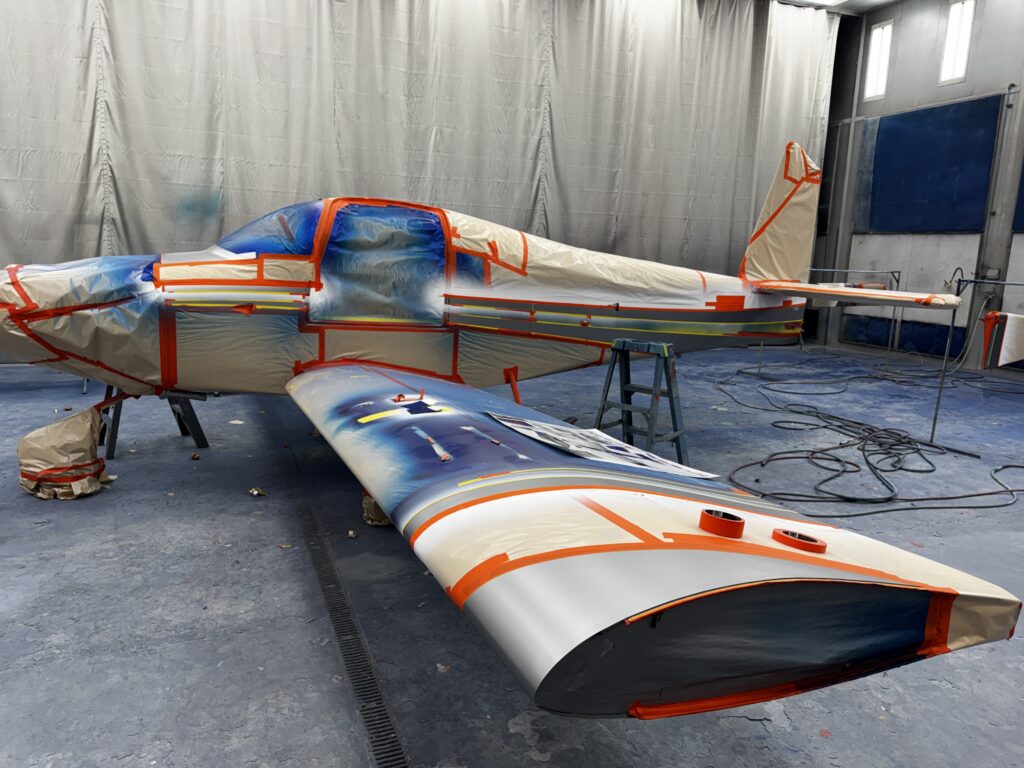
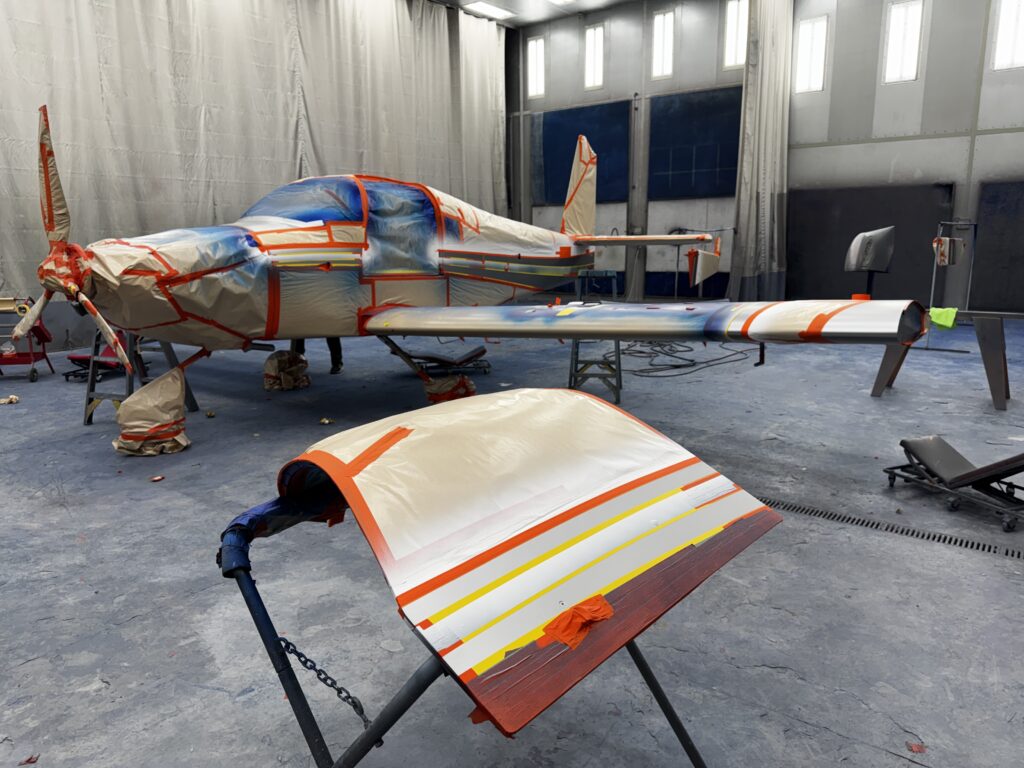
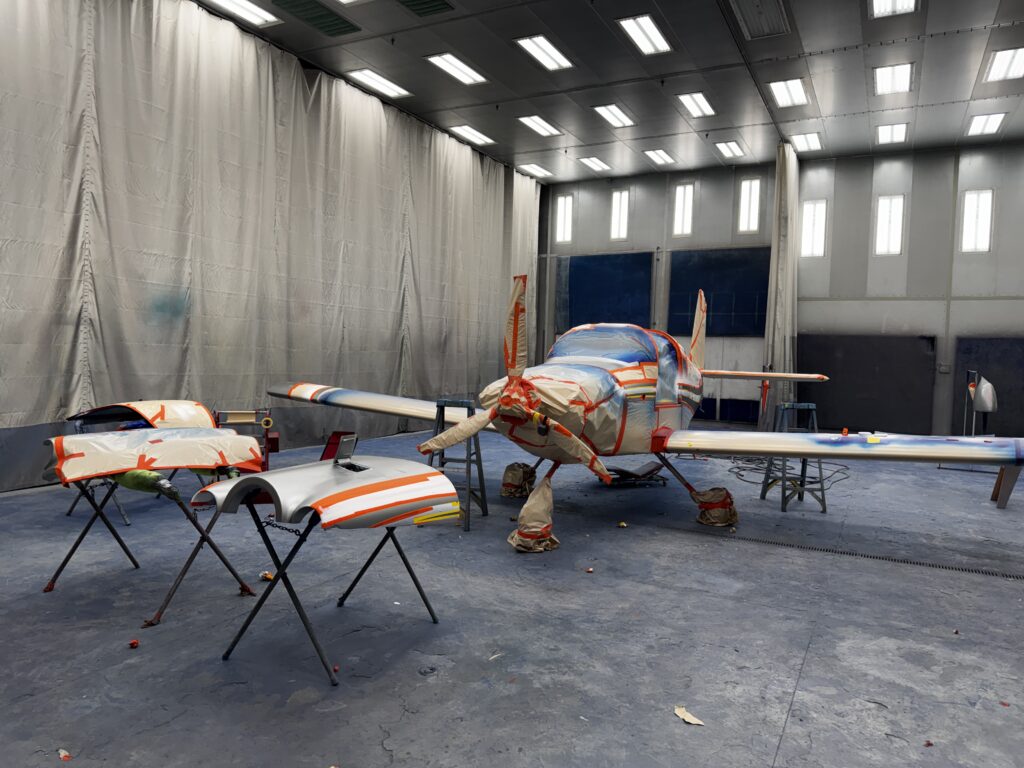
A bit more delay (one week).
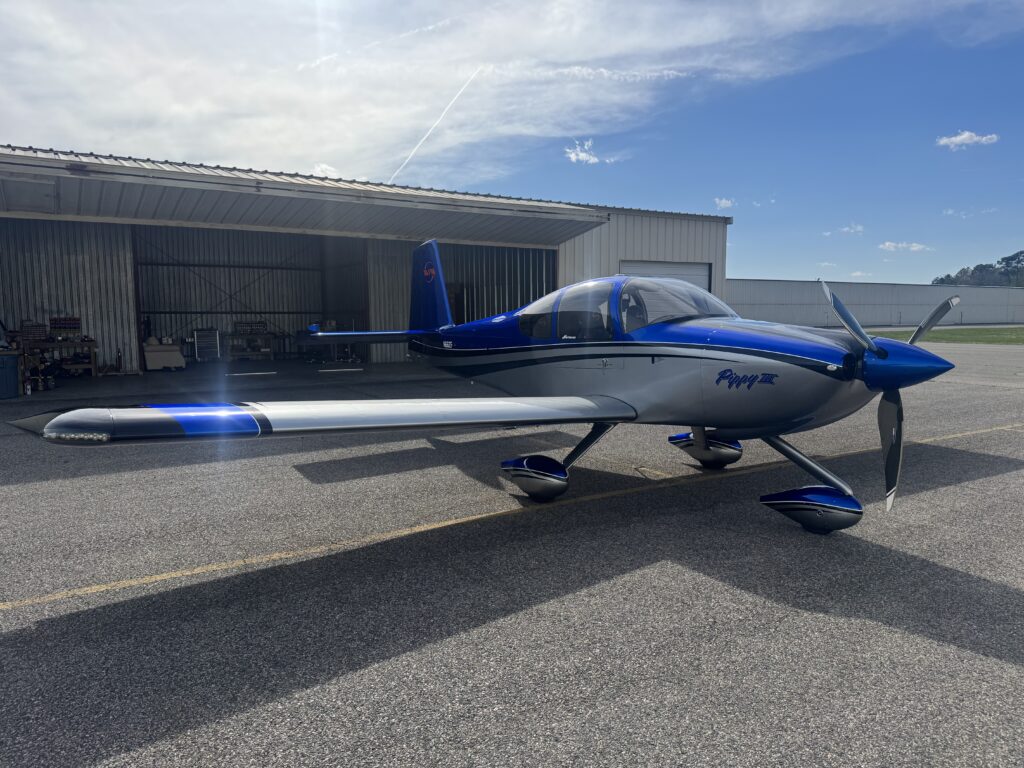
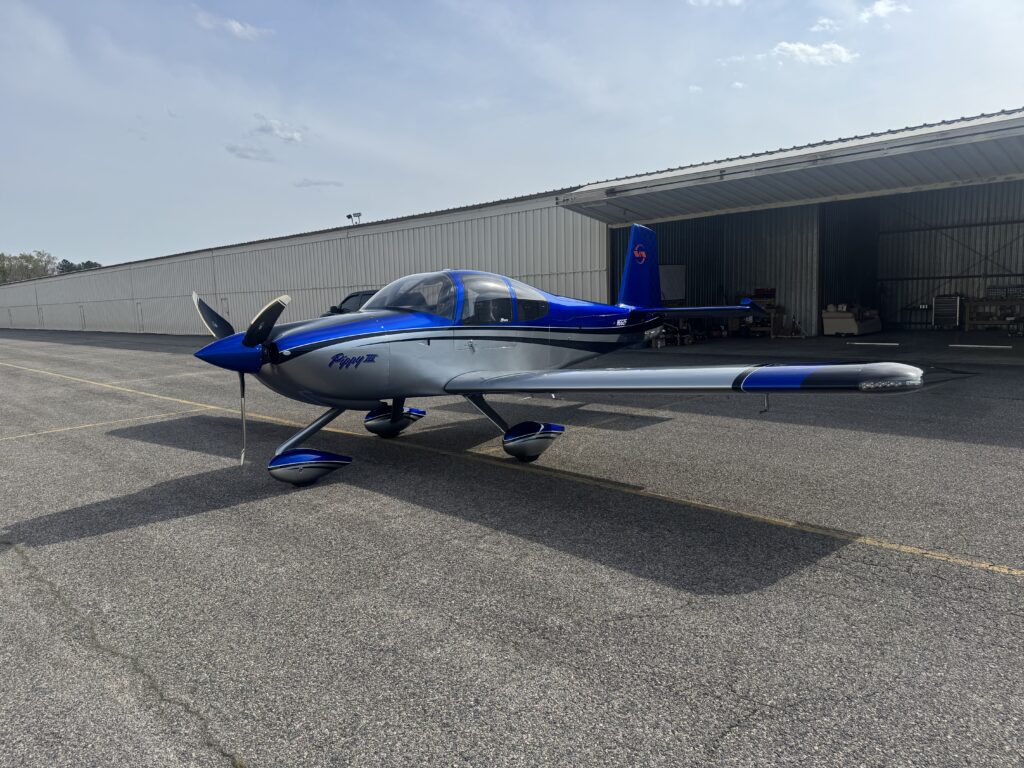
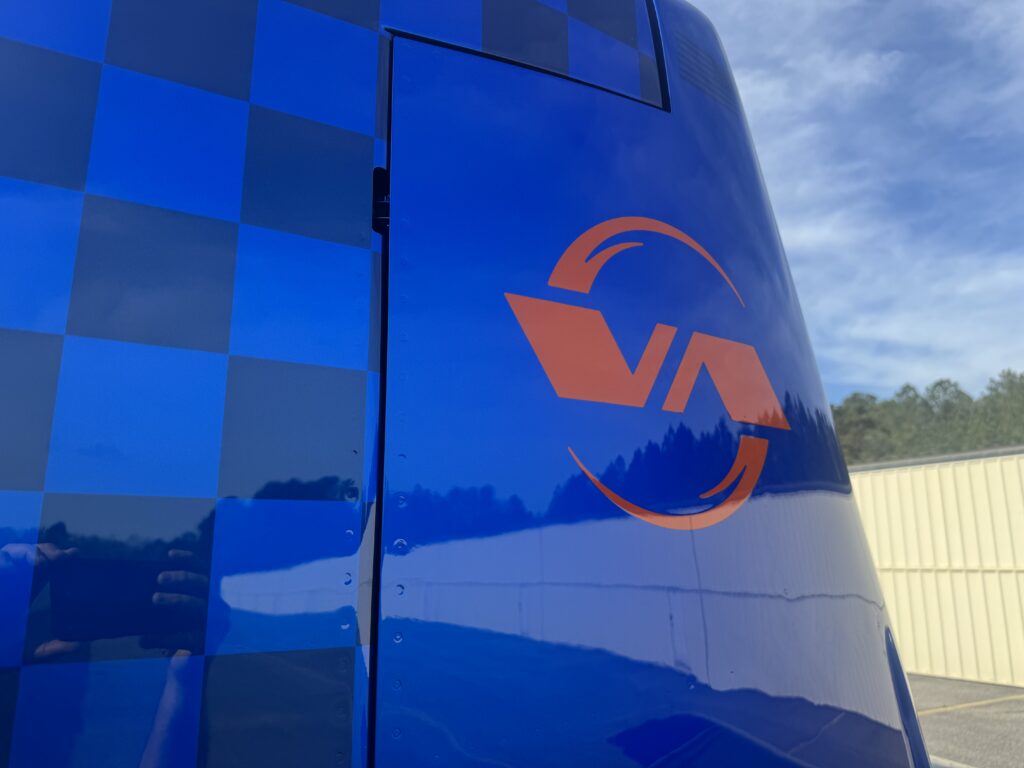
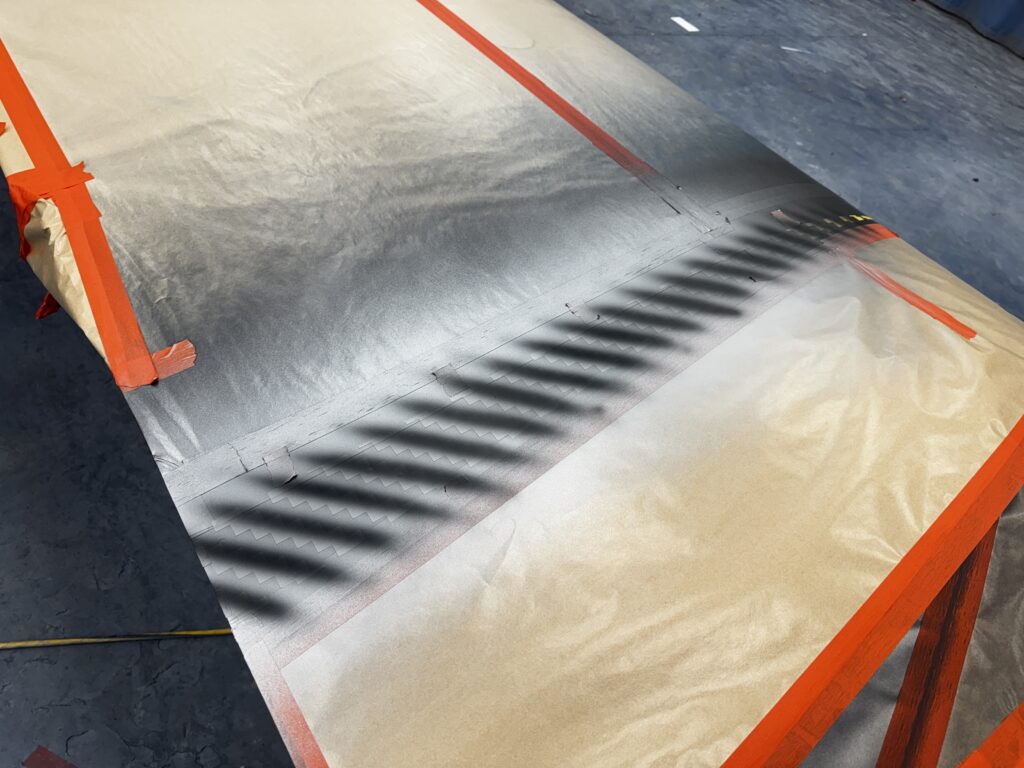
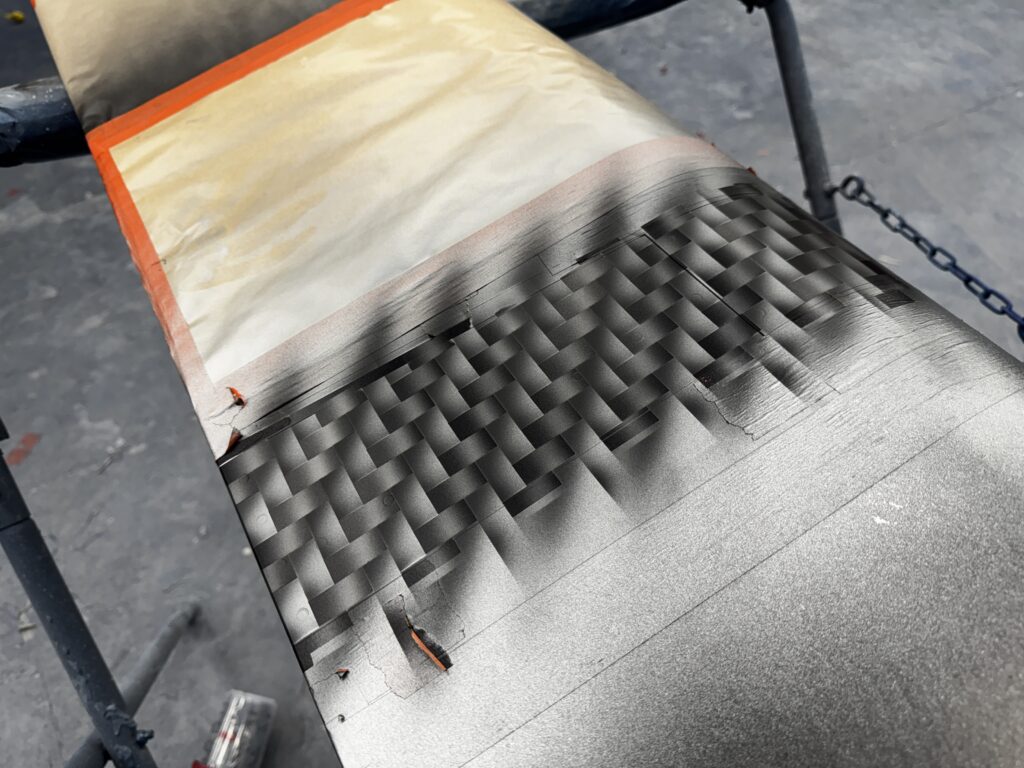
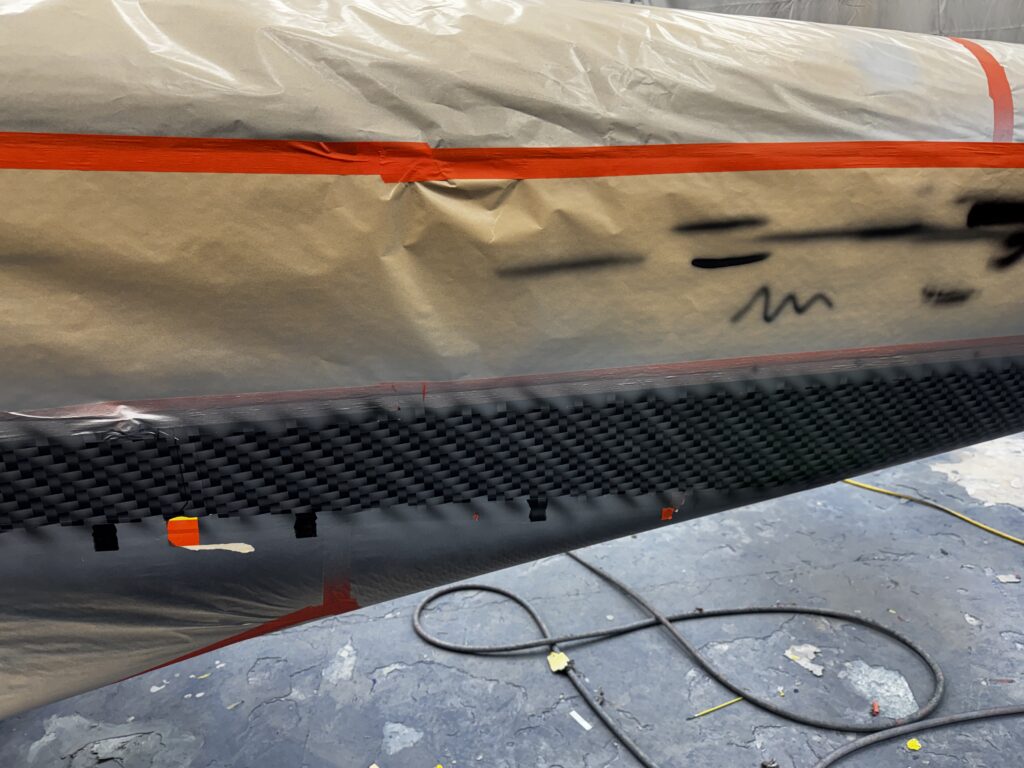
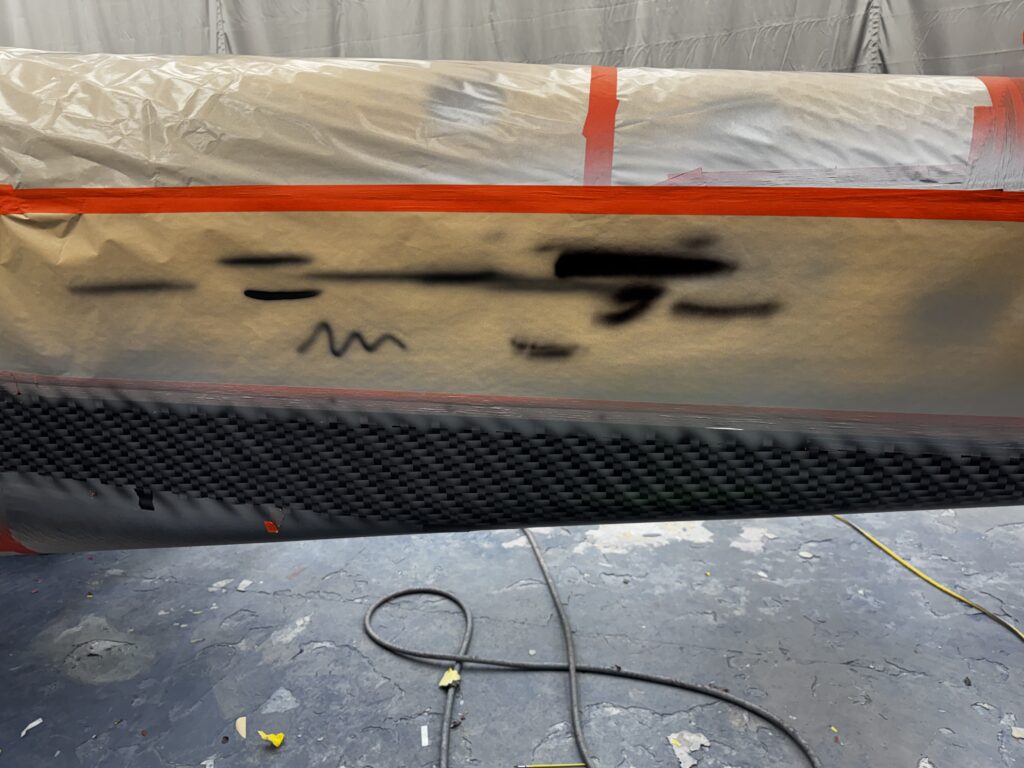
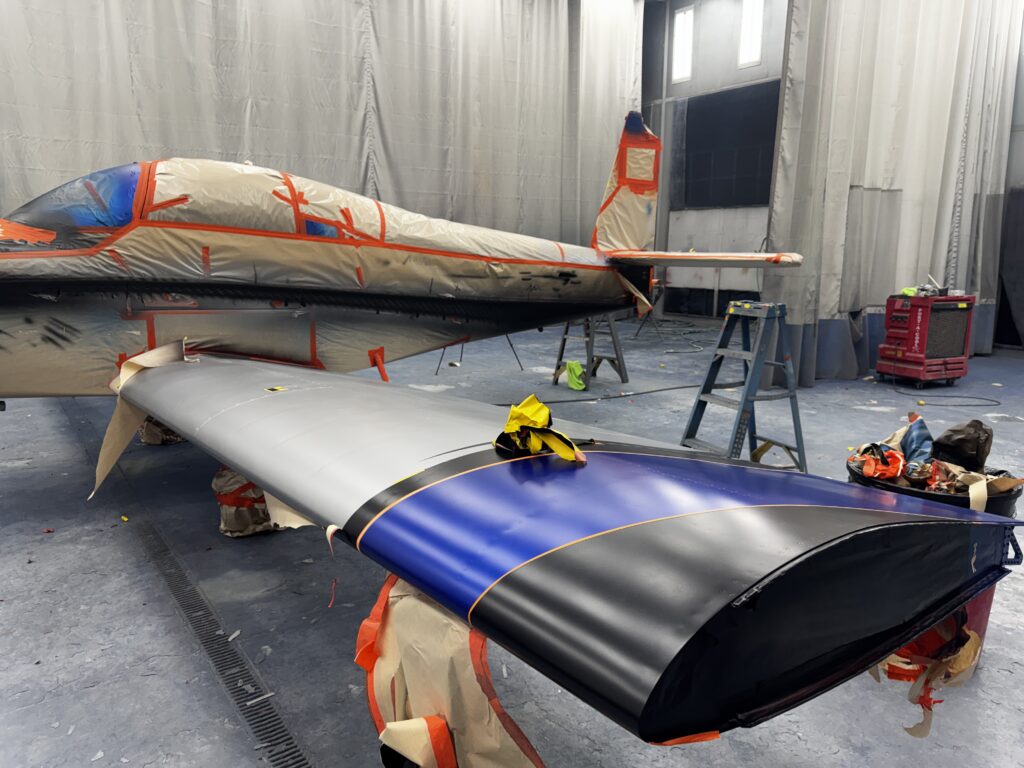
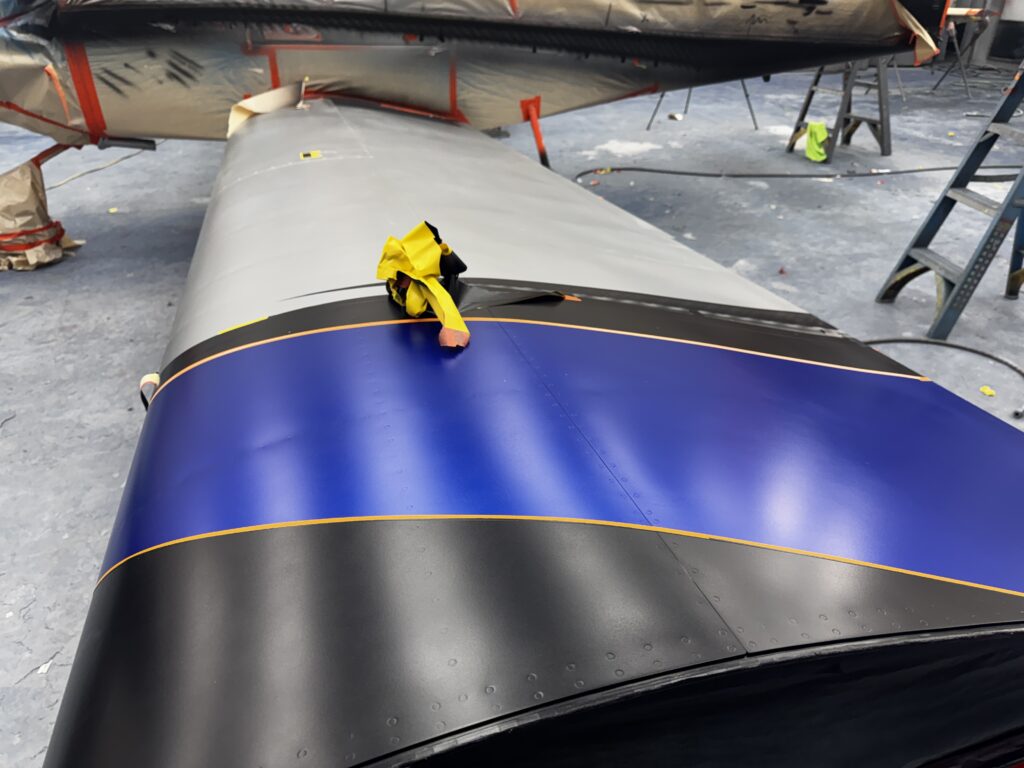
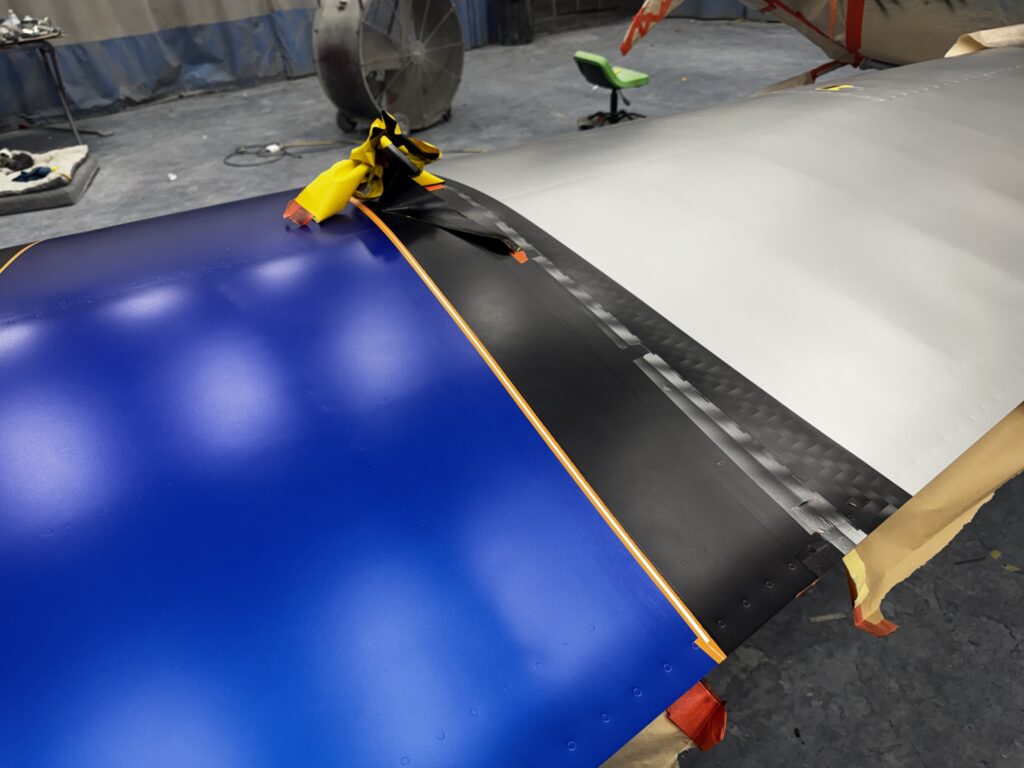
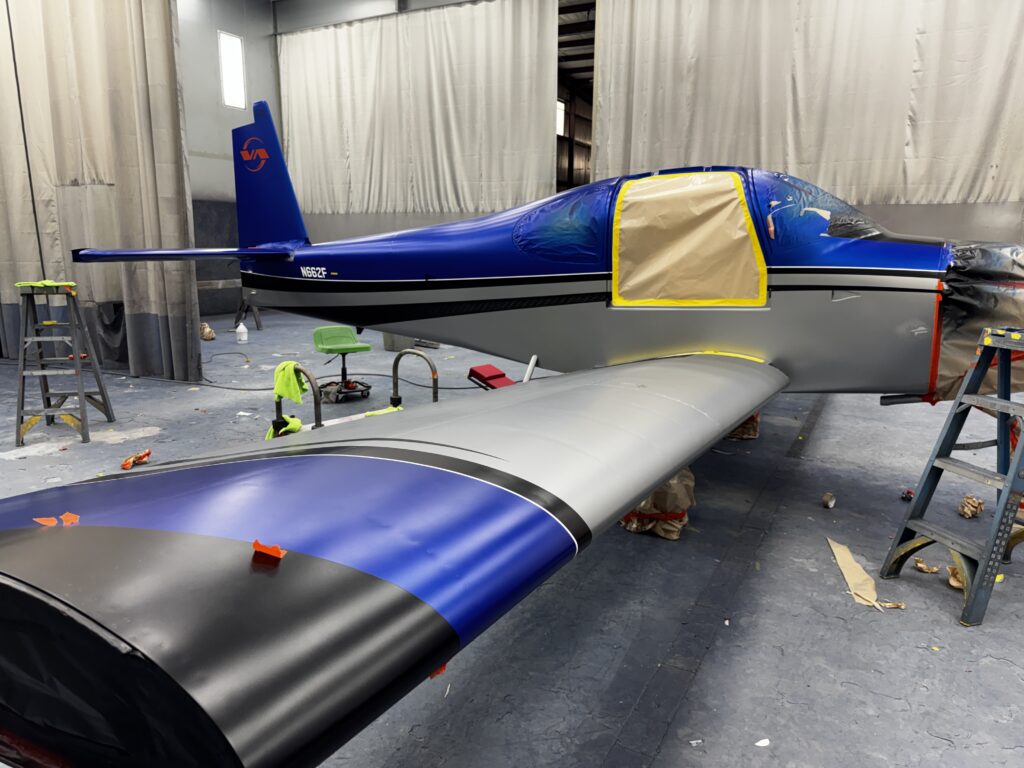
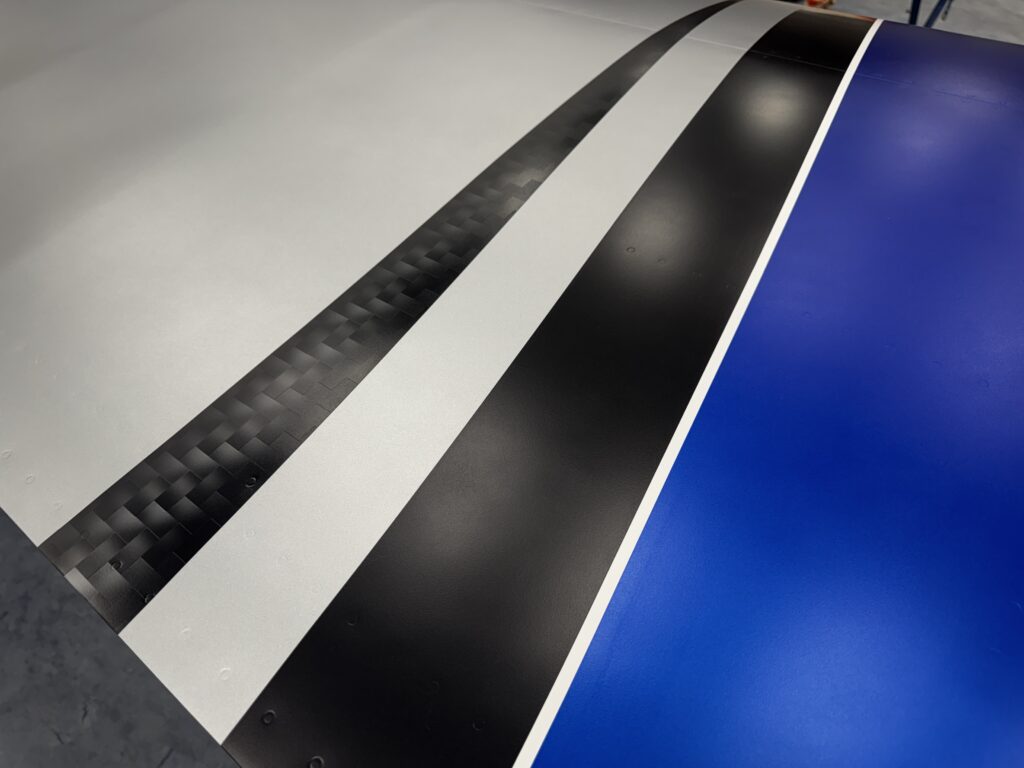
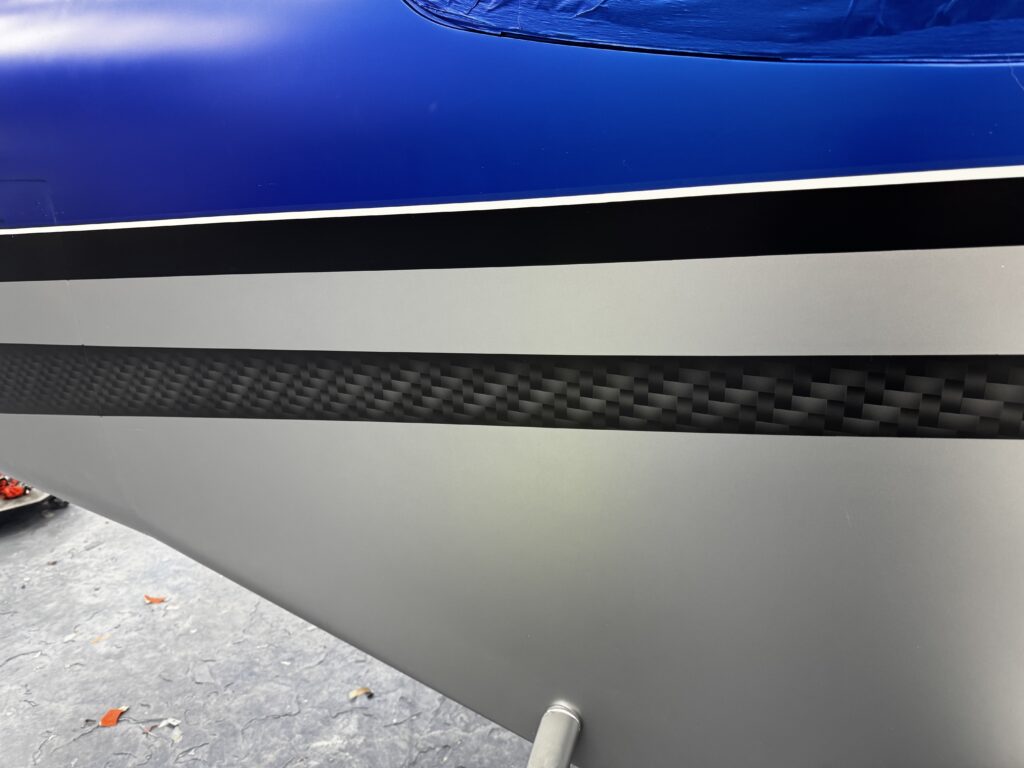
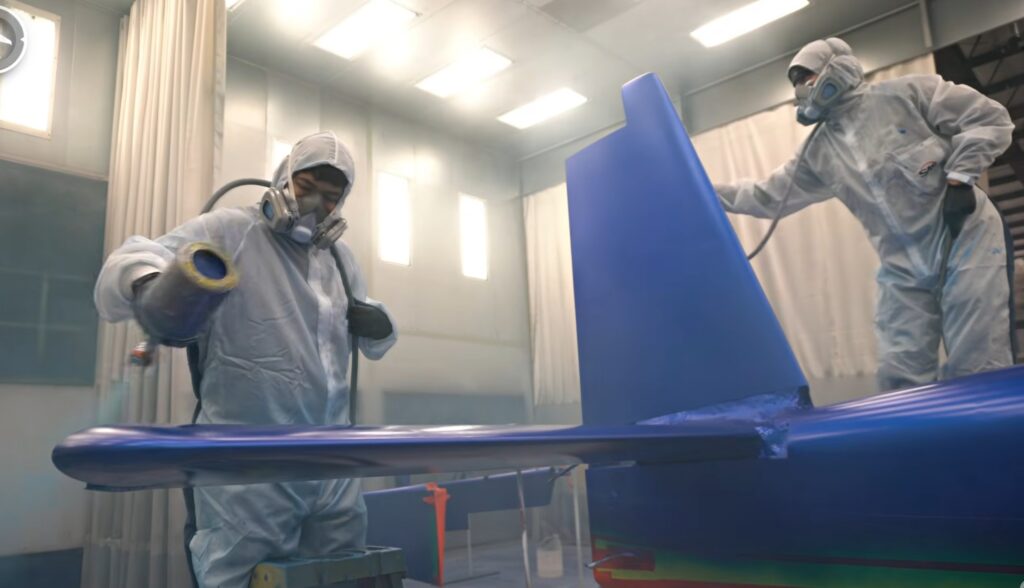
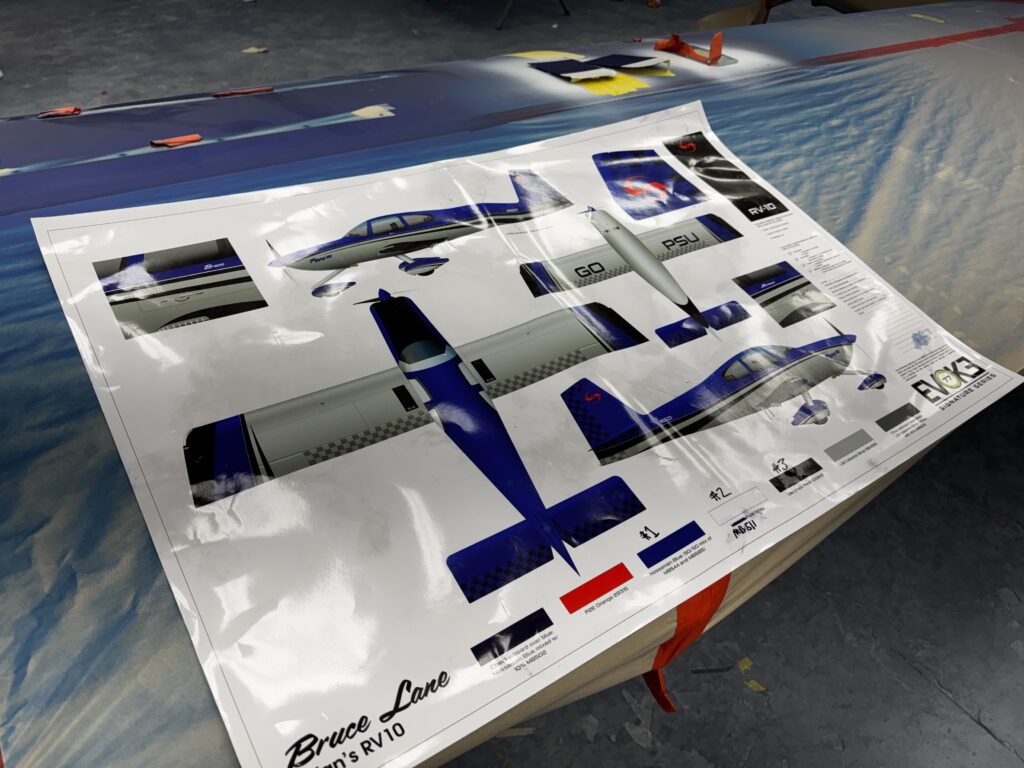
After seeing the very cool looking faded carbon fiber look that Evoke can do, I asked Autumn to suggest any ideas on how to add that look to my scheme. Not too much, just a little.
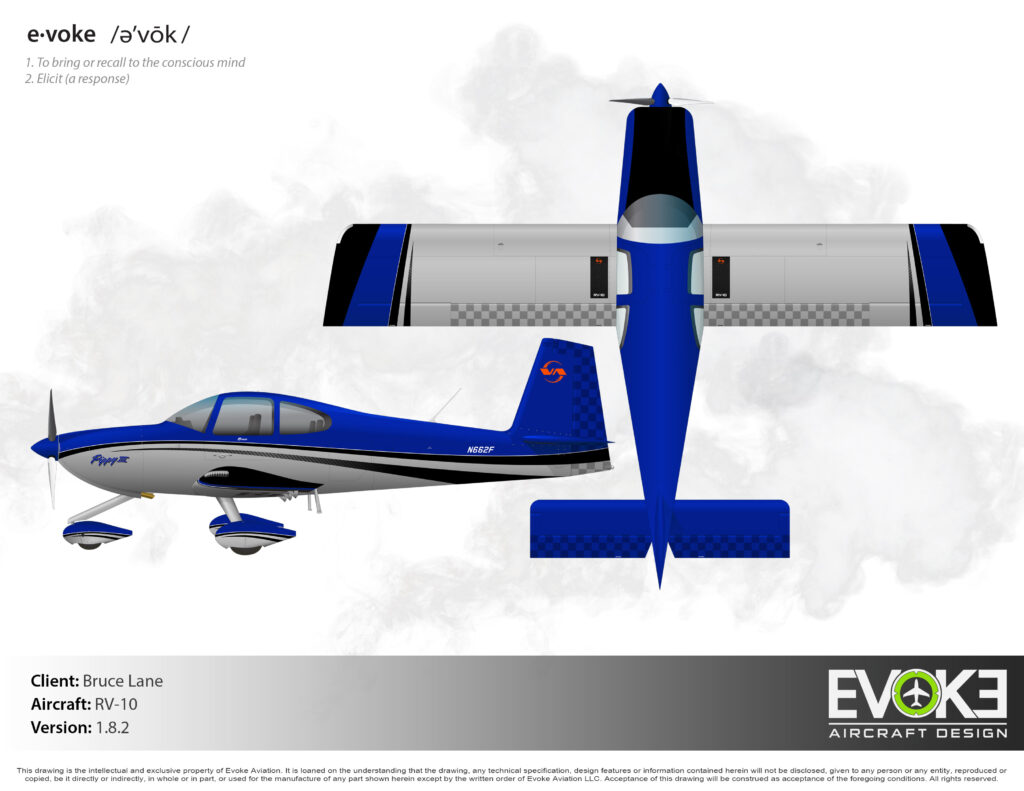
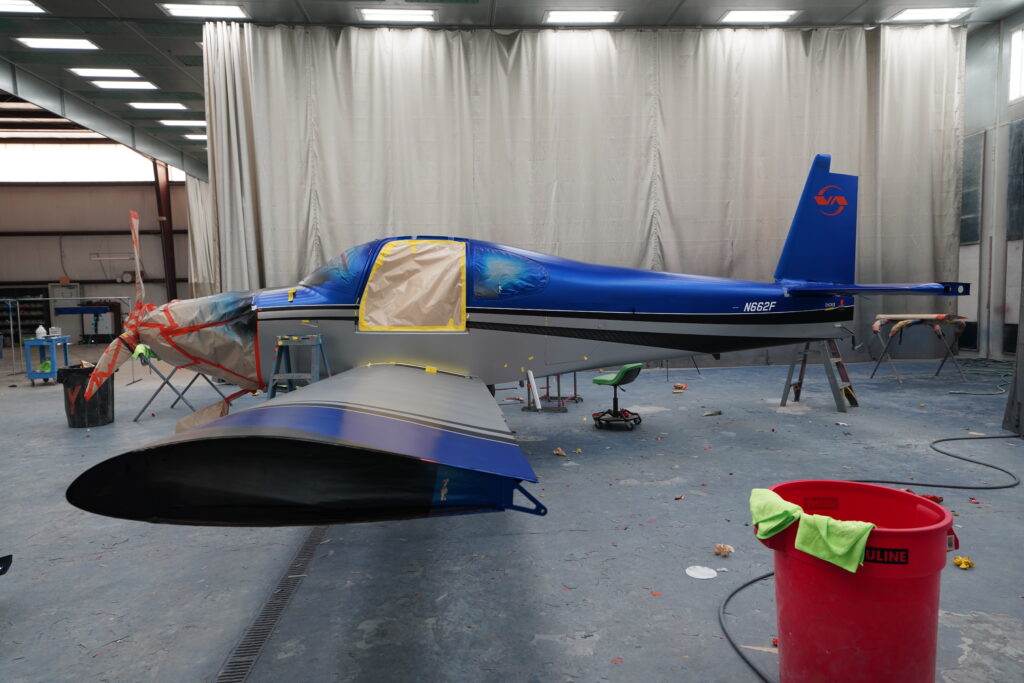
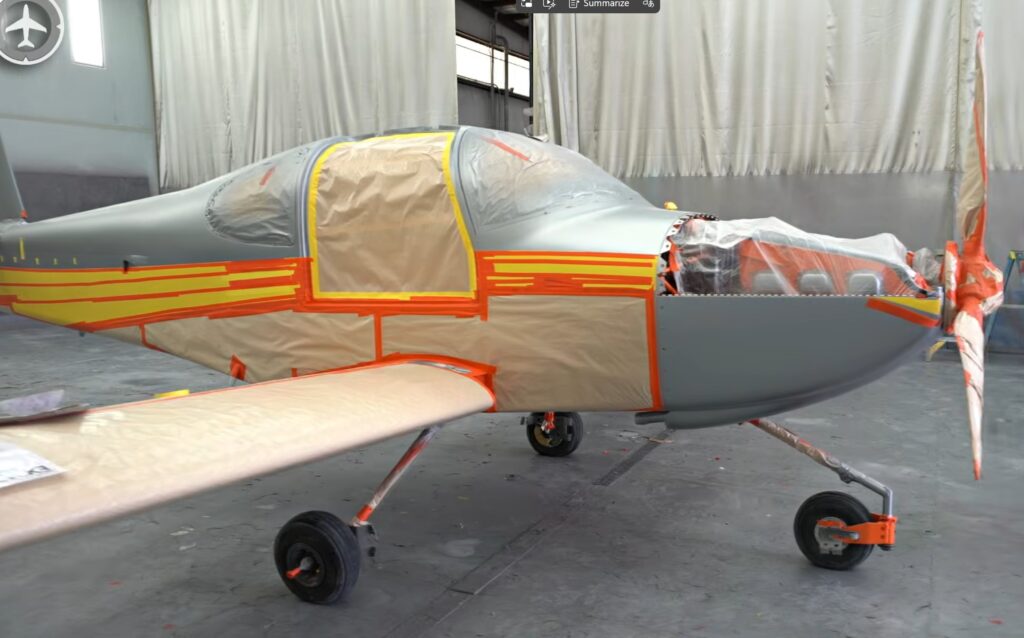
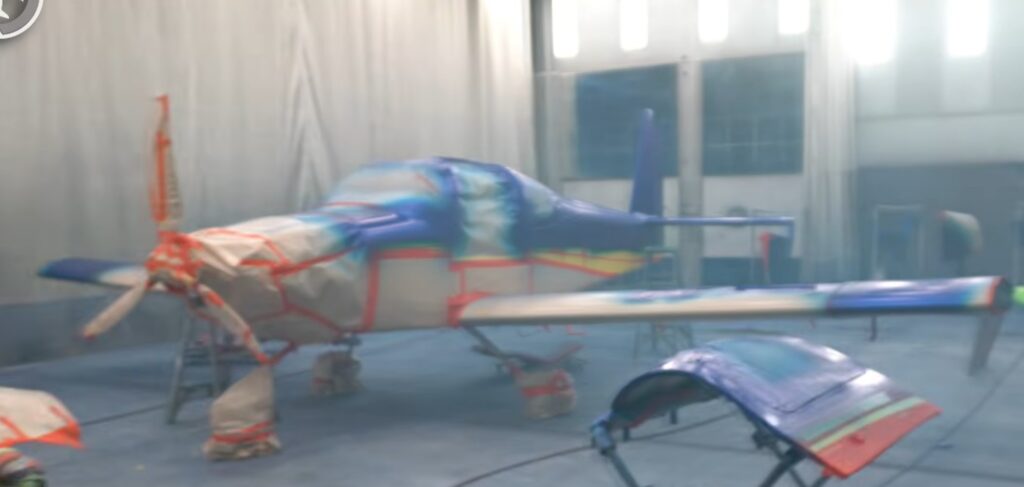
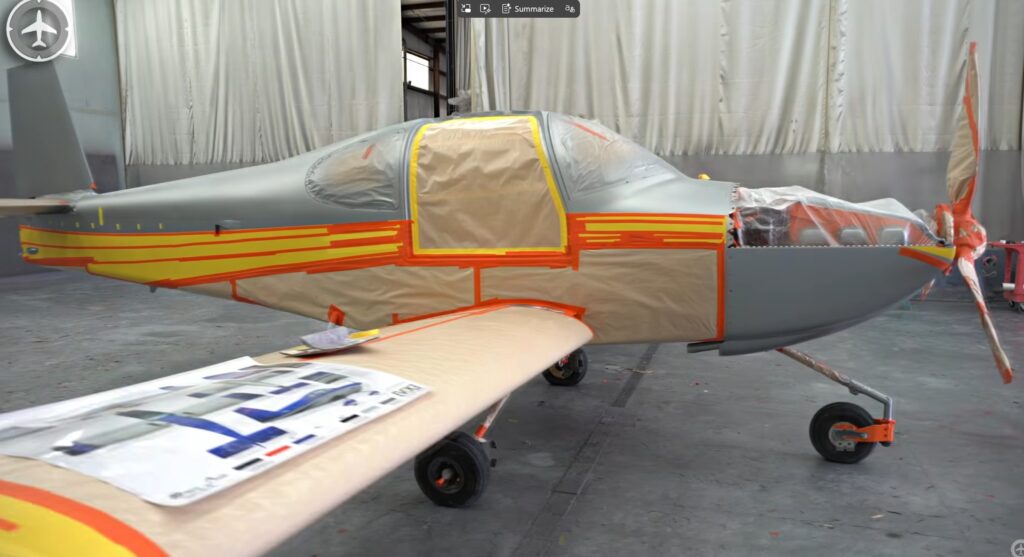
These pictures were taken by Autumn Baugh from Evoke on February 5th. The airplane has the base coat on it. Striping, paint, and clear coat will be starting soon. Hope to be done around March 1st.

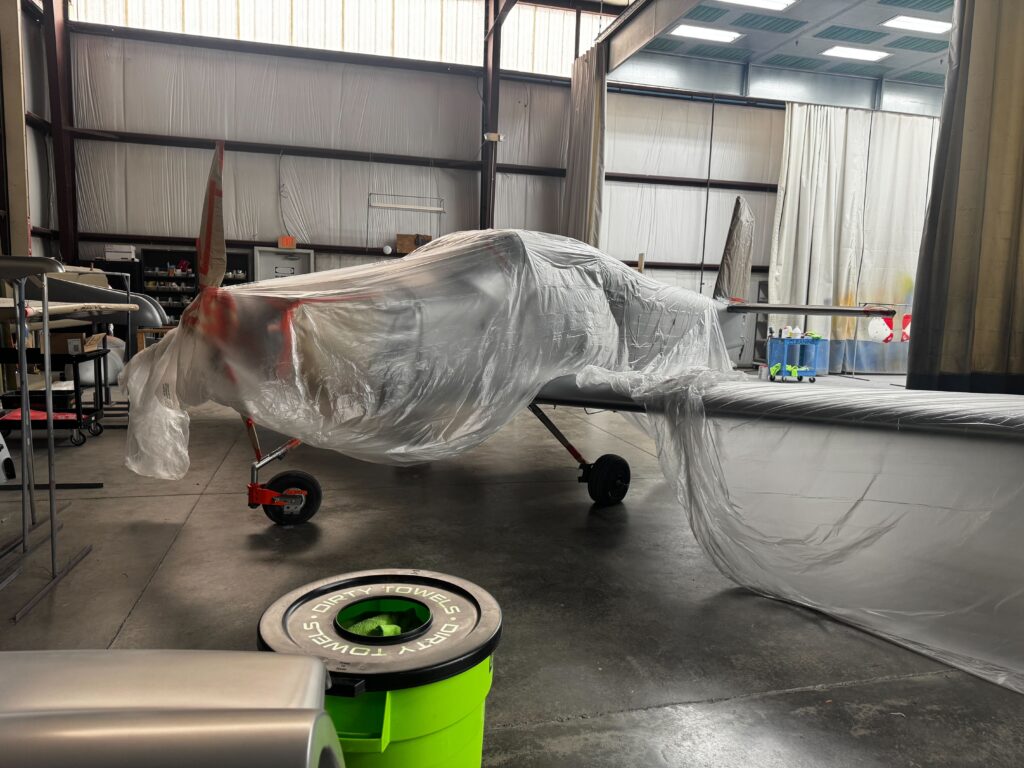
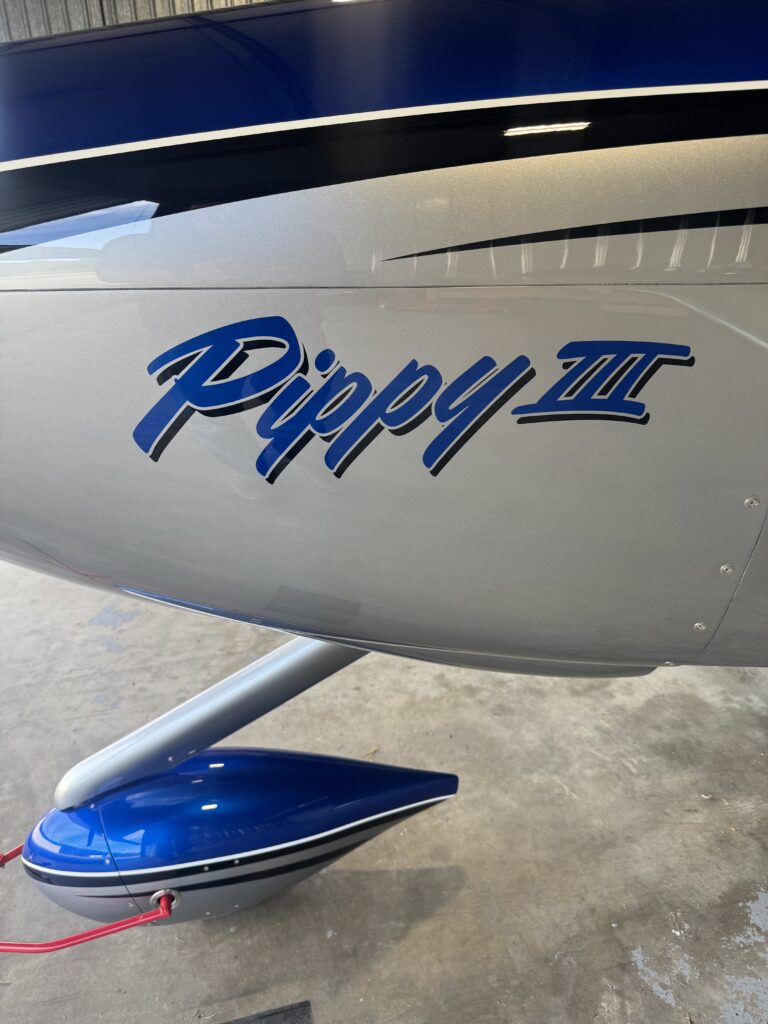
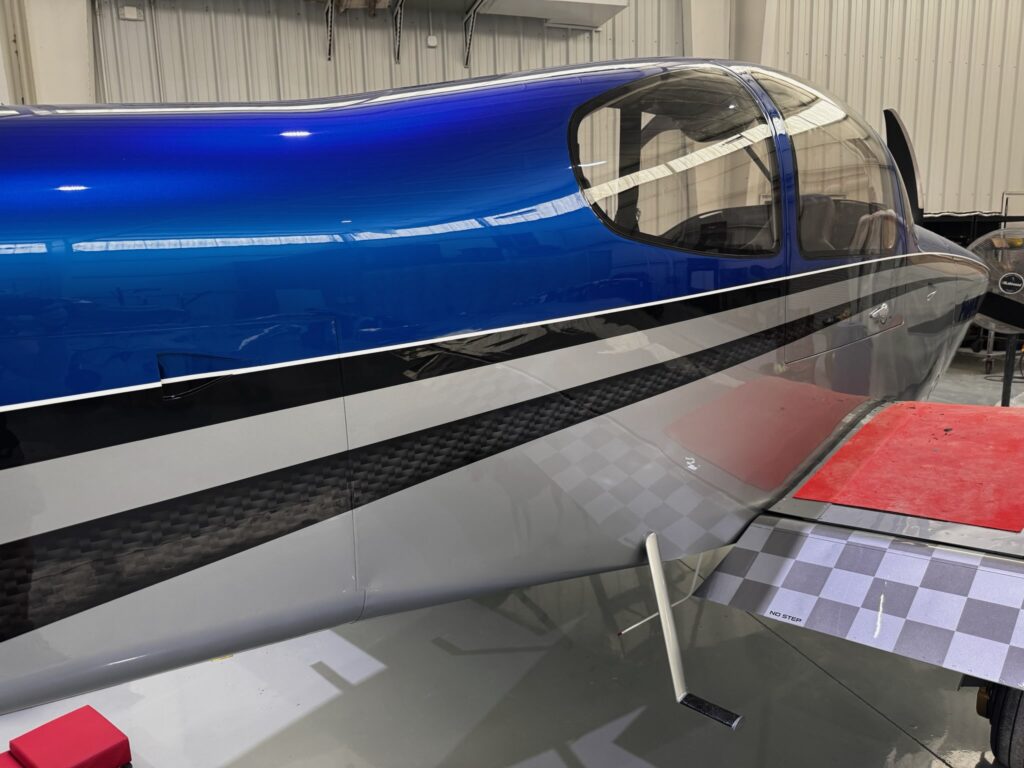
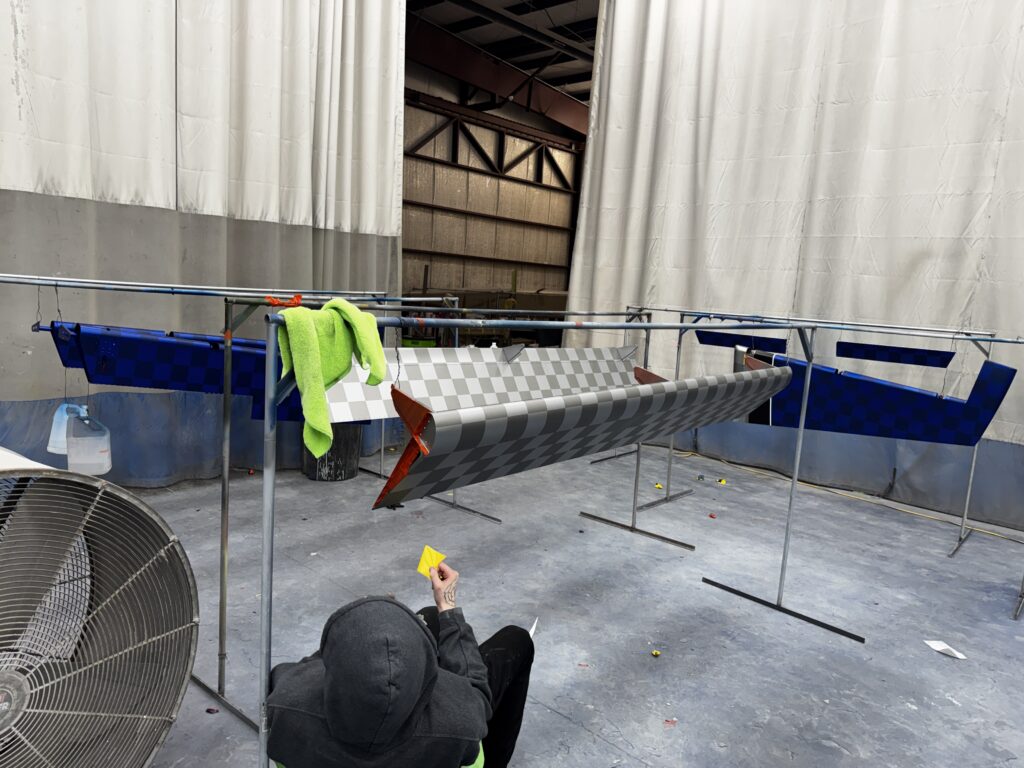
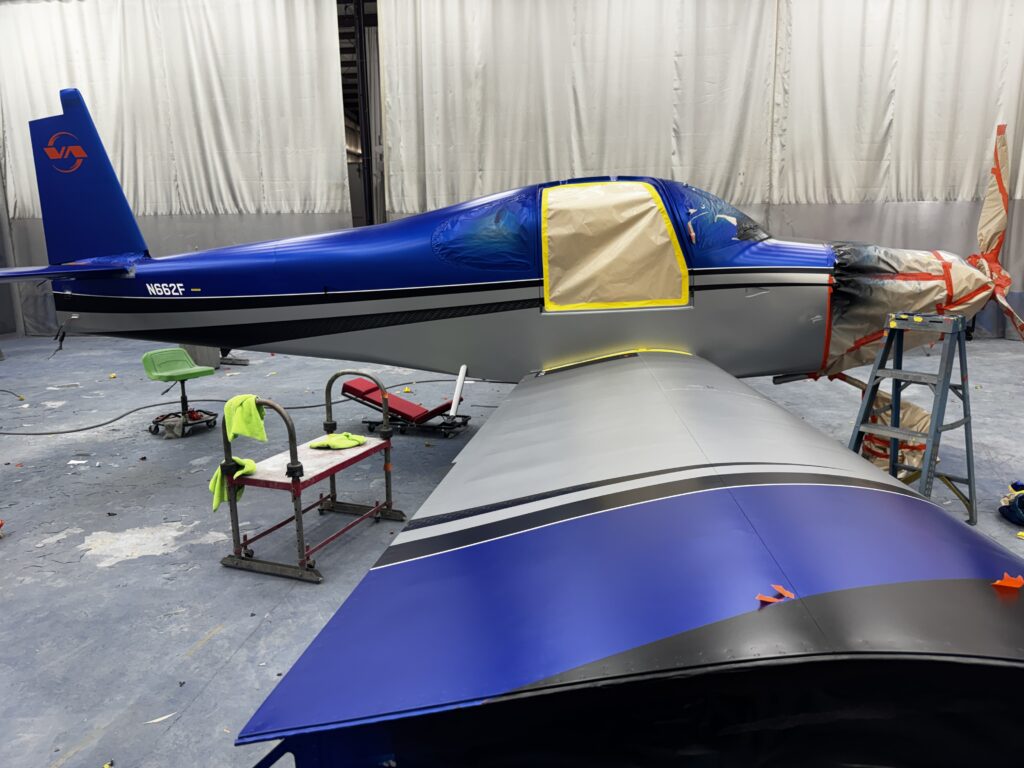
The airplane will be done at the paint shop soon. My plan is to fly it to the airshow at Lakeland, FL in April. While I didn’t build this airplane, I am planning to enter it for judging at the airshow. If it were to win an award, it will be properly credited to Lester (the builder).
I wrote an e-mail to the Sun N Fun organizers to confirm that the airplane was eligible for judging since it flew before last year’s show. They said that there is no requirement that the airplane be “new” to be eligible.
I really don’t know if it is award worthy, but I know it is an extremely good build. With an Evoke paint job, it will be one of the nicest RV builds I have ever seen. Stay tuned.