More Canopy Work + Misc

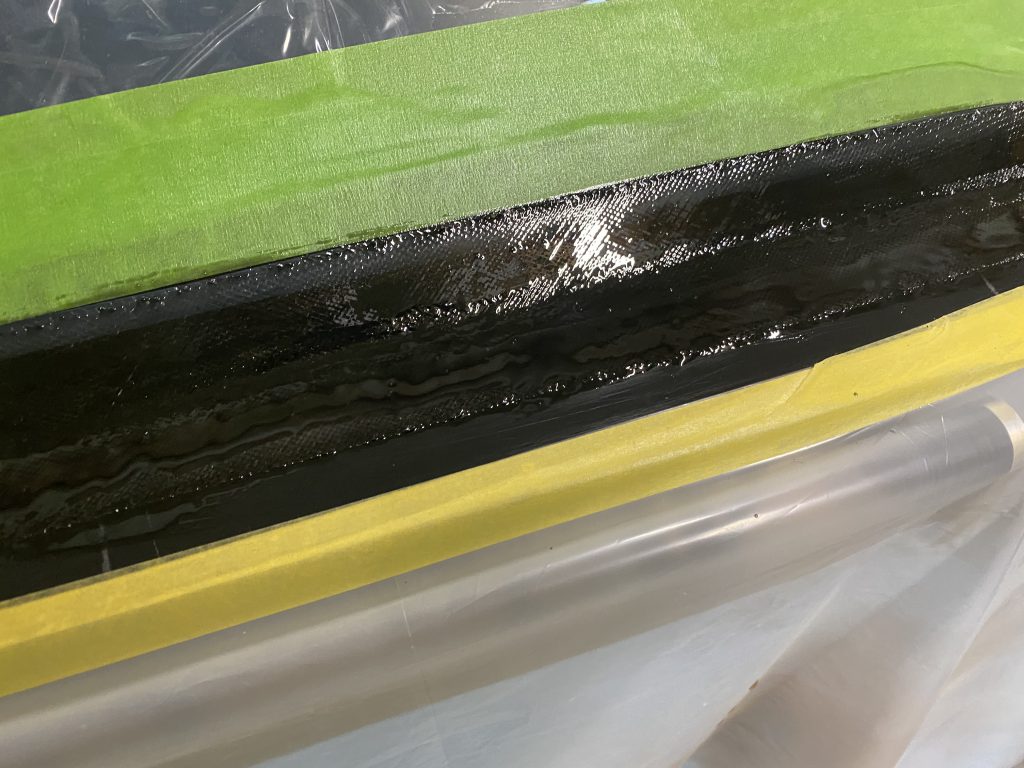
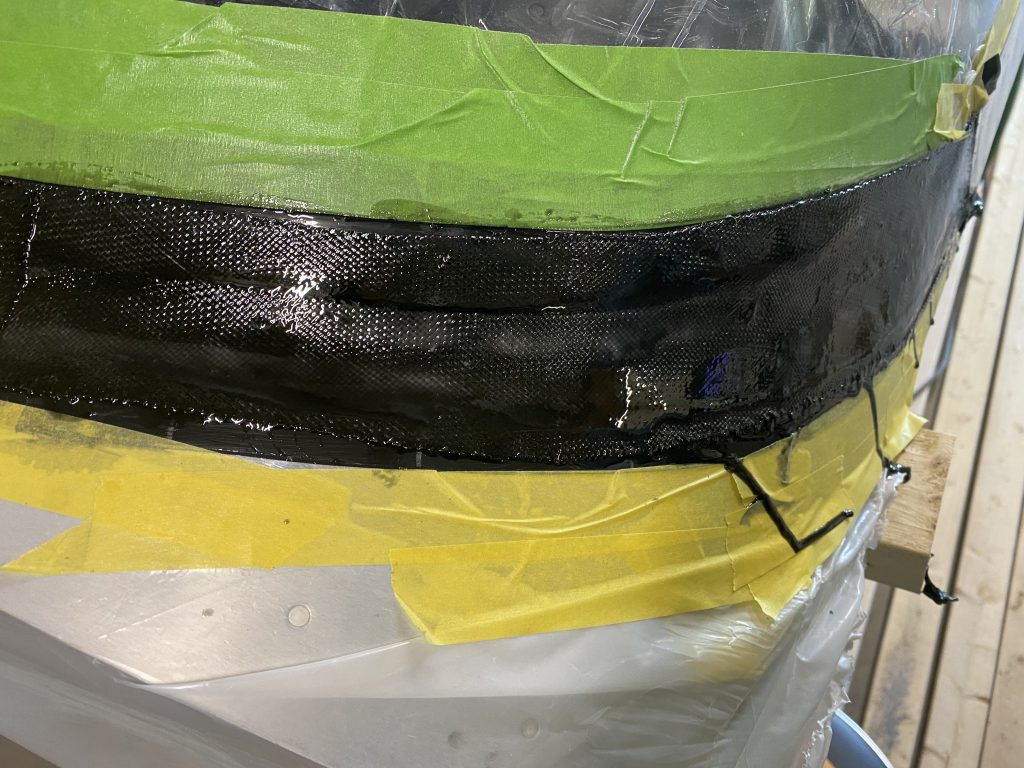
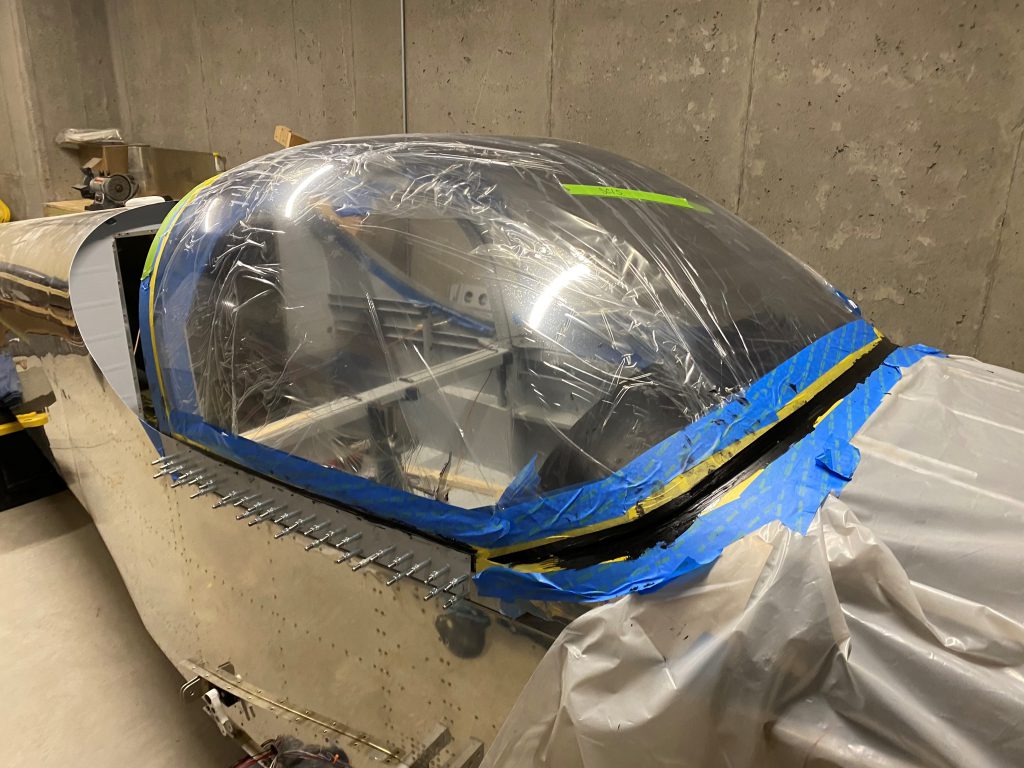
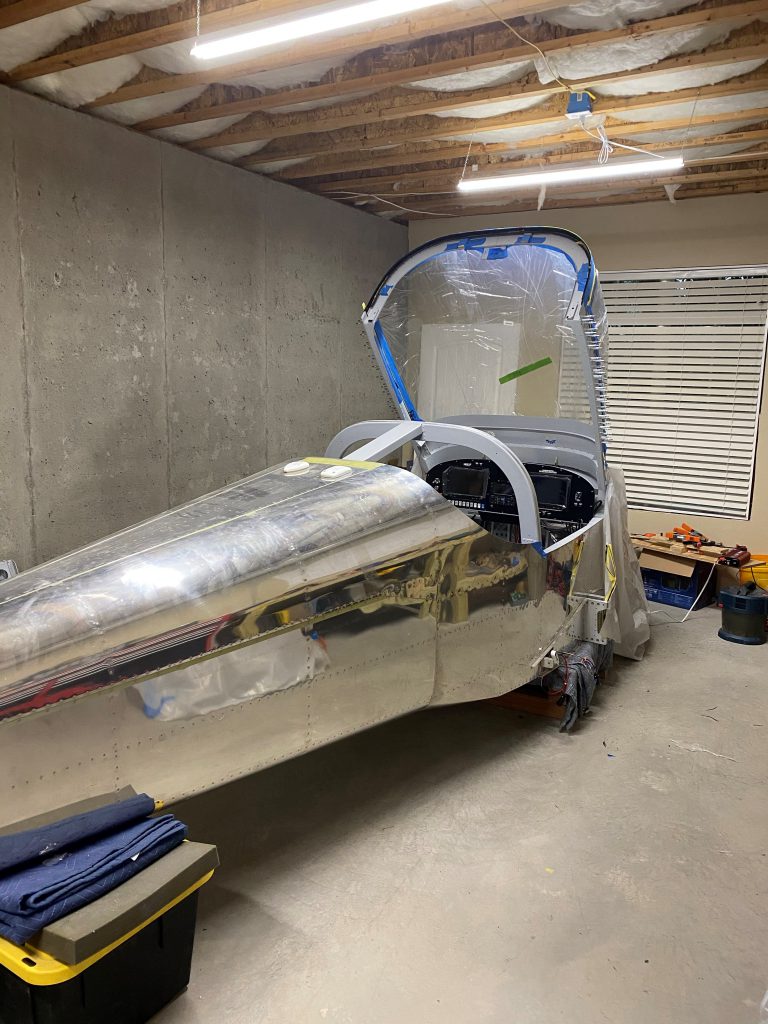
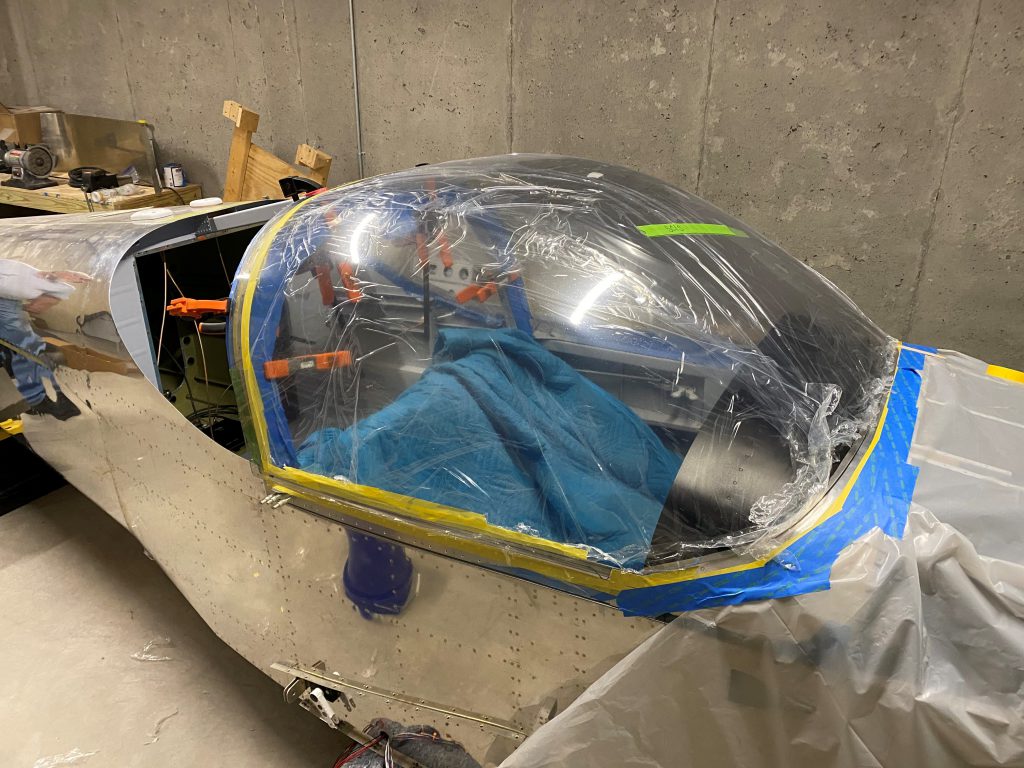
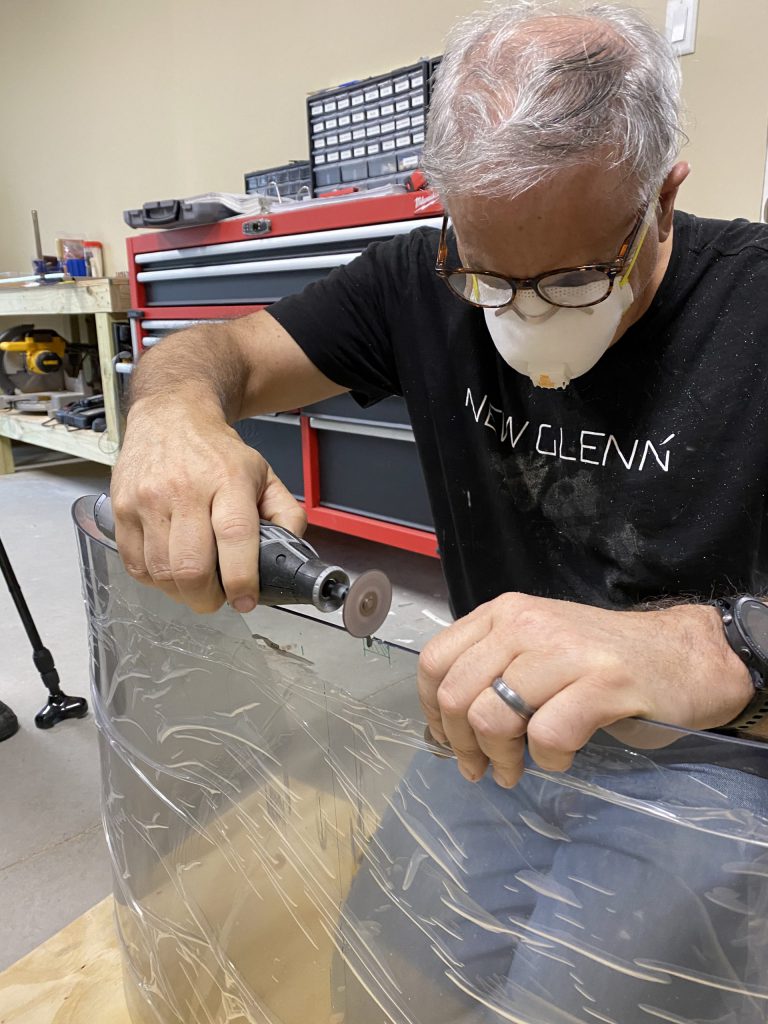
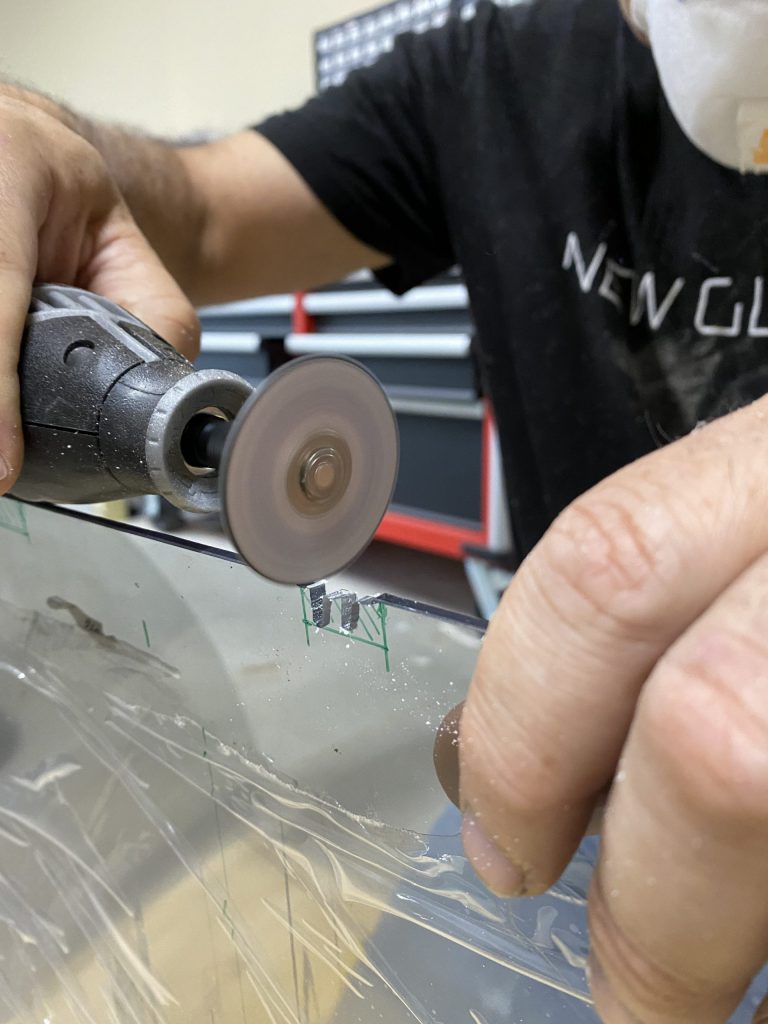
My Dad and I did the fiberglass fairing at the front of the windshield. Not going to win any awards, but overall pretty happy with the way the fiberglass came out. Still lots of sanding and shaping to do.

Note for those new to fiber glass work. The West System pumps can fail to provide the right mixture of resin to hardener. Having too much hardener is better than not enough. The pumps should supply a FULL stroke of fluid for each pump. My resin pump was providing resin for only the second half of the stroke which resulted in too much hardener for a given amount of resin. The lesson here is to occasionally check the mix by weight or volume and not always rely on the pump.

We also worked on the throttle/pitch/mixture/alt air quadrant. This took longer than you might expect. We had to measure and drill the proper holes in the plate (supplied by SteinAir), mount the cables and then mount the plate to the airplane. Then we had to secure the cables and run them through the firewall. The penetration for the firewall is an eyeball grommet by Doubletree (TTP-S). They are $44 per grommet and I am going to re-do one of them because the hole is too big. I also need to install the adel clamps inside the cockpit.

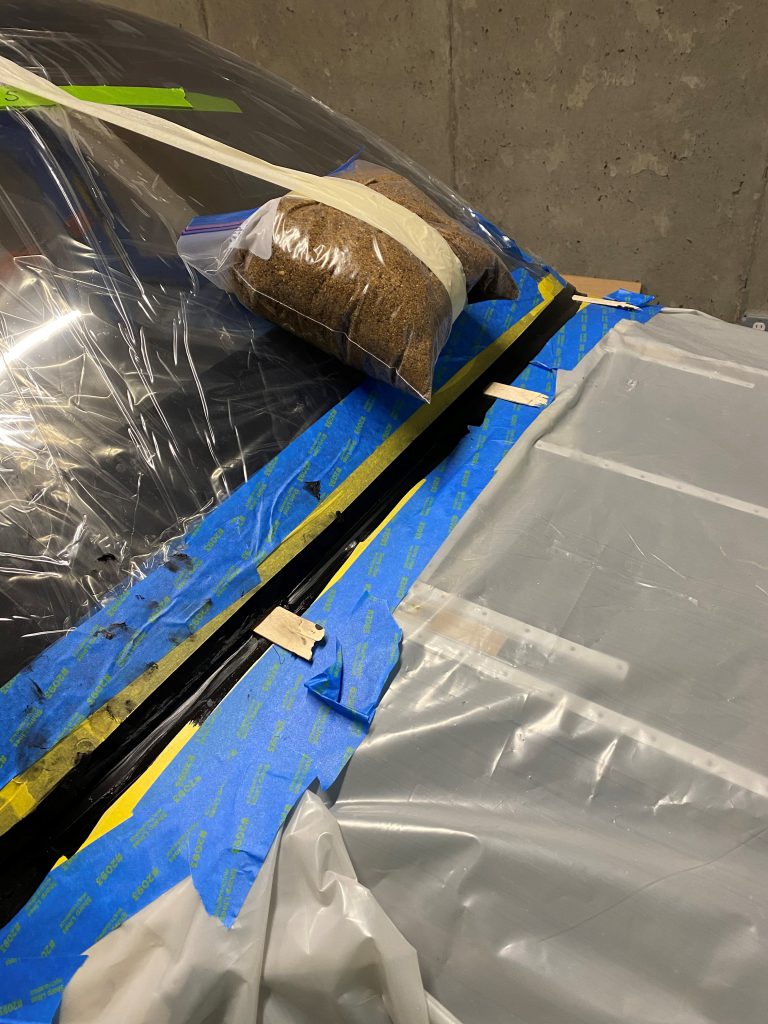
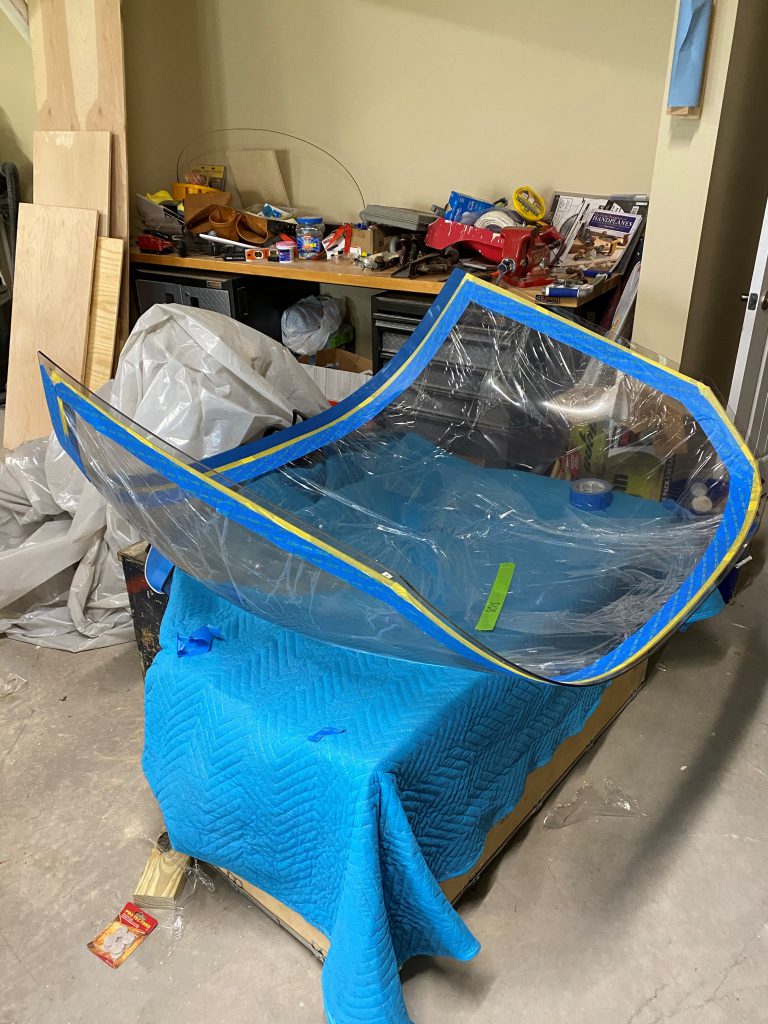
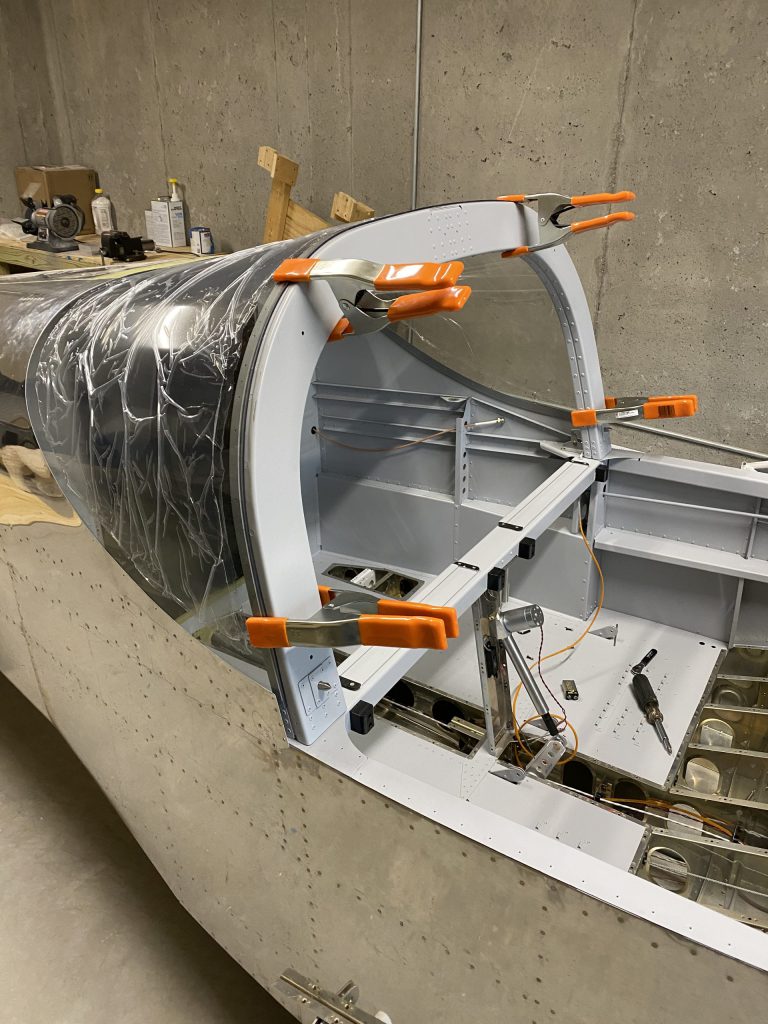
Finally, we did most of the prep work for installing the back window. Similar to the canopy the prep work takes way longer than the actual installation. We will be using Sikaflex to attach the window. I am cautiously hopeful that we will do the install tomorrow evening.

The upcoming schedule is:

Continue miscellaneous tasks like applying firestop caulking to the firewall and installing the fuselage top skin. Late this week we will move the fuselage to the garage so we can begin installing the landing gear and the engine. I am hoping to have this work done in about two weeks so we can move it to the airport near the end of July. Once at the airport we will need to install the propeller, cowling (very time consuming), the wings, tail and the intersection fairings.

I am planning for the DAR inspection around the end of August or the middle of September.

32 hours over several days (2 people).

Overall working with fiberglass kinda sucks. The good news is that you can always add more glass if you make a mistake or need to fill in a low spot.
Probably two to three more hours of sanding to do here.

Canopy Install Continued

How to give yourself a heart attack in one easy step…

I came down to the workshop about 24 hours after we glued the canopy on. I removed the sandbags and unlatched the canopy. It wouldn’t move at all! I thought that I must have somehow glued the canopy shut accidentally. I envisioned major rework and lots of $$. Luckily, the problem was that I hadn’t loosened the clamps that I was using to secure the canopy to the roll bar. Once I removed them, the canopy opened with only a small amount of persuasion.

The canopy is incredibly solid when it is all connected together. According to others who have older planes (RV6/7 etc.) this canopy is night and day different from the older ones (which had a lot of flex in their canopies).

Overall, I would definitely do Sikaflex rather than screws for the canopy. It is messy and probably costs a bit more, but I believe it is a much better way to go.

Quick tip #1: There is very little room between the windshield and the top of the panel. Make sure to remove any masking tape on the windshield and the top of the panel there before installing. If you don’t, it is a real PITA to get all the tape out of there.

Quick tip #2: Wear gloves – the primer and the Sikaflex do not come off your hands after it dries. I expect my hands will have black stuff on them for several days until it eventually wears off.

Sikaflex-ing the Canopy

Jon and I decided to use SikaFlex (glue) to attach the plexi-glass for the canopy and the back window. The process is a bit more difficult than the Van’s method of using screws. We didn’t like creating a stress riser at each of thirty plus holes in the plexi-glass.

The process is :

  1. Mask off everywhere you don’t want the primer to end up.
  2. Lightly scuff both surfaces (plexi glass with scotchbrite and aluminum with 220 grit sand paper)
  3. Apply Sikaflex 205 Activator (which seems to be roughly isopropyl alcohol) and let dry 10+ minutes.
  4. Create stand offs to prevent the plexi-glass from squeezing the glue out. I used tongue depressors for the front and rear and fishing line glued onto the sides.
  5. Apply Sikaflex 206G+P primer to both the plexi-glass and the airplane body. This stuff is very thin and can easily run. Thus the reason to mask EVERYTHING. It looks like alcohol will remove primer if necessary.
  6. Apply a bead of Sikaflex 295 UV to the metal surfaces. It is important to cut the tip of the tube properly and to build a small pyramid of glue.
  7. Lower the canopy onto the frame and weight it down with sandbags. I also installed the side skirts to keep the sides of the plexiglass tightly against the glue.
  8. Wait 24 hours.
  9. Remove the tongue depressors and add some additional Sikaflex to fill the holes and make a smooth fillet around the front of the canopy.
  10. Add the side skirts using the same process (remember to have the wire for the canopy open switch in place).

Canopy Riveting and Rear Window Installation

We began riveting together the forward canopy assembly. Lots and lots of rivets most of which needed to be bucked rather than squeezed.

Also put the rear window in place for measurement and cutting. It turns out that the only cutting required was the two notches for the roll bar brace brackets. The Dremel tool worked well for the cuts. I did realize that I will have to disassemble some of the canopy latch mechanism to get to two rivets that need to be squeezed. My fault because I did the latch mechanism out of order. Probably 1 hour of extra work. BTW, cutting the plexiglass is messy and requires wearing a mask.

10 hours (2 people x 5 hours each).

I cut downward with the wheel but I found that actually moving back and forth was a better method. After cutting, I used 220 grit sand paper to round the corners to remove stress points.
This is the rear canopy assembly just sitting in place. There are two rivets that I can’t install because I installed the latching mechanism.
This is the back window clamped in place. As with other parts of the kit, it fit very well without any significant cutting. Our plan is to use Sikaflex to attach the window rather than rivets and screws.
The forward canopy just sitting where it will eventually go. It hinges on the front.
My Dad (who turns 91 in about a month) helping me with the canopy top skin.

Still More Canopy Work

A few days ago when I was assembling the front canopy assembly, I puzzled over one particular drawing. I couldn’t determine confidently whether the canopy skin went on the outside of the stiffener or the inside. Based on the drawing at the beginning of section 38, I decided the stiffener went on the outside. I did several steps and things lined up nicely so I assumed I had it correct. Well, I didn’t.

Today, I got to a step that had me countersink the OUTSIDE of the stiffener to accept the dimpled skin. Now it was clear that the stiffener went inside of the skin. It seems obvious now, but when I did it a few days ago I am pretty sure I had it right. No damage done and only a few minutes to “fix” the issue.

I then spent a fair amount of time looking forward a few pages in the instructions. Geez, this canopy has a lot of steps! I think Jon’s advice to work in small increments of perhaps an hour in the evening makes a lot of sense. It is easy to feel overwelmed if you are working for 8 hours at a time.

Meanwhile, Steinair seems to be on schedule to finish the panel work by the end of April. Van’s shipped a few more parts that were back ordered in the finish kit. I cleaned the aircraft factory (a little) in an attempt to not work on top of my instructions (which required me to continuously move my work pieces every time I needed to refer to the directions).

Three hours.

Canopy Continued

I spent a significant amount of time assembling the canopy side rails. Lots of clecos to install, holes to final drill or match drill. As I have commented in the past, the quality of Van’s parts is impressive. Mostly a perfect fit. I will have to pause on the canopy now because two of the key parts I need are back ordered (C-1405-L and C-1405-R). I think they should arrive in the next few days since Van’s told me on a recent call that they had received more of these in stock.

Error of the day: I countersunk a hole next to the one I was supposed to countersink. Kind of dumb since I marked each hole I was supposed to do with a sharpie before starting. Luckily, the error will be hidden permanently by another piece that will be riveted over the offending area.

Five hours.

The Canopy Construction Begins

The canopy has a surprising number of parts. After spending a fair amount of time cutting, deburring and Alodining lots and lots of parts, I began the actual construction today.

The good news is that the parts have been going together relatively easily. The pre-drilled holes by Van’s have been spot on.

My riveting has gone from OK, to reasonably good. Once I got the feel of the rivet gun trigger, I mostly have had very good rivets. Well OK, I have put smiles into a couple of them, but luckily they will be in places where no one can see them.

Six hours.

As you will see in a future post, I have the stiffener wrong in this picture. It goes inside of the top skin.
Close Bitnami banner
Bitnami