Firewall Forward Wiring and Plumbing

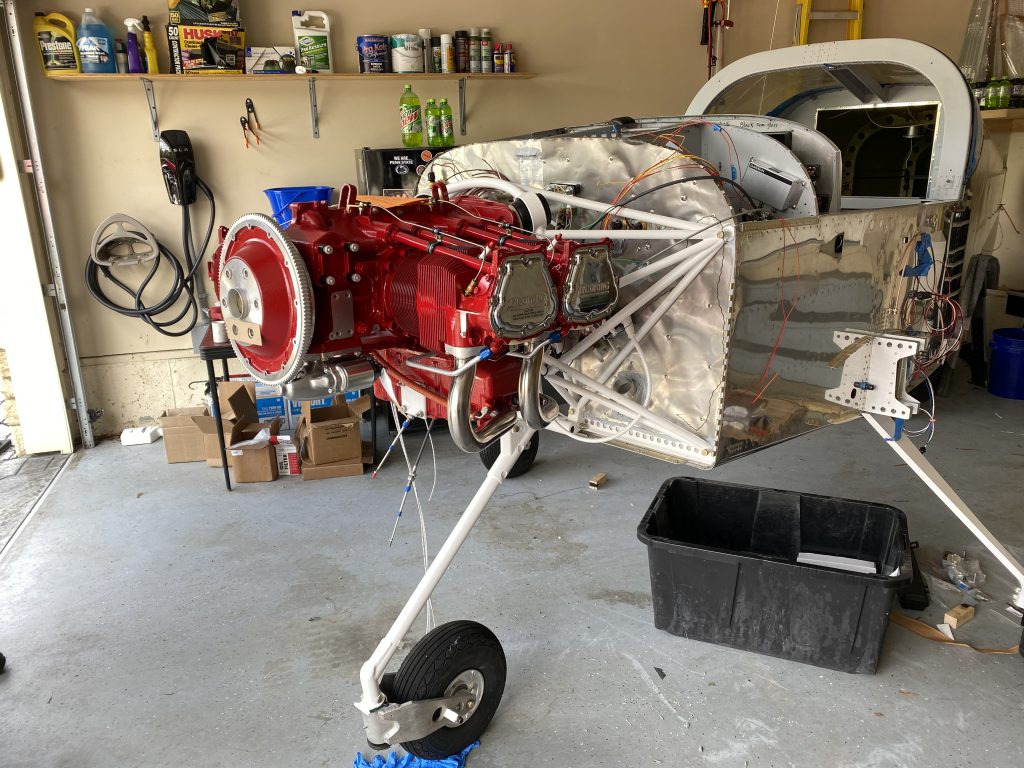
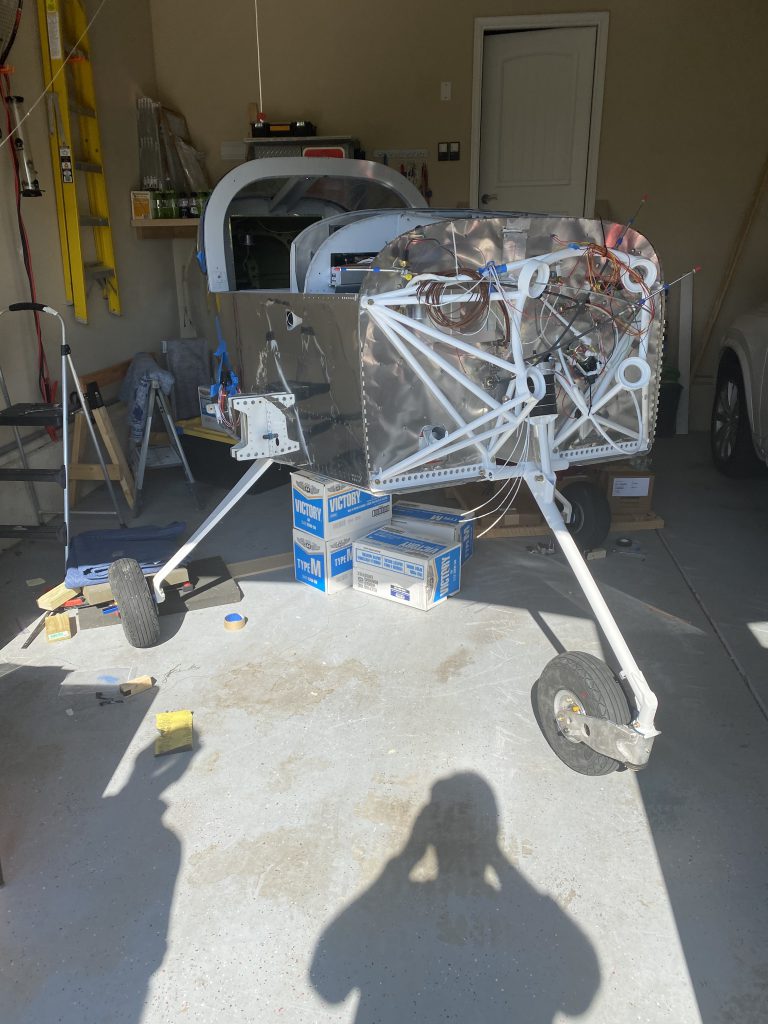
Dad and I have spent three days working on the hoses and wiring for the engine.

I would guess we are about half way done now. As usual, we are slowed a little by needing to order parts or supplies. For example, the FM-150 requires you to remove the fuel servo mounting bolts and replace them with longer ones. They thoughtfully supply the longer bolts with their servo, but want you to use Loctite 620 on the new bolts — not available locally.

So here is what we have done:

Primary Alternator, installed and wired. Minor cable management and final adjustments left.

Starter wiring is nearly complete. The primary power wire (2 gauge) is in place, terminated and torqued. The smaller wire from the starter solenoid still needs to be terminated.

FT60 Red Cube fuel flow transducer installed. Still need to do final wiring and torque hose fittings.

Fuel lines (from firewall to fuel pump, to fuel pressure sensor, to FT-60, from FT-60 to FM-150, from FM-150 to spider) partially done. Waiting on a part from Van’s Aircraft.

Oil lines (to/from cooler, to oil pressure sensor) partially done.

Secondary Alternator – done then undone. I decided to re-clock it to ensure the power lug is not too near another component. Now I need a new gasket — on its way from Spruce.

Oil cooler – shelf is installed. Oil cooler assembly is mostly done, but still on the bench down stairs. I want to get the right P-Mag installed before I put this in place.

Major things left to do:

P-Mags, lots of butt splices, propeller and propeller governor, exhaust system, firewall penetration firesleeving, more adel clamps then I care to think about.

30 hours (2 people x 15 hours).
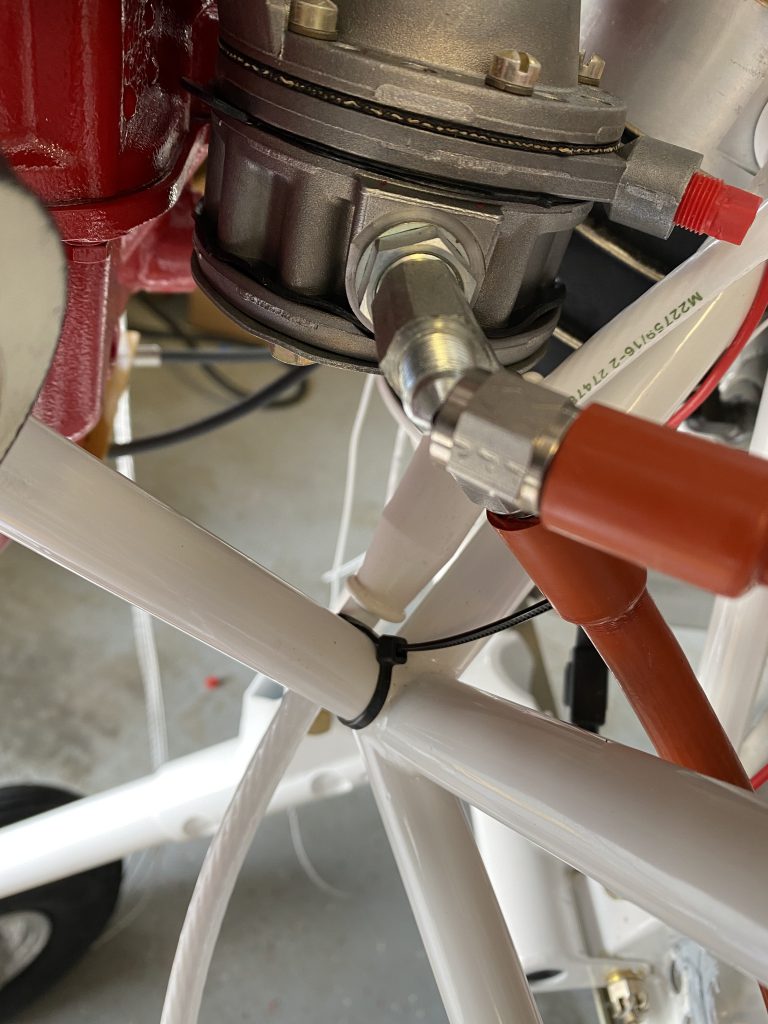
This is the incorrect fitting that apparently comes from Lycoming. I ordered the correct one from Van’s (KB-90-T). The new fitting makes the host fit better and prevents fuel pressure values from pulsing due to a restrictor in the AN fitting to the fuel pressure sensor.
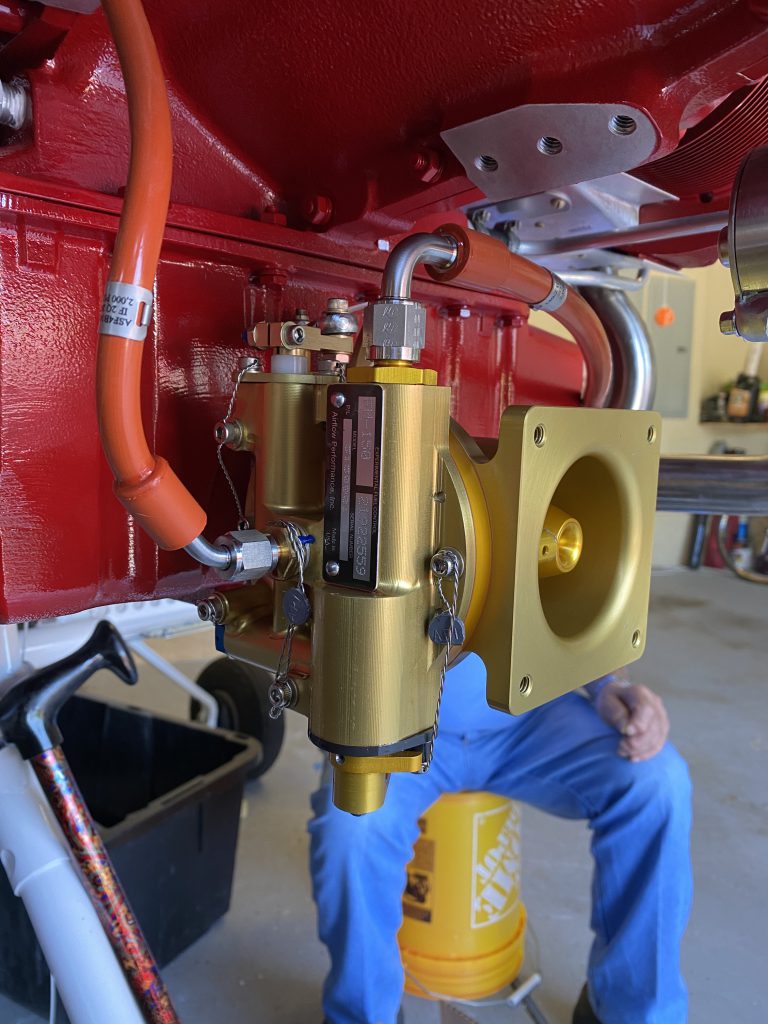
Here is the FM-150. Note that it seems to be sitting on it’s side. You have to have the IO-390 adapter kit which consists of a mounting plate for the mixture and throttle cables, new mounting bolts, a gasket, and various other parts. I am certain that the early RV-14 builders had to figure all this stuff out themselves so it’s nice to have it all in a neat package (other than the Loctite 620 that is called for).
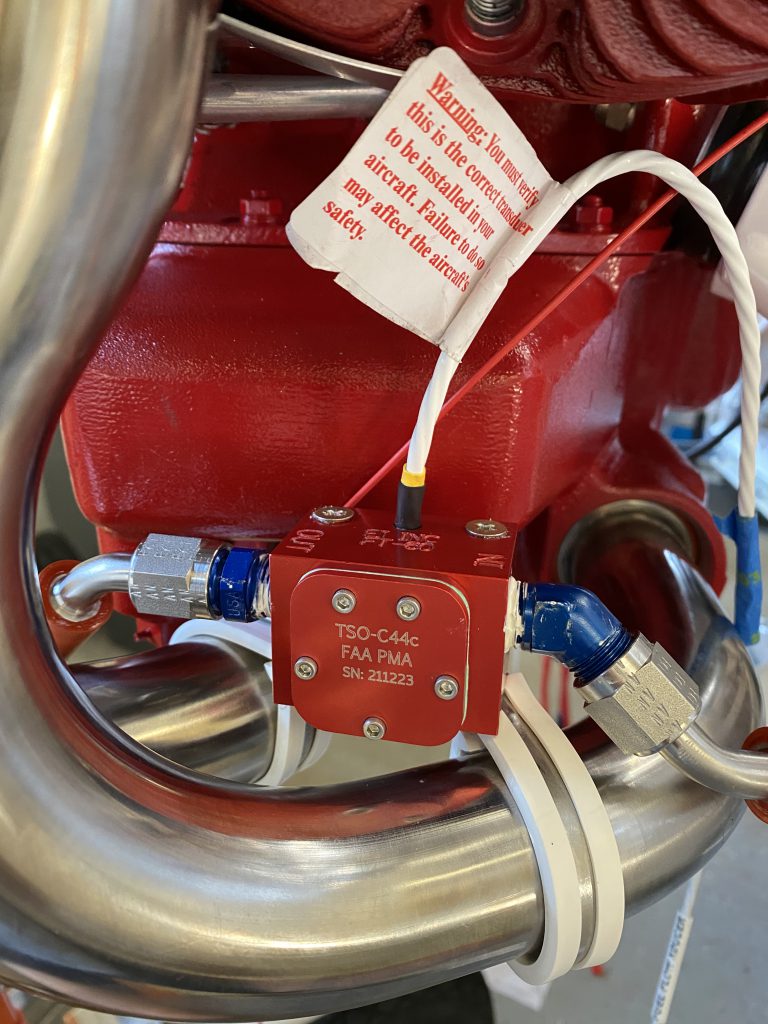
This is the fuel flow transducer (FT-60). Note that if using the AS Flightline hose package you clock the fittings a bit differently.

Hanging the Engine

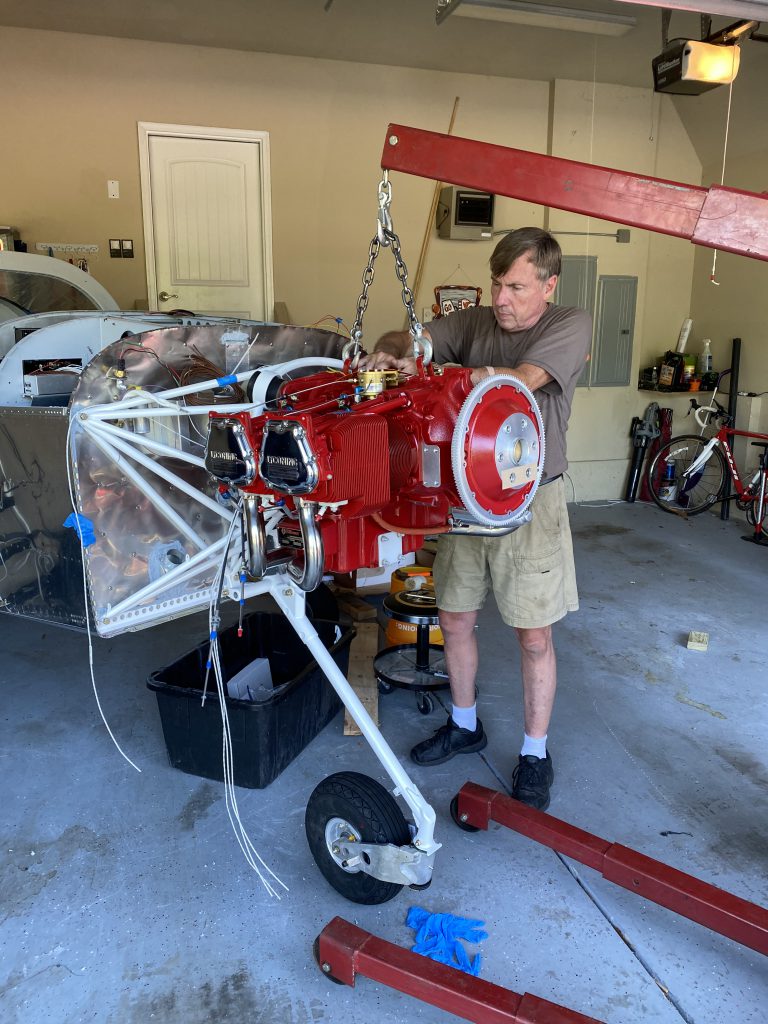
The hottest day of the year (98F). This part of the project was surprisingly easy. We probably spent as much time getting the engine onto the hoist as we did bolting the engine to the airplane.

The clearances around the engine accessories (P-Mags, standby alternator, fuel pump etc.) and the engine mount were tight, but with three people (Jim V, my Dad, and me) and the hoist it was pretty easy to get it lined up.

Dad and I worked on the oil cooler shelf (surprisingly more complex than I expected).

We even made a post work dump run to get rid of the Lycoming packing materials. Marianne is very happy to have a lot of the garage back to normal.

12 hours (4 hours x 3 people).

There are four engine mounts that hold the engine to the airplane. The isolation mounts have to be carefully assembled and torqued.
I wanted to take it outside to ensure the GTN 650 navigator got a good GPS signal. It is back in the garage for now (we will move it to the hanger next weekend).

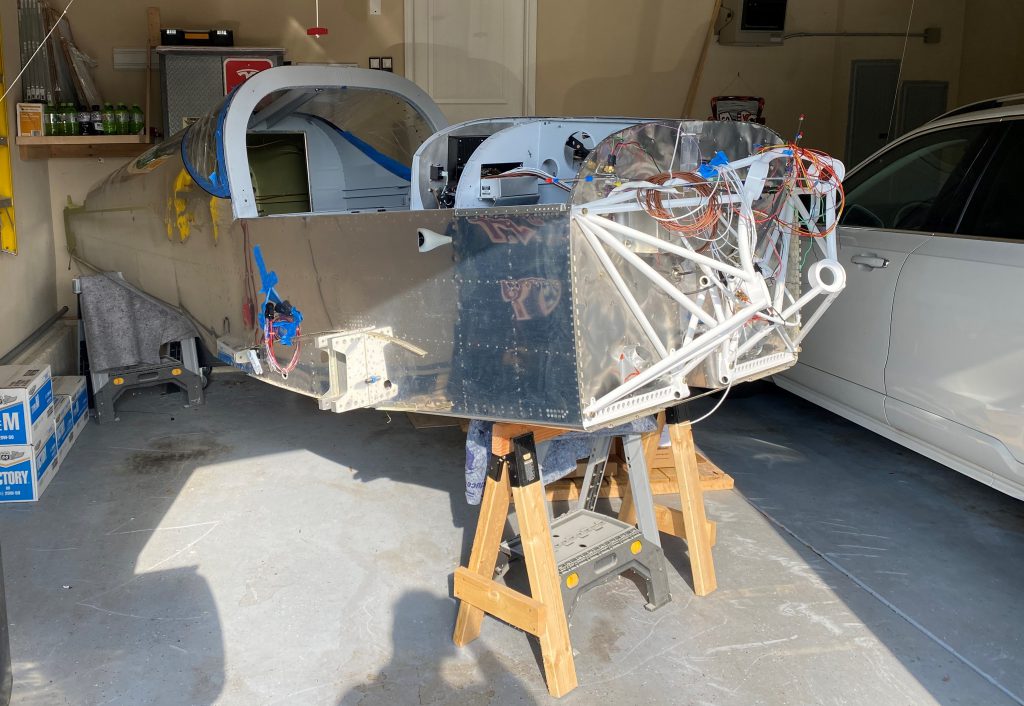
Now comes more fun. I will need to do all the oil and fuel hoses and electrical connections. I expect this will take a couple days. After that, I can put the baffling on. Then the propeller, and the cowling (I am really NOT looking forward to that part of the project).

I had a really nice call with another local builder (Rick S.) who has offered to help me install the wings (hopefully the middle of August).

Also, big props to some people / companies that have been great to work with:

Allan at Anti-Splat – great products, even better service and support

Steve and Tom at AS Flightlines – the BEST hoses, and unbelievably great service

Brad at Emagair – manufacturer of the P-Mags. Super cool product and great customer service.

Tyler at Lycoming – I called with some rookie questions and he was super helpful.

Engine Fittings

There are several fittings on the back of the engine that need to be installed before hanging the engine. Apparently others have found out the hard way that you can’t easily install the fittings after the engine is on the airplane.

The fittings include: oil temp sensor, oil upper, oil lower, oil pressure sensor, manifold pressure sensor, tach cap and several fuel fittings.

We have them installed now.

We are also working on the standby alternator, the oil filter right angle adapter and both P-mags.

It is important to do the different tasks in order since I quickly found out that many of these things conflict with each other. For example, the oil filter adapter interferes with almost everything else so it needs to go last.

Because I added the oil filter 90 degree adapter, I had to use a straight fitting on the bottom oil port and a 45 degree fitting on the upper port. I also had to clock them differently from the Van’s plan.

We will do some of the fire stop caulking tonight and finish the fittings tomorrow. The goal is to be ready to hang the engine on Saturday. If all goes well, we will move the project to the airport the following Saturday.

Four hours (2 people x 2 hours)

The hole with nothing in it is where the standby alternator (in the lower right corner) goes. Note that with the B and C oil filter adapter, the oil temp sensor goes in it rather than in the case as shown on the Van’s plans.

Baffling

While waiting for supplies to prep the engine, we got to work on the engine baffling. This is sort of like building a giant lego project. Lots of parts riveted and screwed together. The good news is that the holes are already in place and invariably line up perfectly. Mostly AN3 rivets which are not difficult to squeeze too.

8 hours (2 people x 4 hours )

It’s On the Gear

We got the main gear done. I checked the alignment and it appears that both sides toe in (that’s good) but they probably toe in to far (that’s bad). I will check them a few more times, but I suspect I will need at least one shim (@ $29 each) on each side. Some experienced guys said I can just use a washer or two, but I am going to stick to the plans and add the Van’s shim.

We then worked on the nose gear and completed that too. This had a lot of parts but was relatively easy to put together. I wasted about two hours looking for two parts prior to beginning. One (the elastomer pad) was wrapped in plastic and paper and I picked it up about a dozen times during my search without realizing that was what it was. The other was a washer that you need to trim to fit that I had right in front of my face the whole time. Because I didn’t initially realize that I had to trim it, I didn’t figure out that it was what I was looking for.

In the end, it is pretty cool to see the thing sitting on its own gear.

We will do miscellaneous work on the engine (install fittings, 2nd P-Mag, oil filter adapter etc.) and get ready to mount the engine next weekend.

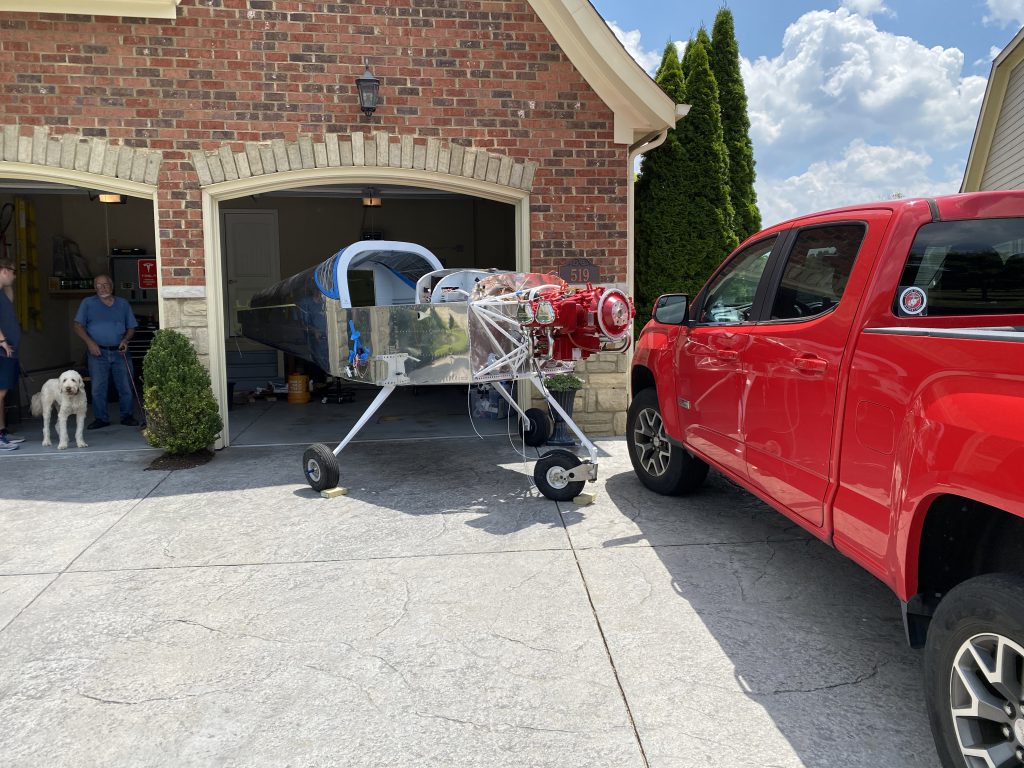
The big move to the hanger is tentatively planned for July 25th.

10 hours (2 people x 5 hours).

Moving Day + Landing Gear

Last night, I got three friends (Chris/Chad/John) to help me move the fuselage out of my basement and up to the garage. Of course it was the hottest, most humid day of the year. It only took about 30 minutes, but we were all drenched in sweat by the time we got it out the window and up to the garage. Only casualty was a cut finger and a scraped leg.

My Dad and I began installing the main landing gear. This looks relatively easy to do, but actually turned out to take a fair amount of effort. There are a lot of bolts to install (26), the tolerances are tight and there is not a lot of room to maneuver hands/wrenches.

It is very important to put the bolts in in the right order. It also helps to have a car jack to lift the gear legs up and wiggle them around to get the bolt / holes to align.

At one point, I thought there was going to be no way to install a washer and nut on several bolts that come out inside the wing spar box. After lots of cussing and complaining (by me) my father noticed that you could reach that area from outside the airplane and then getting these nuts on became trivial. Not bad for an old guy.

There were a couple bolts that were in places that my hands simply don’t fit. I enlisted Marianne to help. Her hands are smaller and she was easily able to install the bolts in a place I would have needed hours (and luck) to install.

Tomorrow, we will install the axles, check alignment and install the wheels, brakes and tires. Then it will be onto the nose gear which looks a bit more complicated.

6 hours (3 hours x 2 people)

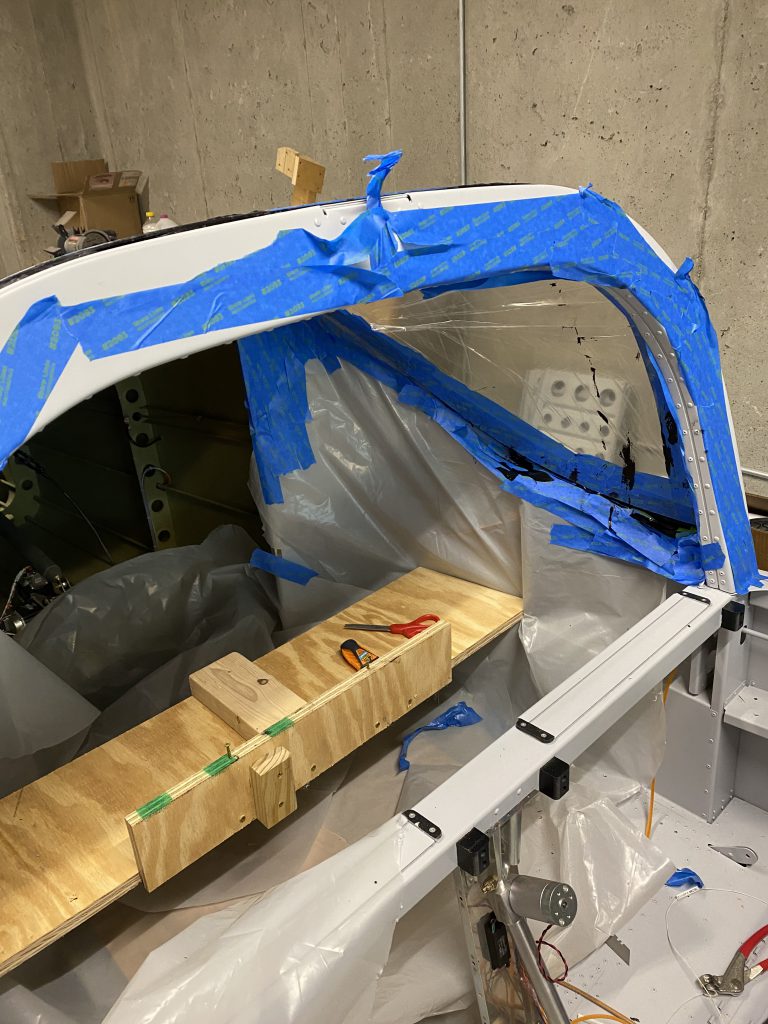
Gluing in the Back Window

Despite being smaller than the canopy, this was actually a bigger pain in the butt. It required a lot more prep work (mostly taping off areas that I didn’t want to get primer or glue on).

I almost made a giant mistake. The back window is glued to the inside of the skin but to the outside of the roll bar. I somehow managed to put glue on the OUTSIDE of the plexiglass in both places which would have meant no glue connecting the window to the roll bar. I noticed the mistake when I put the window in and was able to correct things before any damage was done. Lots of cursing for sure.

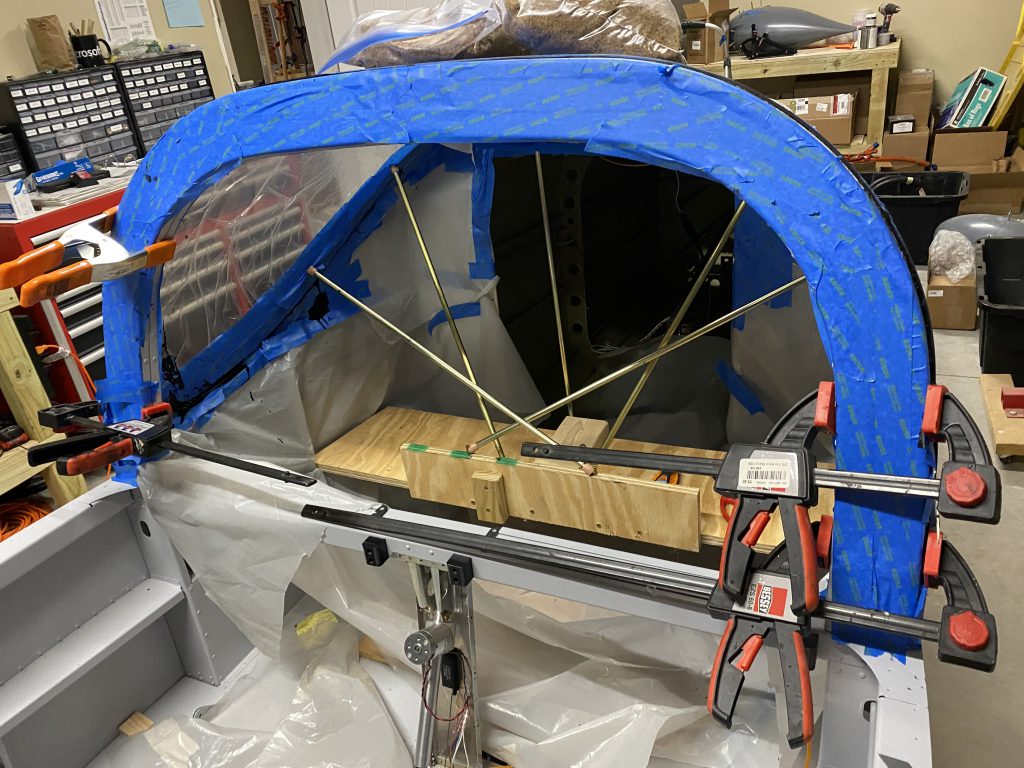
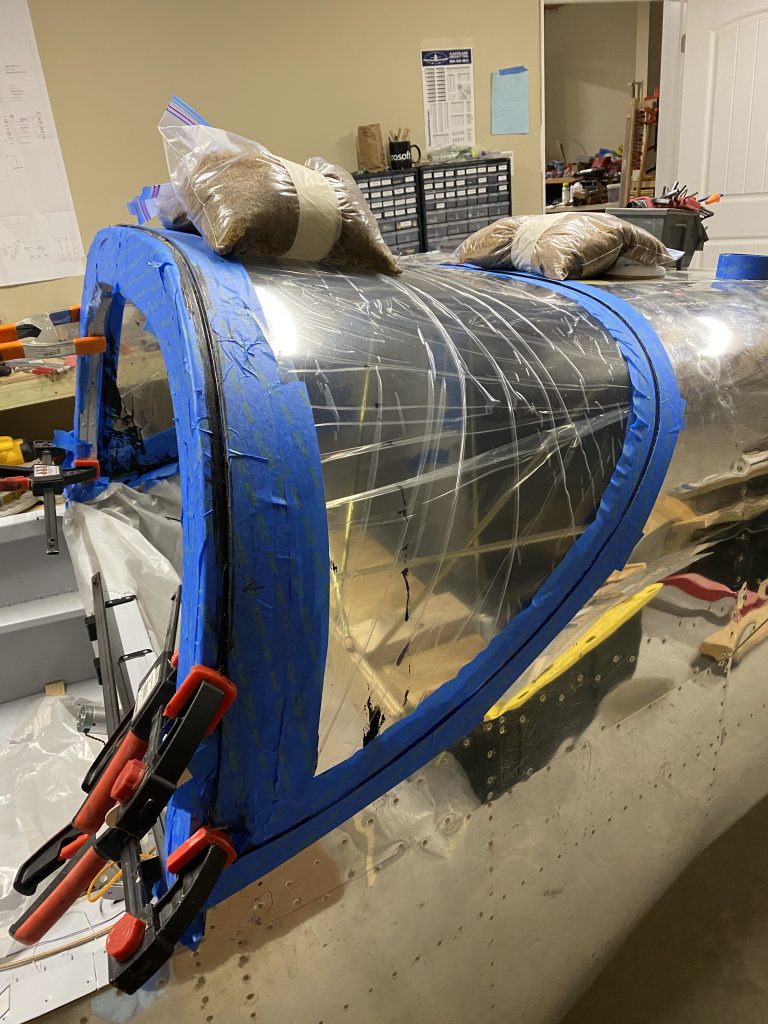
The back window is now in place and the glue is fully dried. I put a small fillet along the skin to make the transition look better. Pretty happy with the result.

Today (Wednesday) is moving day for the fuselage. My car will get to sit outside for about two weeks if all goes according to plan.

10 hours (5 hours x 2 people).

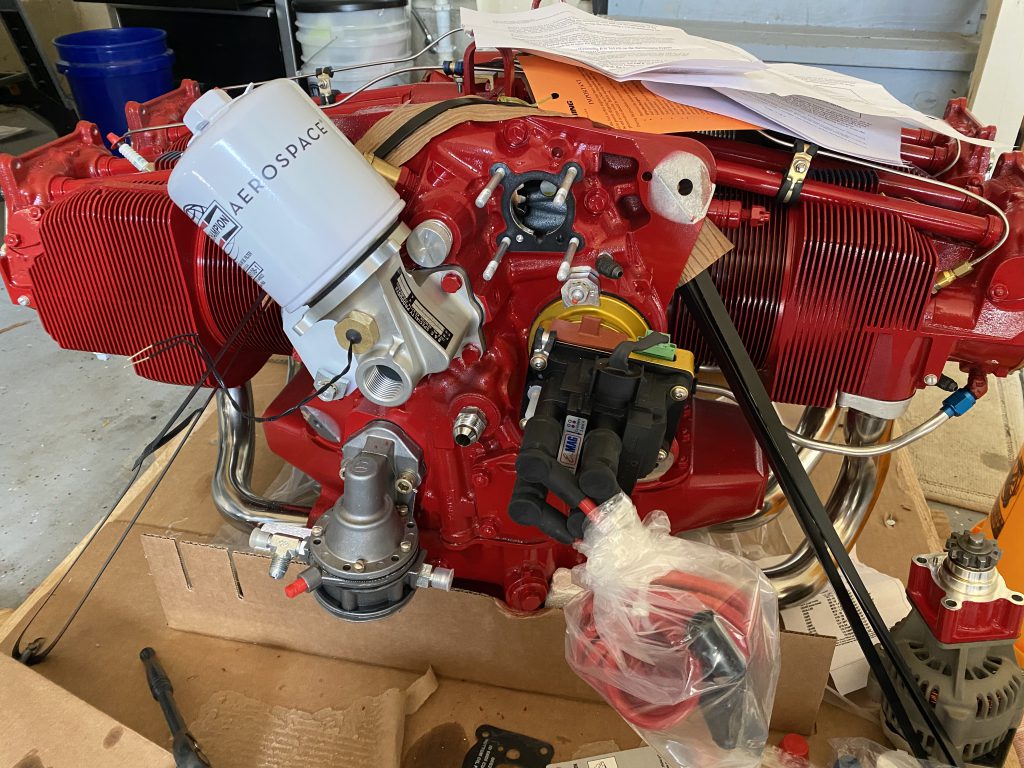
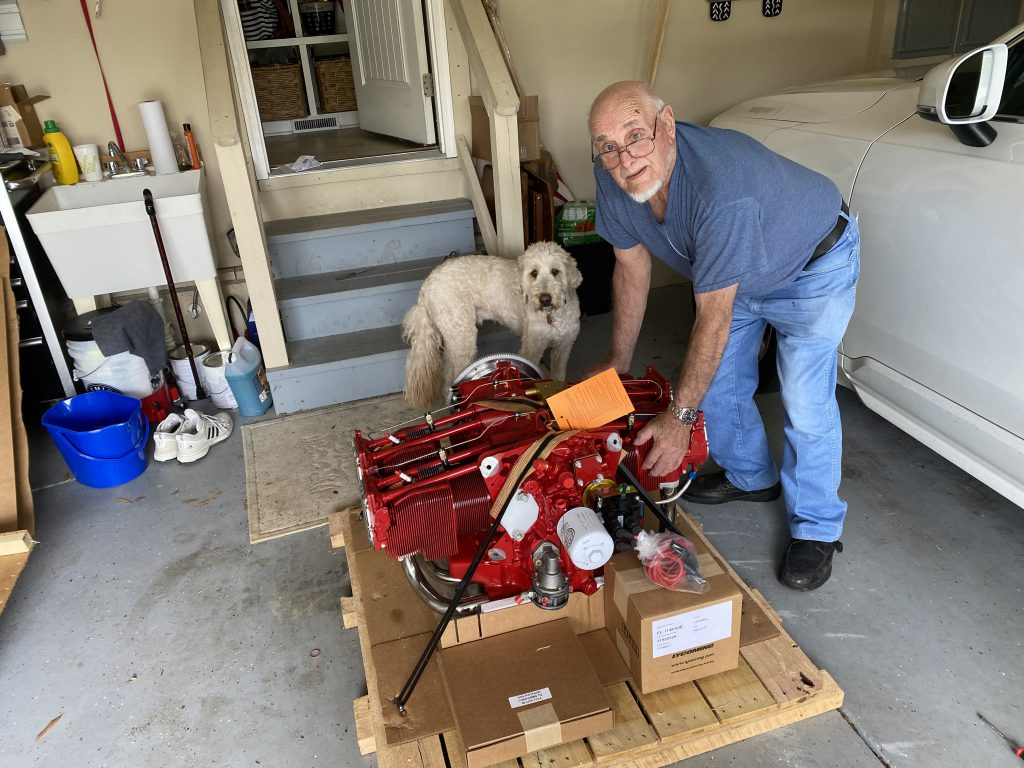
Here is the Lycoming IO-390 unboxed in anticipation of the firewall forward phase of the project.
I used extendable curtain rods to hold the window in place while the glue dried. This worked reasonably well and only cost me $5 per rod.
It will look a lot better when the tape is removed but I want to leave the tape on for awhile to protect the window during construction.

More Canopy Work + Misc

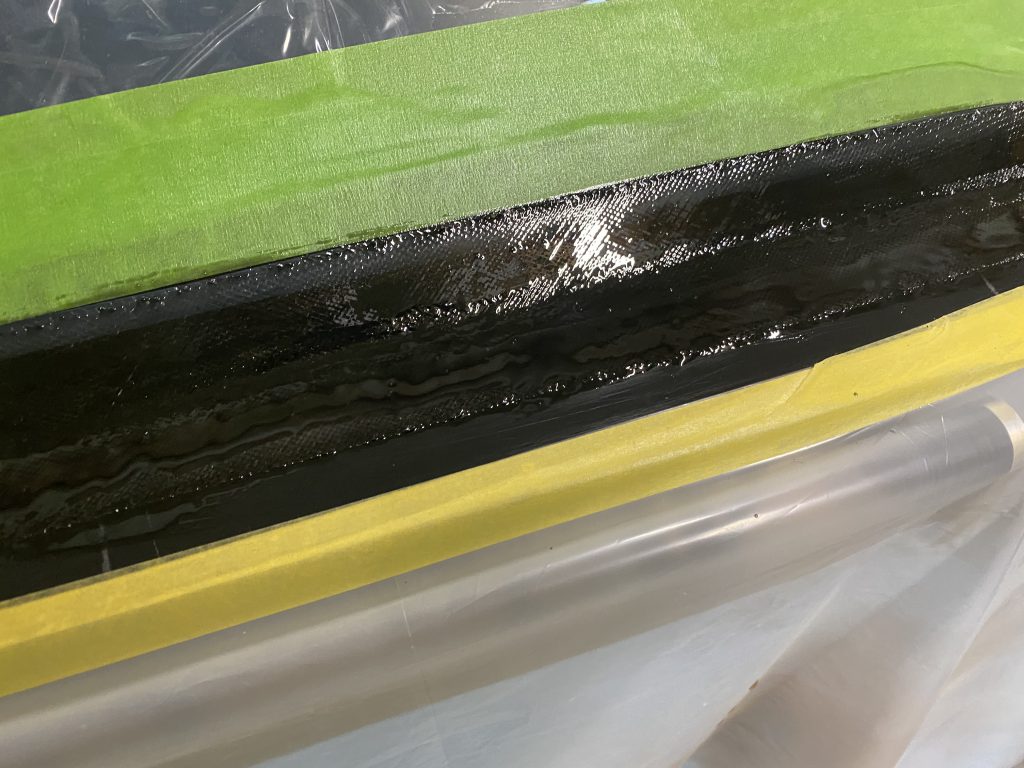
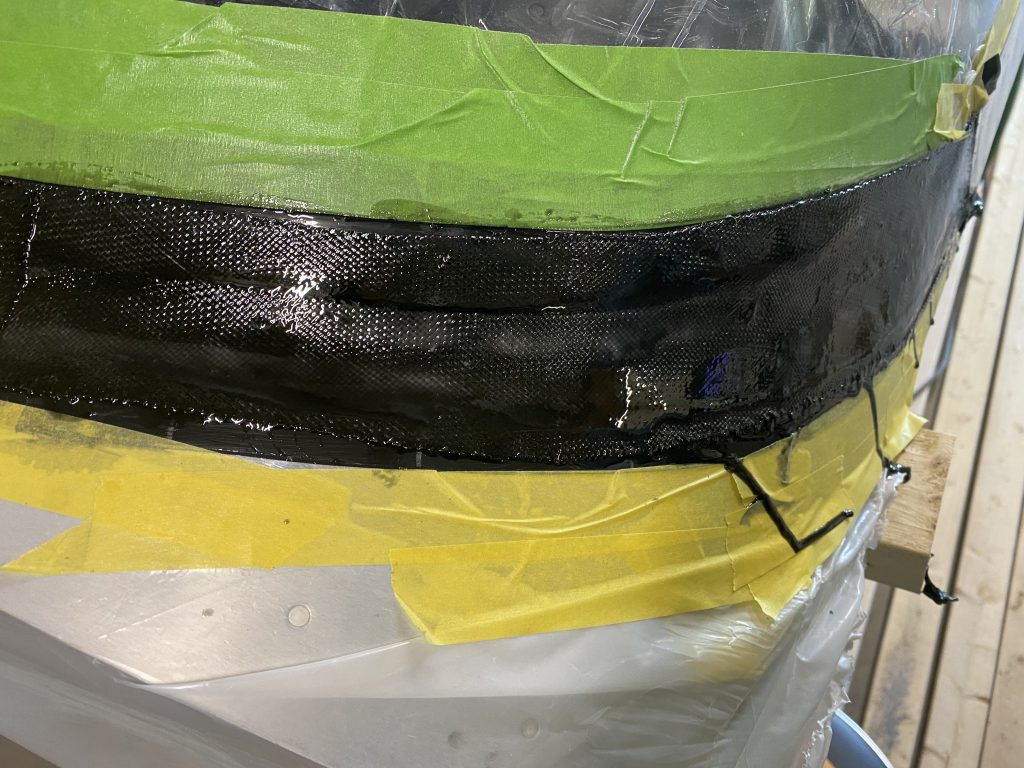
My Dad and I did the fiberglass fairing at the front of the windshield. Not going to win any awards, but overall pretty happy with the way the fiberglass came out. Still lots of sanding and shaping to do.

Note for those new to fiber glass work. The West System pumps can fail to provide the right mixture of resin to hardener. Having too much hardener is better than not enough. The pumps should supply a FULL stroke of fluid for each pump. My resin pump was providing resin for only the second half of the stroke which resulted in too much hardener for a given amount of resin. The lesson here is to occasionally check the mix by weight or volume and not always rely on the pump.

We also worked on the throttle/pitch/mixture/alt air quadrant. This took longer than you might expect. We had to measure and drill the proper holes in the plate (supplied by SteinAir), mount the cables and then mount the plate to the airplane. Then we had to secure the cables and run them through the firewall. The penetration for the firewall is an eyeball grommet by Doubletree (TTP-S). They are $44 per grommet and I am going to re-do one of them because the hole is too big. I also need to install the adel clamps inside the cockpit.

Finally, we did most of the prep work for installing the back window. Similar to the canopy the prep work takes way longer than the actual installation. We will be using Sikaflex to attach the window. I am cautiously hopeful that we will do the install tomorrow evening.

The upcoming schedule is:

Continue miscellaneous tasks like applying firestop caulking to the firewall and installing the fuselage top skin. Late this week we will move the fuselage to the garage so we can begin installing the landing gear and the engine. I am hoping to have this work done in about two weeks so we can move it to the airport near the end of July. Once at the airport we will need to install the propeller, cowling (very time consuming), the wings, tail and the intersection fairings.

I am planning for the DAR inspection around the end of August or the middle of September.

32 hours over several days (2 people).

Overall working with fiberglass kinda sucks. The good news is that you can always add more glass if you make a mistake or need to fill in a low spot.
Probably two to three more hours of sanding to do here.
Close Bitnami banner
Bitnami